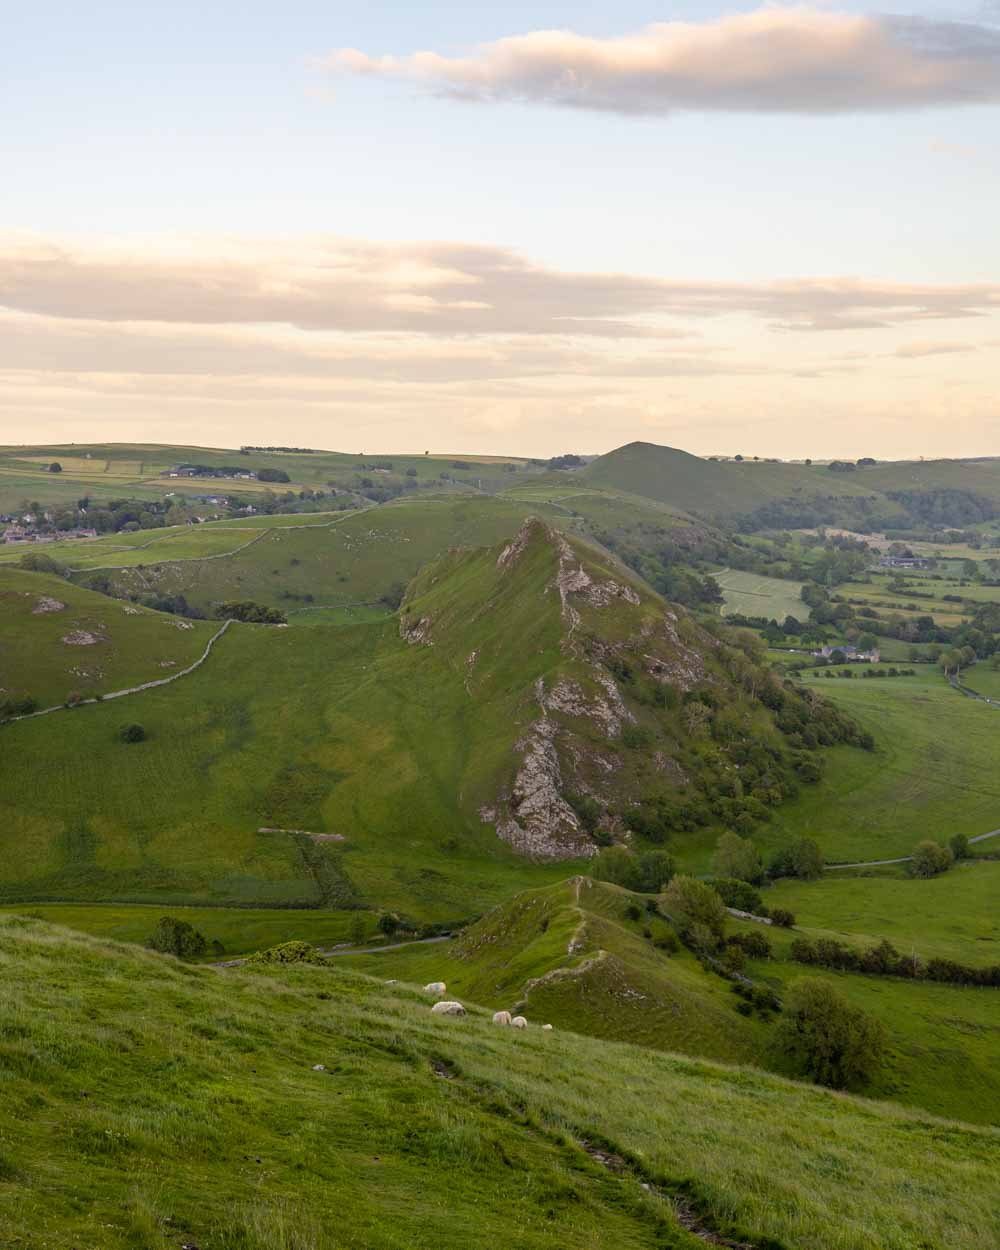
I’m a sucker for trail names, and whilst Chrome Hill is nothing special, the Dragon’s Back (as it’s more commonly referred to) put it firmly on my must do list. And it didn’t disappoint. The views are jaw dropping, with the final ridge offering one of the most magnificent photography spots in the Peak District.
The walk can be easy or challenging depending on the path you take, and we’ll describe both in this guide.
Here’s everything you need to know about the Chrome Hill and Parkhouse Hill Walk.
The Chrome Hill Walk
You can walk Chrome Hill (the Dragons Back) as a stand alone walk, or combine it with Parkhouse Hill, which doesn’t add on much in the way of distance, but it does in adventure.
In this guide, we’ll take you through the full circuit walk, but if you don’t want to do Parkhouse Hill, you can just skip the final section.
The stats
Distance: 4.7 miles (7.6km)
Elevation gain: 410m
Difficulty: Moderate
The walk to Chrome Hill is easy enough. There are a few hills, but also plenty of flat track. Once you get to the hill, you can either choose to go up and over the ridge - the Dragons Back - or around the side on a normal grassy path if you don’t like the look of it.
The terrain is generally good on Chrome Hill, however, it’s steeper on Parkhouse Hill. On Parkhouse you can either take the walking trail route, or a steep scramble. We’ll describe both options in the notes below.
Note that no part of the trail is signposted, so you’ll want to download an offline map, or screenshot our directions below.
Starting the trail
The walk begins in the small village of Hollinsclough. Head north through the village, past the small church, and after 100m walking along the road you’ll see a path on the right.
This will take you on a flat dirt path with some great views out to the ridge lines you’ll be walking in the distance.
The dirt track gives way to a grassy path and after 300m you’ll reach a bridge and take a sharp left (avoiding the private property sign).
You’ll soon begin a gradual climb on an eroded dirt track, which is easy when dry, but I can imagine becomes pretty muddy when wet. After 80m you need to head right, along the gravel path.
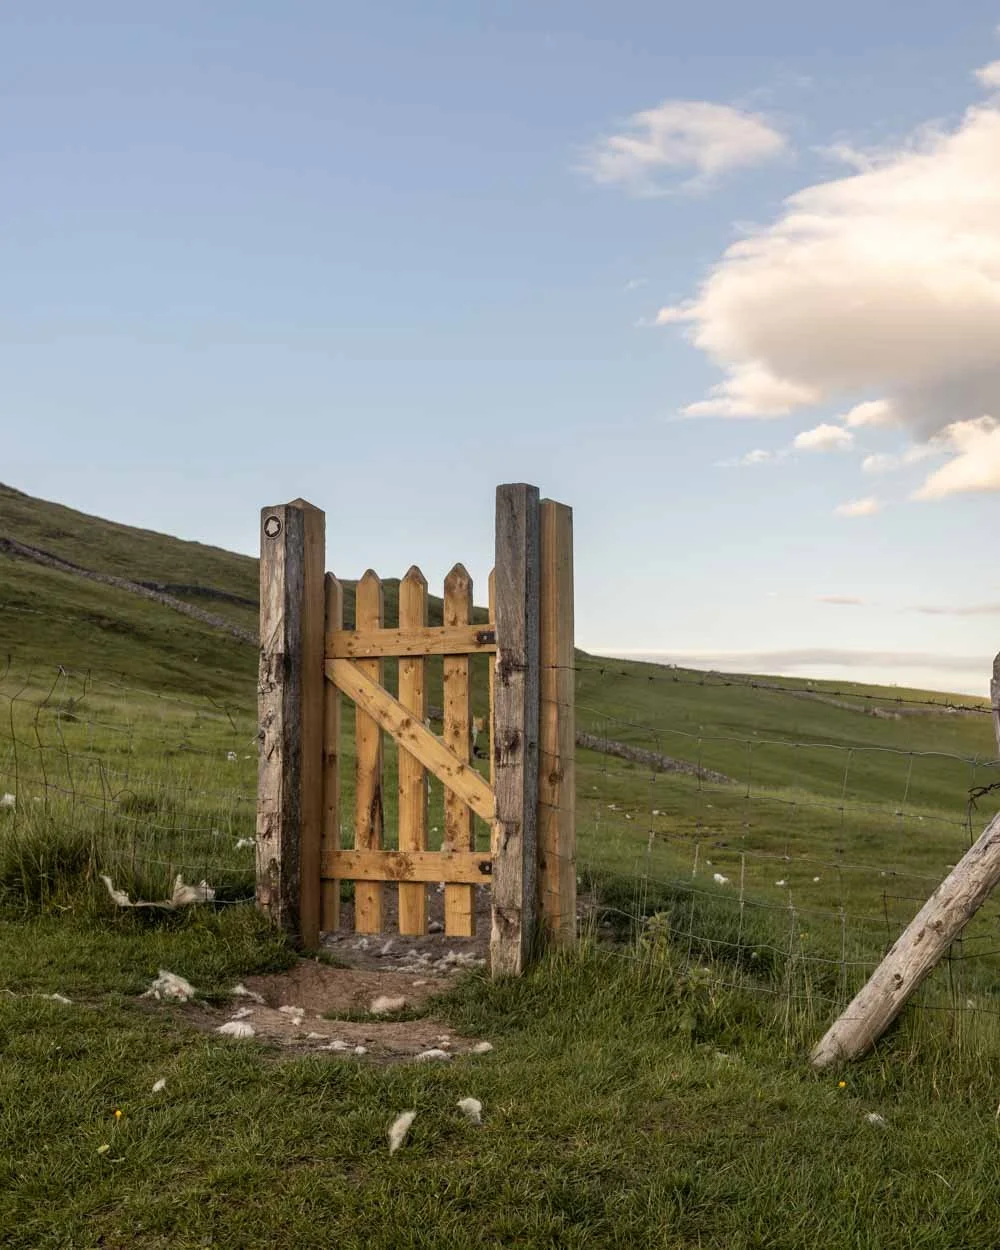
You’ll continue climbing uphill and pass through a gate that takes you out onto a grassy path.
There is a short downhill section and a tiny amount of flat track, but the majority of this early part of the walk is a gentle climb.
After just over 1km (from the village) you’ll come to a junction, keep heading straight on, directly past the house on the left. From here the trail flattens.
Through the fields
You’ll be walking along a flat gravel path with sheep grazing on either side. It’s a lovely rural scene and the track is very easy.
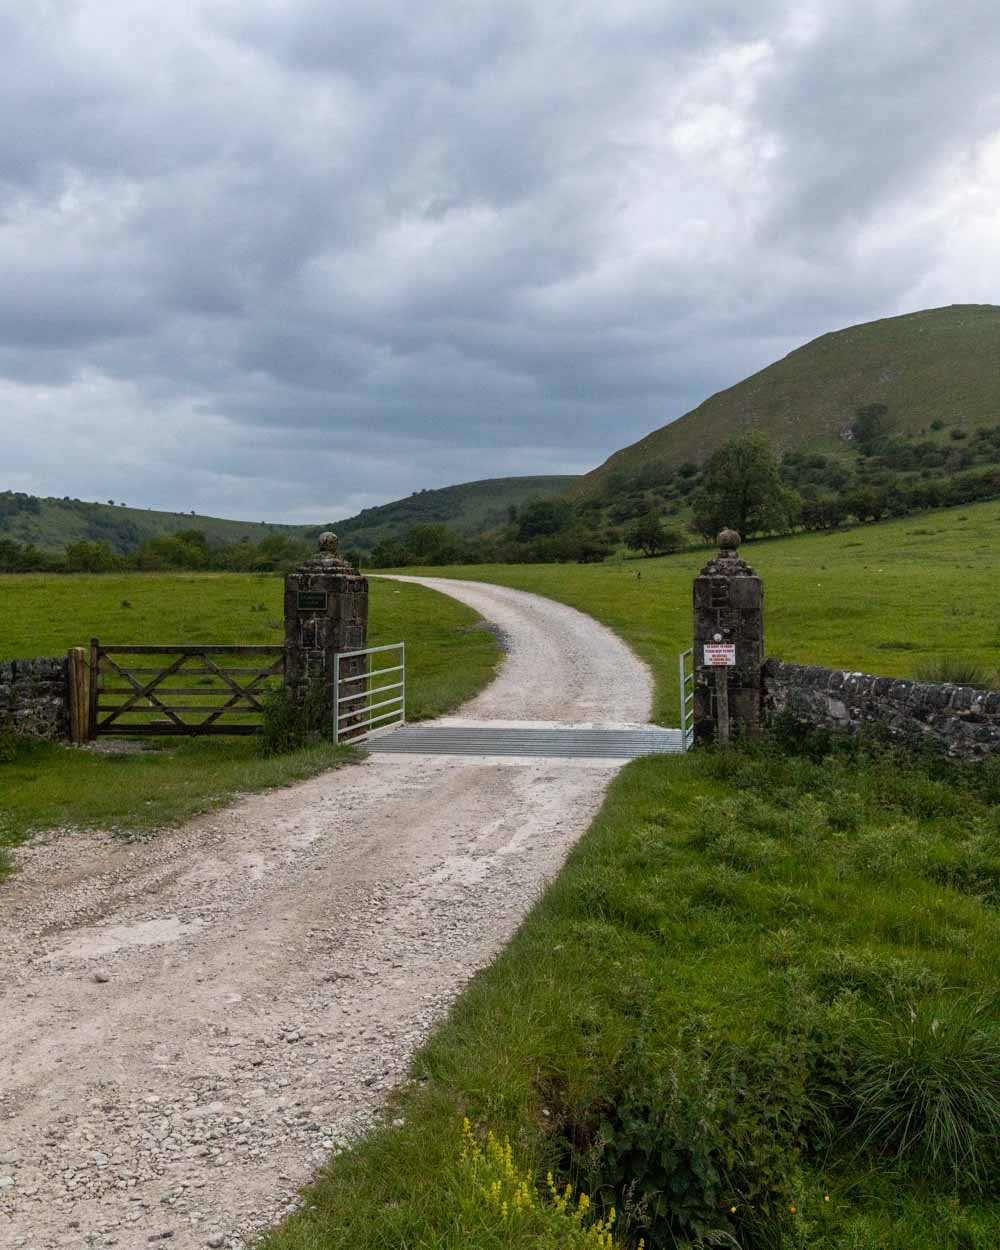
You’ll pass over a cattle grid and at the 1.8km mark you’ll come out at a road. Luckily, it’s a quiet country lane and you’re only on it for 250m before you come to a gate on the right and head into the fields.
You’ll get some good views of Chrome Hill in the distance as you begin traversing several fields. It’s exactly 1km of field walking before you pass through the final gate and are standing in front of the Dragons Back.
The majority of the walk through the fields is gently uphill or flat, but in the final field you’ll make a steep descent and reach the gate with a signpost saying ‘Concession Path’.
There is no set path through the fields, but you can always see the gate you’re heading for, so you can’t really go wrong.
Along or round the Dragons Back
The trail now follows the fence alongside Chrome Hill for the first 200m. You’ll then pass through yet another gate and take a sharp left uphill.
This part of the track is rocky and steep, but it’s only for 300m. If you don’t choose to walk the ridge line over the Dragons Back, then this is the only bit of uneven path to contend with.
In dry weather it’s not very slippery, but it definitely could be when wet.
After 300m you’ll reach a junction and this is where you decide whether you want to skirt the hill, or go over the top of it.
If you want to avoid the ridge, you head left, along the grassy path - it’s not an official track, but it’s trodden down enough that it’s easy to follow.
If you take this route you will come out along the road in front of Parkhouse Hill. You can then backtrack through the gate to walk the lower ridge (with the amazing photography ops), which we’ll go into detail on in the next section.
The slightly worn trail around the ridge at Chrome Hill
If you want to go over the Dragons Back ridge - which we highly recommend if the wind is in your favour - then you’ll head right, along the narrow gravel path.
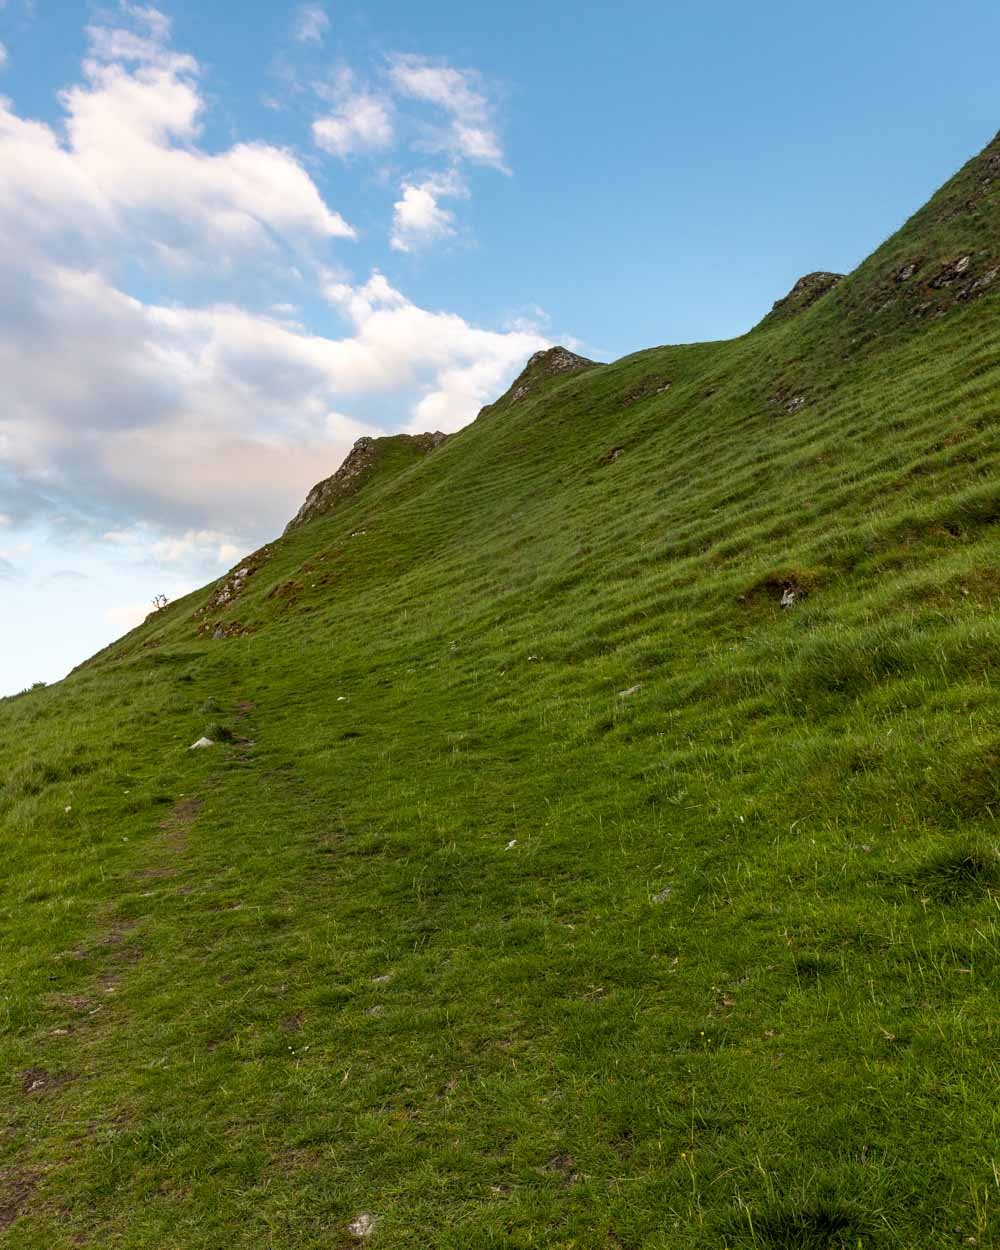
The trail along the Dragon’s Back is in great condition for the most part. It’s narrow, but it’s gravel and never overly steep.
The exception is the very last bit before you hit the top (300m from the junction). Here there is the tiniest of scrambles up the rock, but it’s literally just a few steps.
The views are great along the ridge and you pass a tiny natural arch, which was picturesque. I loved it, but for one thing: the wind.
The wind was so ferocious that it did feel a little hairy at points. I would highly recommend picking a day where the wind is low if possible, because it’s a shame to hurry along the ridge like we did.
After you’ve traversed the undulating ridge for 300m you’ll arrive at the top. From here the path briefly flattens before it begins heading steeply downhill.
The first few hundred metres aren’t too bad, but the next couple of hundred are super steep.
I was very grateful for the dry conditions. It’s a grassy path with some footholds worn into the dirt which I can imagine is very challenging if wet.
In total the descent is 500m and then you’ll reach the gate that leads out onto the ridge between Chrome Hill and Parkhouse Hill.
The ridge aka the photographer’s dream
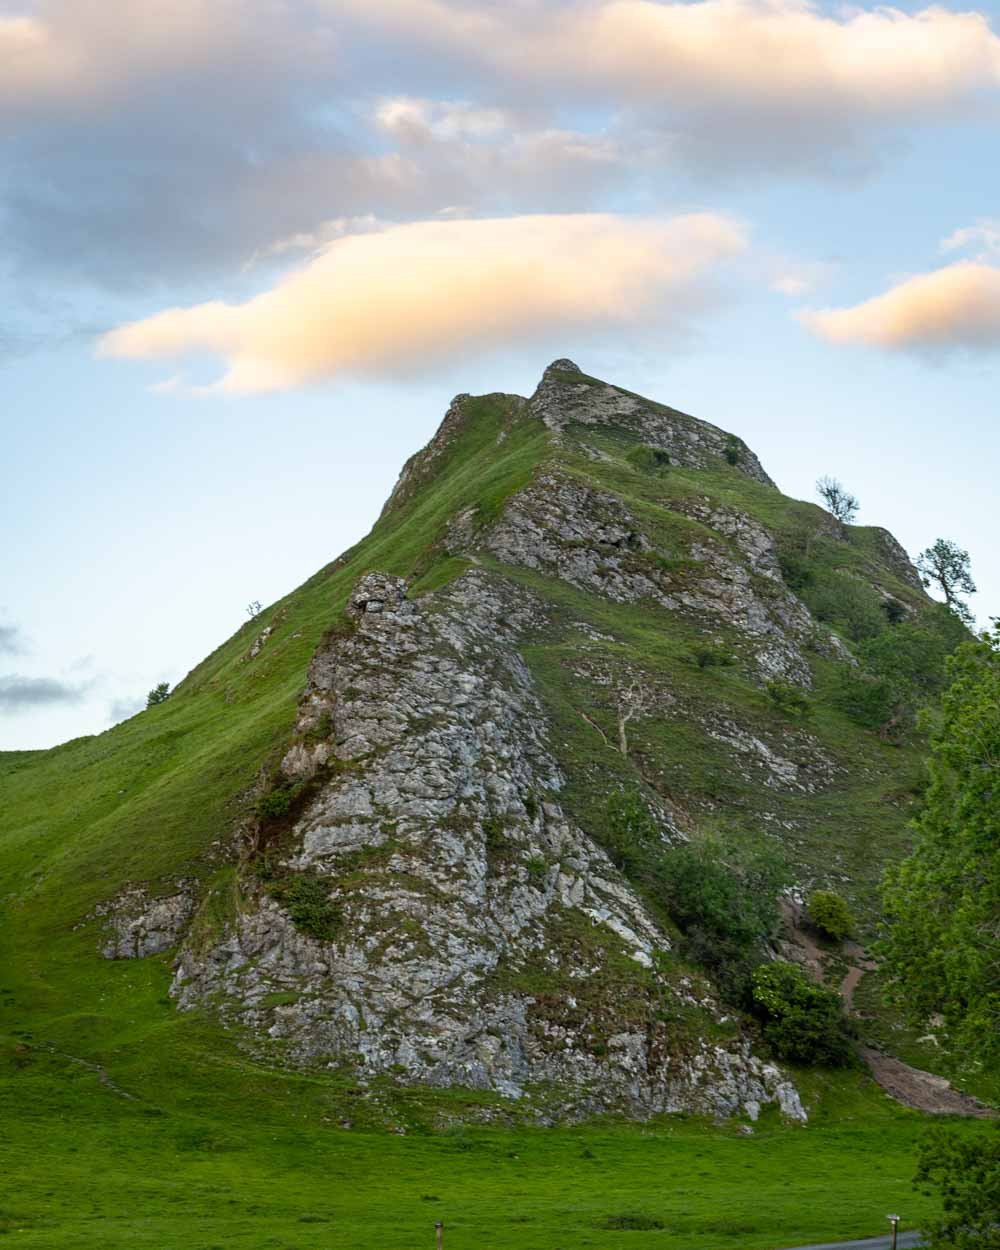
The ridge between the two hills runs for 350m, and it’s 350m of glorious views. Parkhouse Hill looks impossibly steep and imposing, and it seems mad that you can actually climb it quite easily.
The path along the ridge is very narrow, but it’s gravel and not slippery (when dry).
The drops either side are also not very high, so unless you suffer from vertigo, it’s going to be a breeze. The ridge gently undulates, but mainly feels flat.
If you want to take that iconic shot you’ve no doubt seen on social media, then the subject needs to stand on the final knoll of the ridge and the photographer needs to stand at the knoll before that.
You will then have a tiny person, giant mountain perspective.
It’s a really fun shot, however our favourite angle was one we hadn’t seen on Instagram before and that was of the subject walking along the first ridge.
Any spots along this stretch of track would be great though. It’s just so picturesque.
Climbing Parkhouse Hill: to scramble or not to scramble
If you want to climb Parkhouse Hill, you’ll come off the ridge, pass through the gate and cross over the road where it will be looming in front of you.
There are two routes you can take. The left route offers a fairly standard walking trail and the right is a steep scramble.
The scramble on the right side
We met two outdoor photographers here (who were also rock climbers) and they told us the scramble was as slippery as ice. We didn’t need telling twice, so we decided to do a half/half option.
This avoided the most slippery part of the scramble which is the first bit, but still allowed a bit of an adventure on the safer part of the route.
If you want to skirt the scramble entirely, head up the grassy path on the left and keep following it to the back of the hill, where you’ll find a steep zig zag path to the top.
It’s gravel and easier than the scramble, whilst still being a steep climb.
The full scramble is on the right and you’ll see it easily enough, it starts with a lot of loose soil.
The Parkhouse Hill scramble
Unless you’re really gung-ho, we’d recommend heading first along the grassy path on the left, and then taking the gravel path on the right, which takes you uphill onto the ridge after a couple of hundred metres. From here you join the dodgier path, but you’re past the hairiest bit.
The scramble is steep and rocky with a few bits of normal track in-between. It’s narrow and very exposed to the elements.
As with Chrome Hill you don’t want to be up here on a windy day. It wasn’t much fun as we got higher up and I wouldn’t do it again in those conditions.
In light winds it would be a fun scramble, a little challenging if you’re not used to it, but not out and out terrifying. The rocks can be very slippery even when dry and I would avoid it at all costs when wet.
As you near the top it does get a bit steeper, but the final 100m is along a gravel path that is easier than the way up.
Once you’re at the top you’re rewarded with yet more stunning views over to Chrome Hill. We were up there for sunset, which would have been great if it weren’t for the ferocious winds.
When it’s time to descend we’d recommend using the gravel path on the other side of the hill. We took the scramble down and I found it unnerving.
It’s pretty slippery on the descent, and even though the other path is still very steep, it would be more stable.
Completing the circuit: walking back to Hollinsclough
The final part of the walk back to the village is nothing to write home about, but it’s fairly leisurely. You’ll start heading along the road, keeping Parkhouse Hill on your left (this bit is signposted which was a surprise after the lack of signs to this point!).
After 100m you’ll see a gravel path on your right, head down onto it and turn right (walking away from Parkhouse), over the cattle grid.
Beginning at the cattle grid, you’ll see a sign that says it’s private land and to stick to the road. After 200m you’ll reach a fork and keep right.
Just beyond this there’s a small bridge. Once you’ve crossed it, you are on a patch of land that allows you to roam. After the bridge, look for a worn down trail that leads left from the gravel road, and walk parallel to the fence and river.
To be honest crossing this next somewhat overgrown field felt like it wasn’t really the walk and we must have gone wrong, but surprisingly we hadn’t. Keep heading across the field, you’ll come to a big metal gate, keep right and continue along the field until you see a small wooden gate on the left, this will take you out onto the road. The walk across this field is 550m long.
Head right and follow the road all the way into the village, which is 450m away.
This whole section of the walk is predominantly flat and your biggest obstacle will be avoiding the manure in the fields! It’s not a wow factor end, but it’s definitely worth it for the incredible hills you’ve already climbed.
The best time to do the Chrome Hill Walk
Although by no means unknown, this is not one of the most popular walks in the Peaks, so avoiding the crowds is not so much of an issue like it is at say Thors Cave. However, early mornings and later in the day always avoid the worst of the crowds if you want it to be as quiet as possible.
In terms of weather conditions: you don’t want to walk on a wet or windy day if possible. Wet weather will make some of the walk very slippery, and though the hills are not huge, you still don’t want to take a fall. Windy conditions will also not be very pleasant as you are so exposed for almost the entire walk. If it’s windy at ground level, expect it to be much, much worse on the hill tops.
I actually found the high winds a bit scary on Parkhouse Hill and I wouldn’t do it in such windy conditions again.
Snow and ice would also make the scrambling very dodgy, although much of the walk could still be done, using Yaktrax or similar to give you some grip.
Getting to the Chrome Hill Walk
The Chrome Hill and Parkhouse Hill Walk begins in the small village of Hollinsclough - postcode SK17 0RH. There is no set car park for the trail, but we used the lay by on Hollinsclough Rake Road (near the Methodist church) which had room for several cars to pull fully off the road. Parking is free and unlimited. If visiting on a weekend it might fill up quick, so I’d recommend avoiding the busiest part of the day.
There are a few more spaces in the village, but again it’s fairly limited.
Hollinsclough is 35 minutes from Ashbourne, 25 minutes from Bakewell and just over an hour from Sheffield.
This post may contain affiliate links, meaning at no additional cost to you, that we will earn a small commission if you click through and decide to make a purchase. This helps towards the costs of running our website. Thanks for your support.


