There are some places that you just instantly fall in love with and Wheeny Creek was one of them for us; an uninspiring name for an utterly captivating location. You access the wonders of the creek via an extremely steep walk through wild rainforest. It’s by no means easy, but the reward is out of this world.
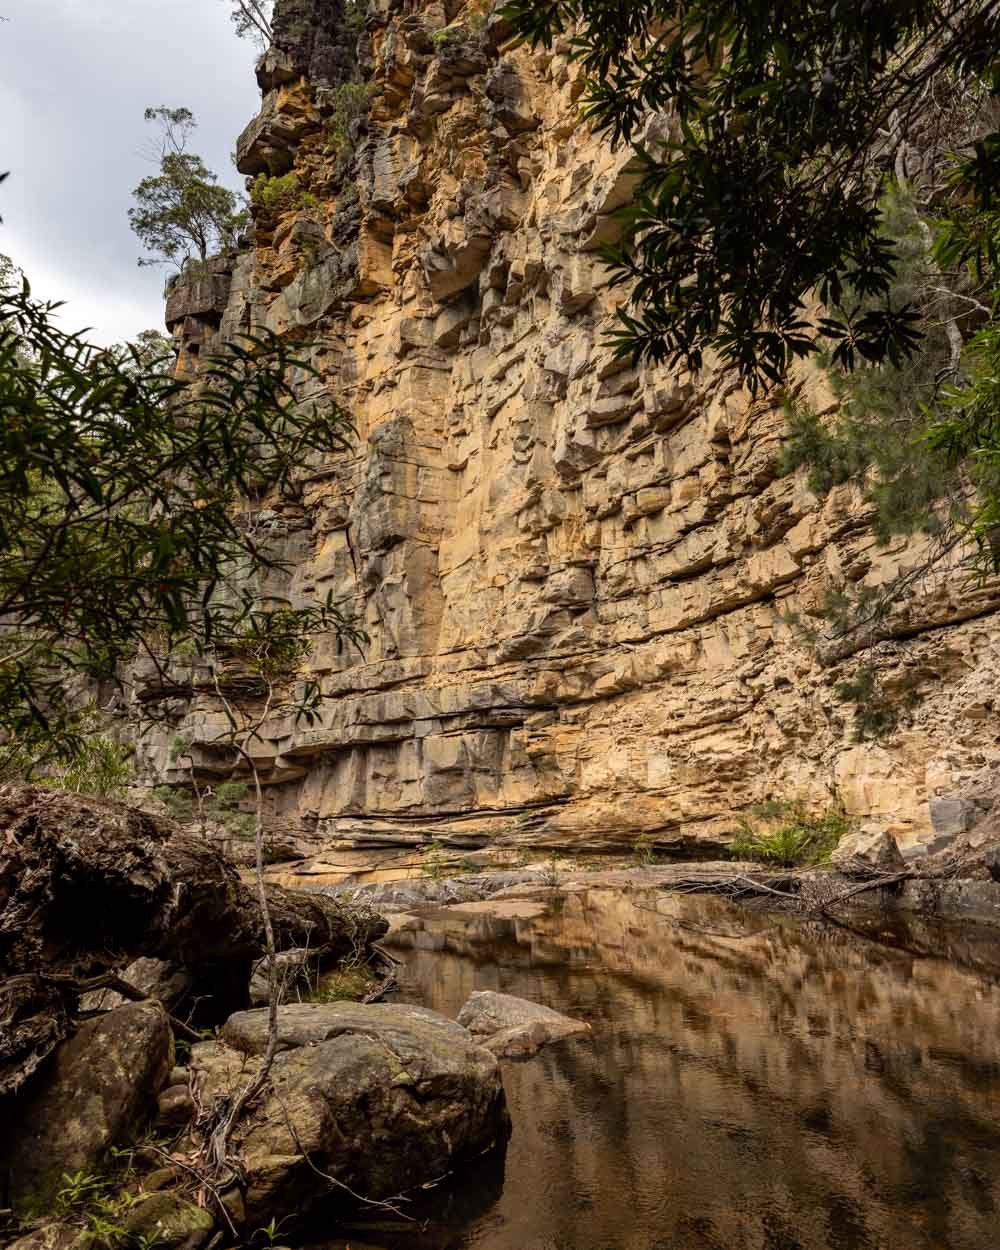
After emerging from the rainforest. you’ll come to two sensational waterfalls, both with large swimming holes. One has a towering sandstone wall directly behind it, which makes it one of the most dramatic in the Blue Mountains. The other felt like wandering into the Garden of Eden.
Here's everything you need to know before contemplating a visit to Wheeny Gap Falls.
Safety warning
The walk to Wheeny Gap Falls is extremely steep, and at points very slippery. It would be treacherous during or directly after heavy rain. On our first trip, we saw a bone dry trail turn into a creek after just a 20 minute (albeit heavy) downpour and we had to turn back. Save this one for a dry day.
Although the trail is only 6km down a dirt road, it is remote and rarely used. We recommend taking a PLB with you as there is no phone signal once you begin the track. We carry a GME and you can check this one out and many more on Amazon.
Whilst there is no signage for the trail, there are cairns and pieces of string tied to trees to help you, even so it’s still not a good idea to make it your first offtrack walk.
Don’t let the distance stats for the trail deceive you, this hike is quite slow due to the gradient! Make sure you give yourself loads of time for swimming at the bottom, it’s definitely not somewhere you want to feel rushed.
We also recommend beginning your hike back up to the top a couple of hours before sunset. The forest here gets dark well before sunset, and finding the path in the dark is needless to say more challenging.
The access road - North Wheeny Gap Trail
From the end of the fire trail, the walk to the second swimming spot and back is only 5km return. However, if you don’t have a car with some clearance, you may not make it all the way to the parking area at the very end of the fire trail. Edit for 2025: it looks like there is now a gate blocking vehicle access to the trailhead which means having to walk the full length of the fire trail.
It’s worth noting that weather conditions will affect the state of the road. When we visited it was in pretty good condition, but this could change.
There were some stones, ruts and bumps, but the majority of the fire trail is long stretches of flat easy dirt track. There are many, many areas you can pull fully off the road, so only drive as far as you are confident.
We got to within 630m of the trailhead in our SUV. Those with a 4WD will have no problems making it to the parking area and those with small cars may end up having to stop well short - depending on conditions that day and your appetite for dirt roads.
The road has a few small ups and downs, but is relatively flat for the most part, so you can definitely walk it if you don’t want to drive.
If you walk the whole thing it will add on 12km return to the trail, making it a 17km round trip.
The walk to Wheeny Gap Falls
The stats
Distance: 5km return (from the cairn, you may need to walk part of the road in addition)
Elevation gain: 250m
Difficulty: Hard
As mentioned above, the walk to Wheeny Gap Falls is not very long (providing you can drive most of the road - edit for 2025, it looks like a new gate may mean you need to walk the full length of the road) but it is very steep - it is definitely one of the steepest trails we’ve done in the area. Using hiking poles on the way down made a big difference.
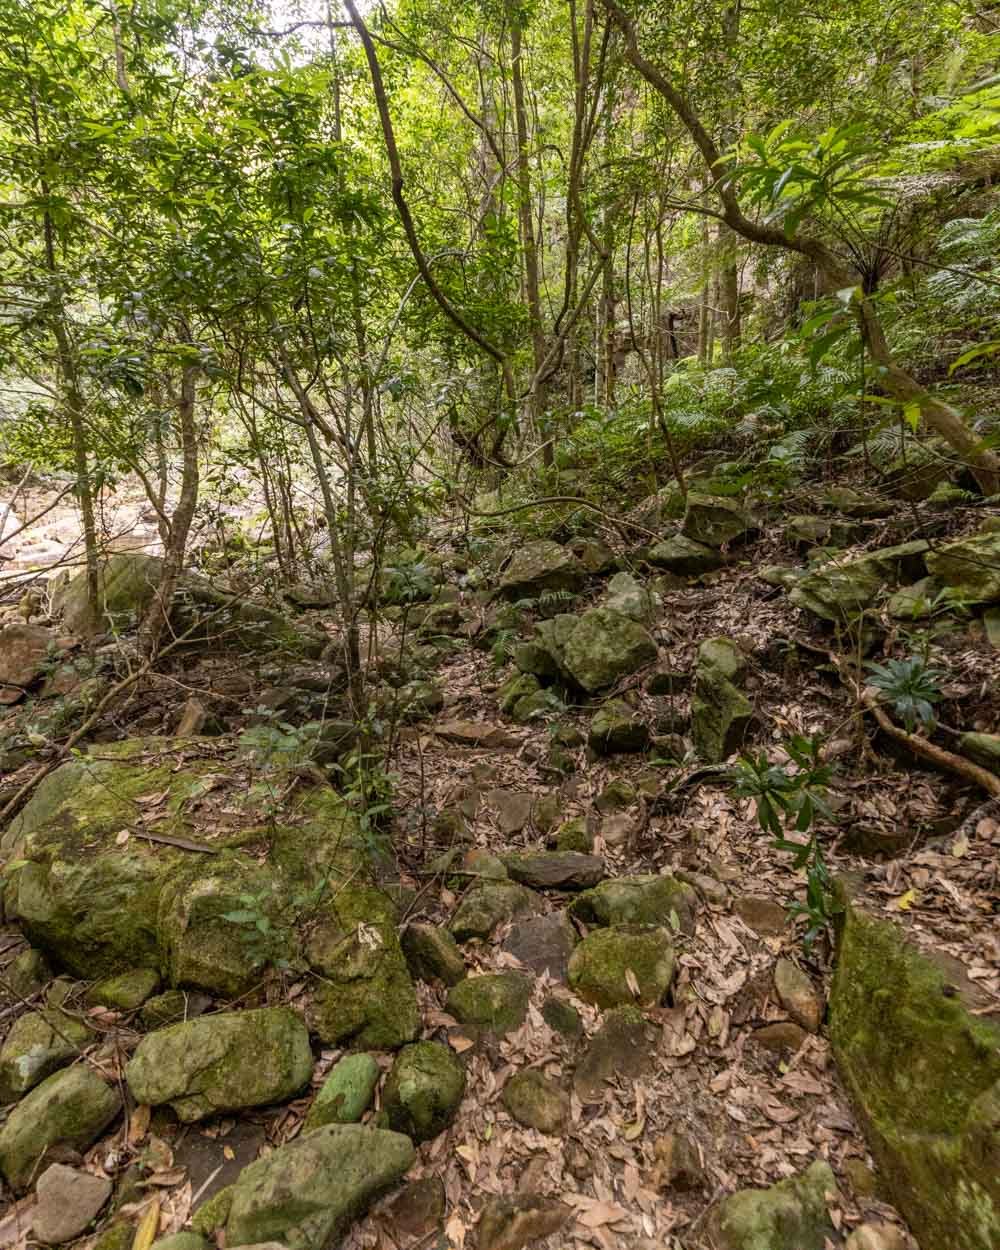
The trail isn’t a maintained parks track, and it’s rough in several patches. The dirt track has some leaf litter which makes it slippery at points, particularly along the first 850m.
It gets easier after that and is more like a normal off track walk. There is one creek crossing to reach the first waterfall and another to reach the second. When the creek is not too high, it is easy, with many rocks to use as stepping stones. Don’t attempt if the creek is in flood.
Otherwise the only other thing to watch out for is slippery rocks around the first waterfall and on the trail between the first and second falls.
Starting the trail: into the forest
There are two start points for the trail, both marked by easy to miss cairns. The first is 140m from the turning circle (the last point at which you can park) and the second is 50m beyond it.
We have used both paths and they merge after 30m, so it’s not biggie, but the second is easier. It’s flat and easy to follow, the co-ordinates are -33.4837865, 150.6233170.
The first cairn
The second cairn
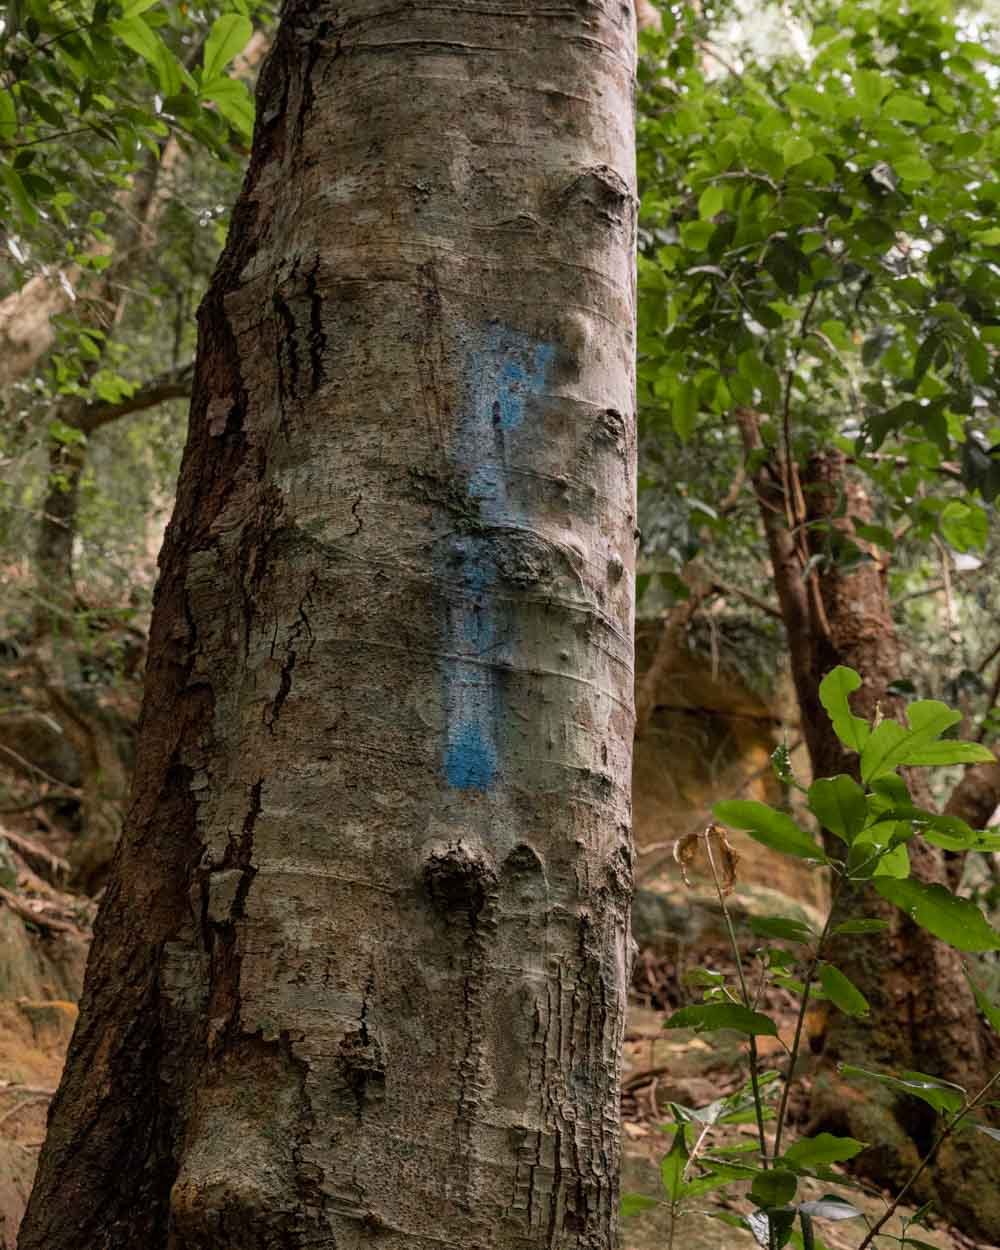
After 30m you will reach a large cliff which has a small splash of blue paint on it. This marks the beginning of the descent.
The first 850m of the track are extremely steep and large sections are covered in leaf litter. I would definitely recommend bringing walking poles, or grabbing a sturdy stick for support.
There are trees to grab at many points along the way, but I wouldn’t have liked to rely on those alone!
From the beginning of the descent, the path is easy to follow for roughly 155m and you’ll see the odd cairn or ribbon.
You then reach a junction and the easier path is to the right. At points it’s a dirt path and sometimes it is quite rocky, the rocky bits are easier as they are generally less slippery.
The path is pretty easy to follow despite being slightly overgrown at times. If in this first part of the walk you are bush bashing, you have ventured off track.
Check your surroundings, look for any blue paint marks on trees or rocks and try and navigate back to the main path. It’s quite unlikely on the way down though, as it’s fairly easy to follow.
Into the rainforest
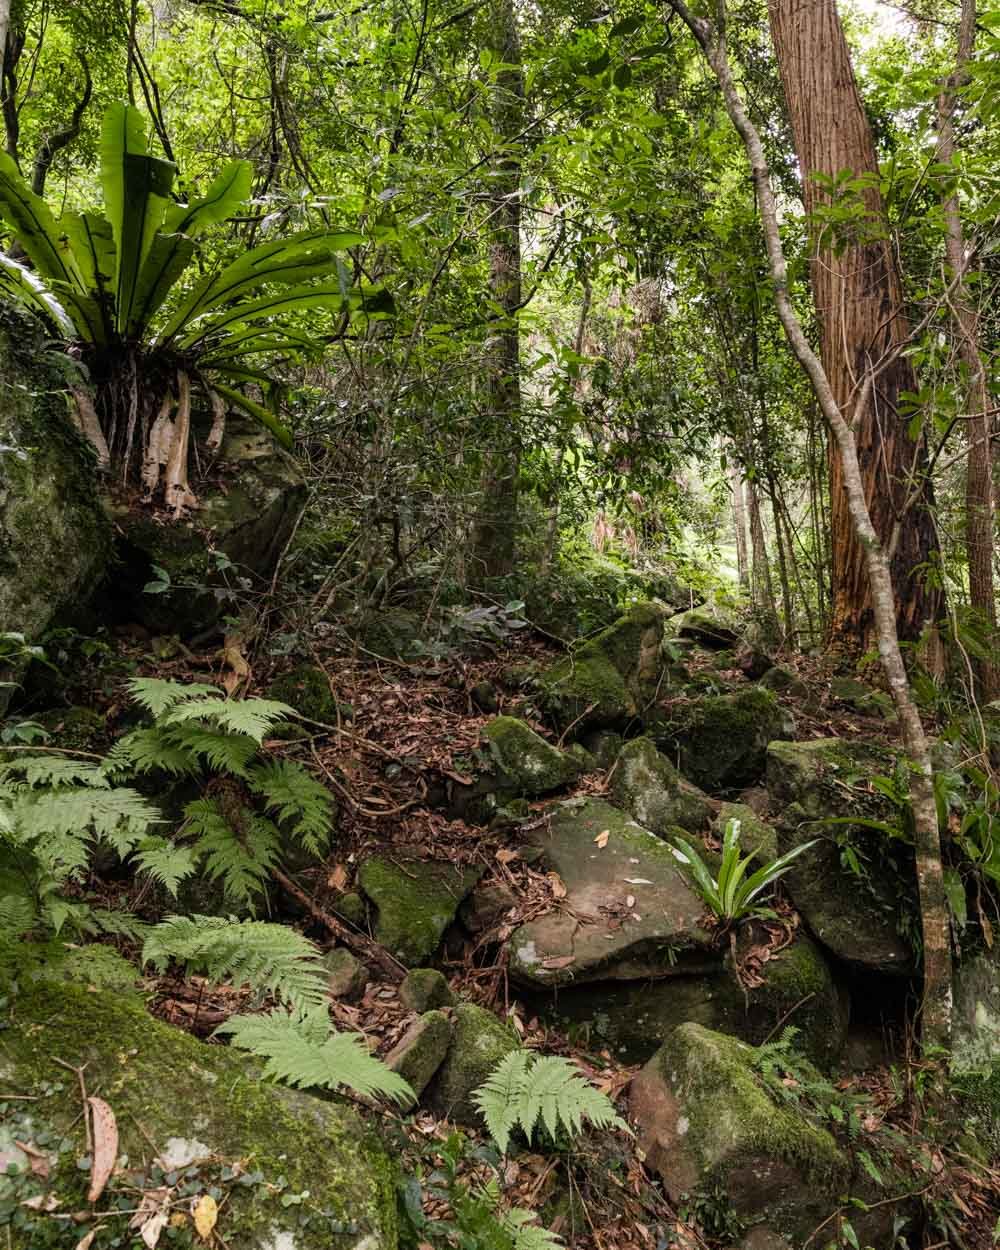
Around 900m from the trailhead you will begin descending into much thicker bush and then dense rainforest. When we stopped looking at our feet and started looking around, it was pretty fantastic.
The forest is untamed and felt unlike anywhere else we’ve been in the Blue Mountains.
It has true jungle vibes with cabbage palms, thick knotted vines and plenty of epiphytes.
At points the forest is definitely starting to encroach on the track, but more at upper body level than at the feet, so it should be clear enough to follow. It also starts to get much more hot and humid as you descend, which only adds to the wild feel.
From the point you enter the rainforest, the trail gets mercifully less steep and we could pick up speed. It is a wonderful stretch of track and a relief after the steep incline of the earlier part of the walk.
Just over 1.3km into the trail you will reach a dry creek crossing.
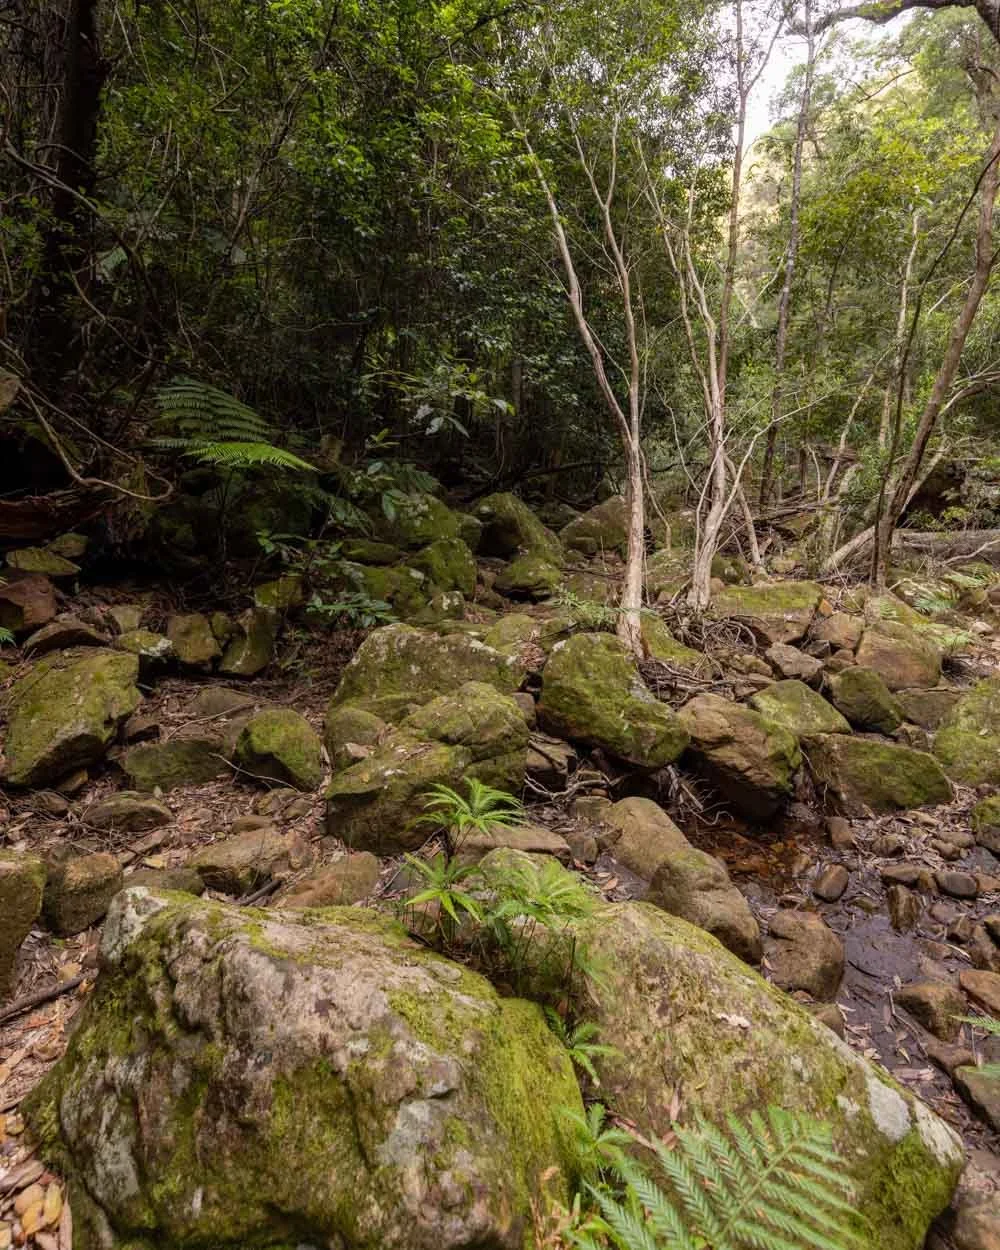
It’s not very obvious whether you should cross or head down the dry creek bed, but the route is to head down the dry creek bed.
It’s a little rocky and there are some fallen logs, but it’s not difficult. This is an important part to remember for the way back up, so try to take in your surroundings. There is a cairn and a blue paint mark, but it’s a spot that can easily be missed on your return.
Minutes later you will have finished the descent and the track flattens as you make your way along the creek.
Along the creek
The track continues heading right, alongside the creek, for the next few hundred metres - unlike the little dry creek bed you climb down, it’s now wide and full.
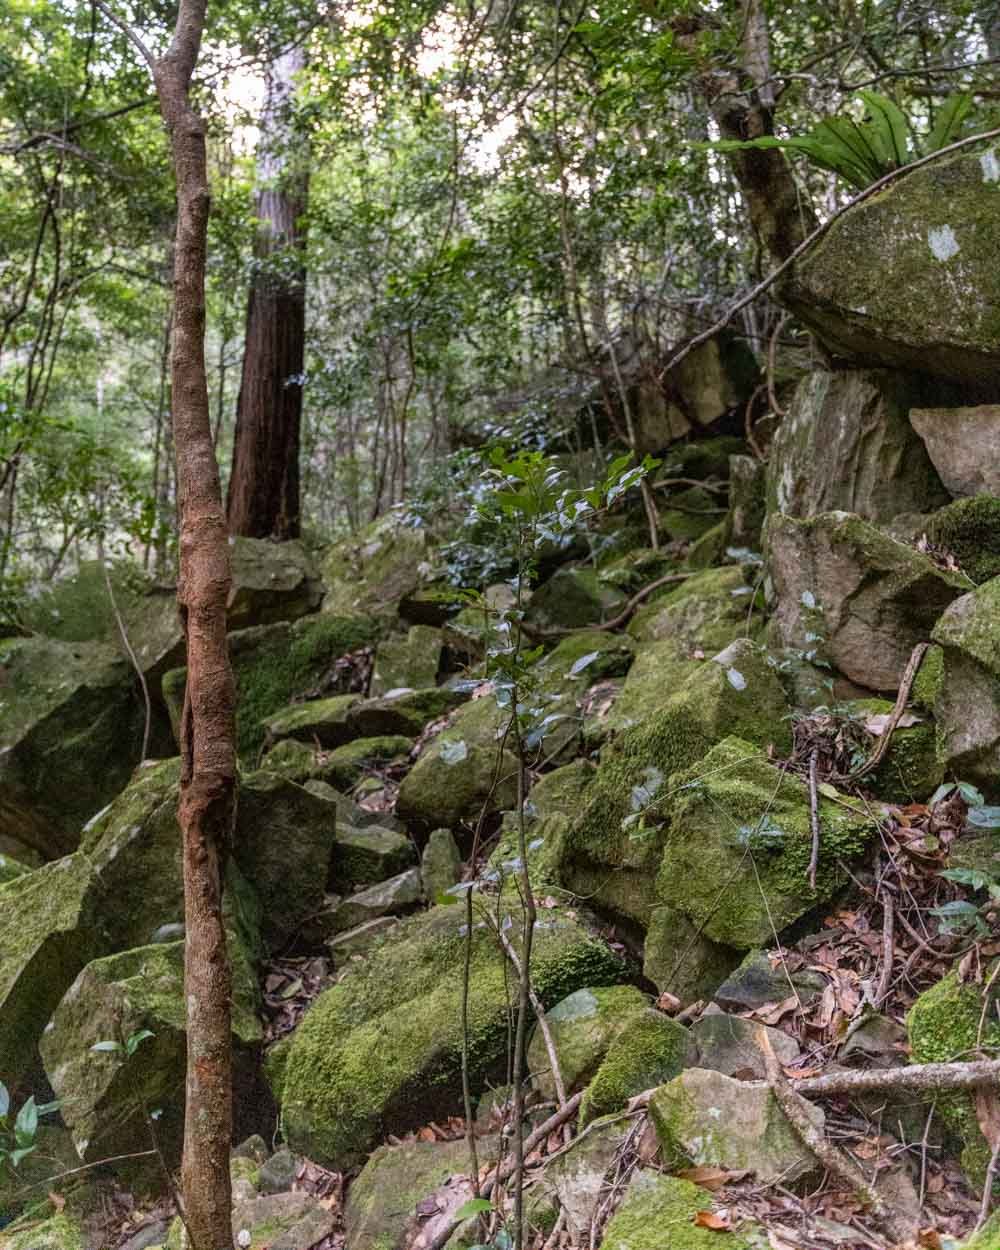
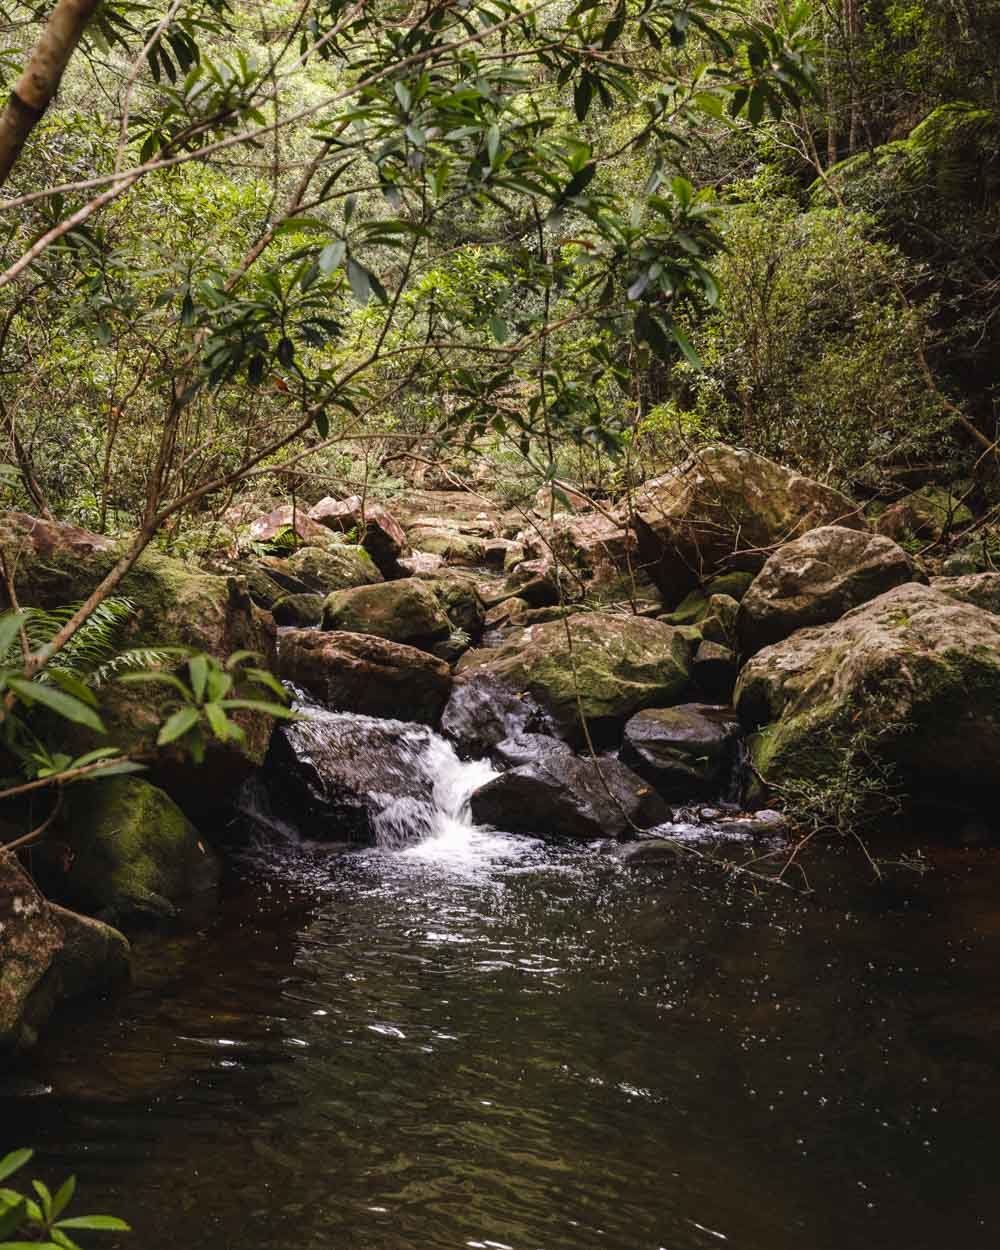
There are giant mossy boulders and you can feel you’re getting close.
The path narrows significantly as you head along the creek (for about 50m) but there are no big drop offs.
You’ll reach the end of the creek and see the huge cliff wall just ahead of you. Just before you reach the end of the creek you need to cross.
There are plenty of large rocks to use as stepping stones, so it’s quite easy, although wet patches can be slippery.
Once on the other side of the creek you’ll come to a large rock platform beside the water that has a giant sandstone cliff behind it.
This is a mark of what’s to come and where things start to get dramatic.
You are now 150m from the waterfall. Head back into the forest and follow the trail through the bush.
It’s flat and then starts to get rocky as you descend the final stretch to the pool.
Arriving at Lagoon Creek Falls
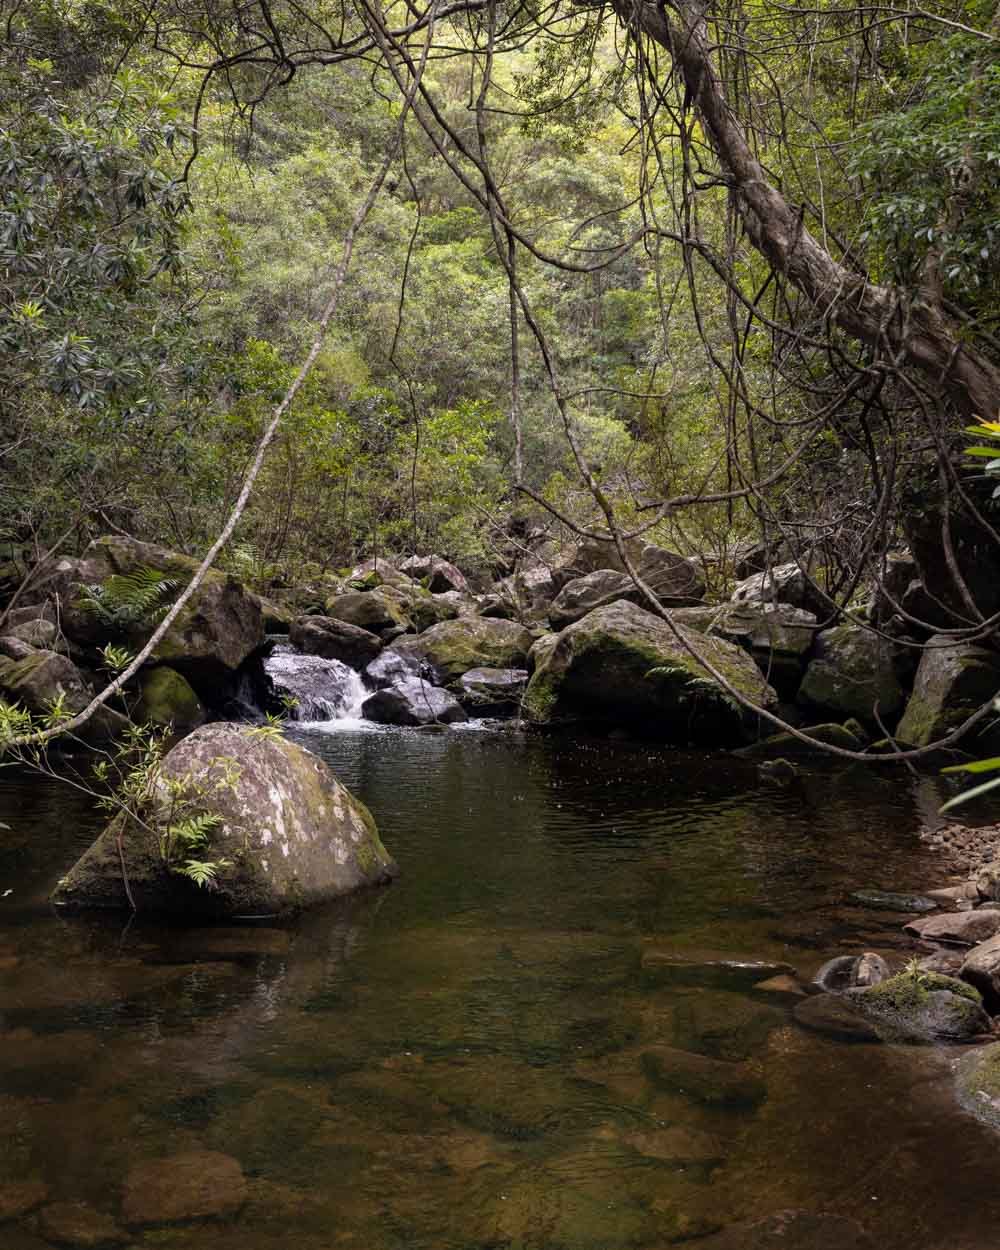
After climbing down a few large rocks you will arrive beside the pool at the base of the falls. It’s a magnificent spot, with the huge sandstone wall behind the gorgeous cascades. The atmosphere is incredible.
Depending on recent rains, the pool will either be really dark as in our photos, or a lighter shade of green.
Although the water is at its loveliest when the levels are lower, the falls are at their most special after rain. There are actually two separate falls flowing into the pool, one that has a lot more flow and a second that is more subtle, but still very pretty.
To get a good view of the falls front on, you can climb up onto the huge boulder behind the pool, otherwise you will only get a view from the side.
For swimming, you can just walk down the few small rocks that you come to at the end of the trail and get straight into the pool, it’s very easy. There are a couple of rocks just as you enter the water, but then it gets deep quickly.
It’s perfect for swimming because once inside the pool I never came across any rocks at all, so it was really relaxing. The deep water was cool and refreshing and looking up at the cliff tops made you feel so small.
There is a rocky ledge at the far side of the pool which is a nice spot for relaxing on, half in and half out the water.
The trail to the second falls - Wheeny Gap Falls
The trail to the second waterfall is just 350m long. There are no cairns or ribbon marking this section, but it’s pretty straightforward.
You need to head away from the pool and stay on the right side of the creek, which requires climbing over some large rocks - the only place I slipped on the entire walk, so just watch out for the slippery ones!
You walk underneath the log and then towards the creek.
The easiest creek crossing was almost immediately after you reach the water and there were plenty of boulders to use to cross.
We used this one on the way back, on the way there we crossed slightly later, near the small cascade - which is another beautiful spot in its own right.
This section also had lots of large rocks to cross, but slightly further apart than the earlier point. Basically just cross wherever you think looks easiest and watch out for any wet/green mossy slippery patches.
Once you’re on the other side of the creek the path continues through the forest. It has some rocks and logs to climb over and is quite enclosed, but it’s not difficult.
There are some overgrown patches and debris, but as long as you keep heading straight on you can’t really go wrong.
You will soon emerge from the forest and out onto a large rocky platform beside the creek. Ahead of you will be one of the most beautiful swimming holes in the Blue Mountains, and in my opinion all of NSW!
The paradise swimming hole
It’s hard to describe how sensational this spot is. I thought that Lagoon Creek Falls was out of this world, but this spot was even more enchanting.
I know we got lucky with how full the falls were, but even without this it would be a spot to remember.
After such a steep descent, finding this magical spot was almost euphoric. Although backed by mountains, it doesn’t have the same sheer cliff face as the first falls, yet it was still dramatic.
The water was a deep green and the whole scene was just magical.
As I swam out close to the falls it was so loud that I looked overhead to see if it was a plane, but it was the sheer force of the waterfall, which is something that the photos can’t really capture as the pool is just so big.
Swimming here was a dream: the pool is huge and almost entirely clear of rocks. In fact I only found them around the edges of the pool. The water deepens almost as soon as you step in and access is very easy.
I’ll never be able to describe how good it felt to be there, surrounded by mountains, the waterfall and dense forest.
If someone tried to create the perfect pool from scratch they could never make it as beautiful as this one.
Incidentally, if you aren’t swimming, this is also the better pool for lazing beside as there is more room than at the first one.
Just make sure you’ve left yourself loads of time to climb back up the trail. I swam for hours, lost track of time and ended up climbing up in the dark - a rookie mistake and not one I’ll make again in a hurry.
Climbing back up
The climb back up is tiring due to the gradient, but it’s in many ways easier than the descent as you don’t feel like you’ll slip. I think it’s slightly more challenging to see the track than it was on the way down though, but this could be because we had lost the light.
Although overgrown in many areas the correct trail should never be a bush bash, so keep trying to right yourself if you have ventured off track. The cairns are easy to see in the first and last third of the walk (even in the dark), but the middle portion was more challenging.
Otherwise it’s a stiff climb and at points in the last third you might have to use your hands as well - or I did anyway!
There are logs and rocks at various points along the way you can take a break on if needed.
Facilities at Wheeny Gap Falls
There are no facilities anywhere along the trail, at the falls, or along the dirt road. Please carry out all rubbish with you and keep this incredible place pristine. The nearest public toilets are in Bilpin, which you will drive through if coming from Sydney or Katoomba.
Bring lots of water with you for this hike because the rainforest is hot and humid - way more so than you’ll find at the trailhead.
Getting to Wheeny Gap Falls
The trailhead is located off Mountain Lagoon Road in Bilpin. As mentioned above, the final 6km to the trailhead are along dirt road (North Wheeny Gap Trail) which will vary in condition depending on weather and when it was last graded.
If you are able to make it all the way to the parking area, you’ll find plenty of room to park and there are also dozens of lay-bys all the way along, which allow you to pull fully off the road.
The co-ordinates for where we parked are: -33.4867909, 150.6131149 (we stopped before the end of the road as we didn’t think our SUV could get any further). The nearest you can park to the trailhead is approximately 650m further along the road.
If driving from Sydney it will take around 1.5 hours to reach the North Wheeny Gap Trail and roughly 1 hour if coming from Katoomba. It’s less than 10 minutes from Bilpin. Driving the final 6km (or as far as you can get) will depend on your car. We always drive really slowly on dirt roads!
Note that you can get phone signal with Telstra and Optus along the road, but not on the trail. Save any details or co-ordinates you think you might need before you start the track.
This post may contain affiliate links, meaning at no additional cost to you, that we will earn a small commission if you click through and decide to make a purchase. This helps towards the costs of running our website. Thanks for your support.


