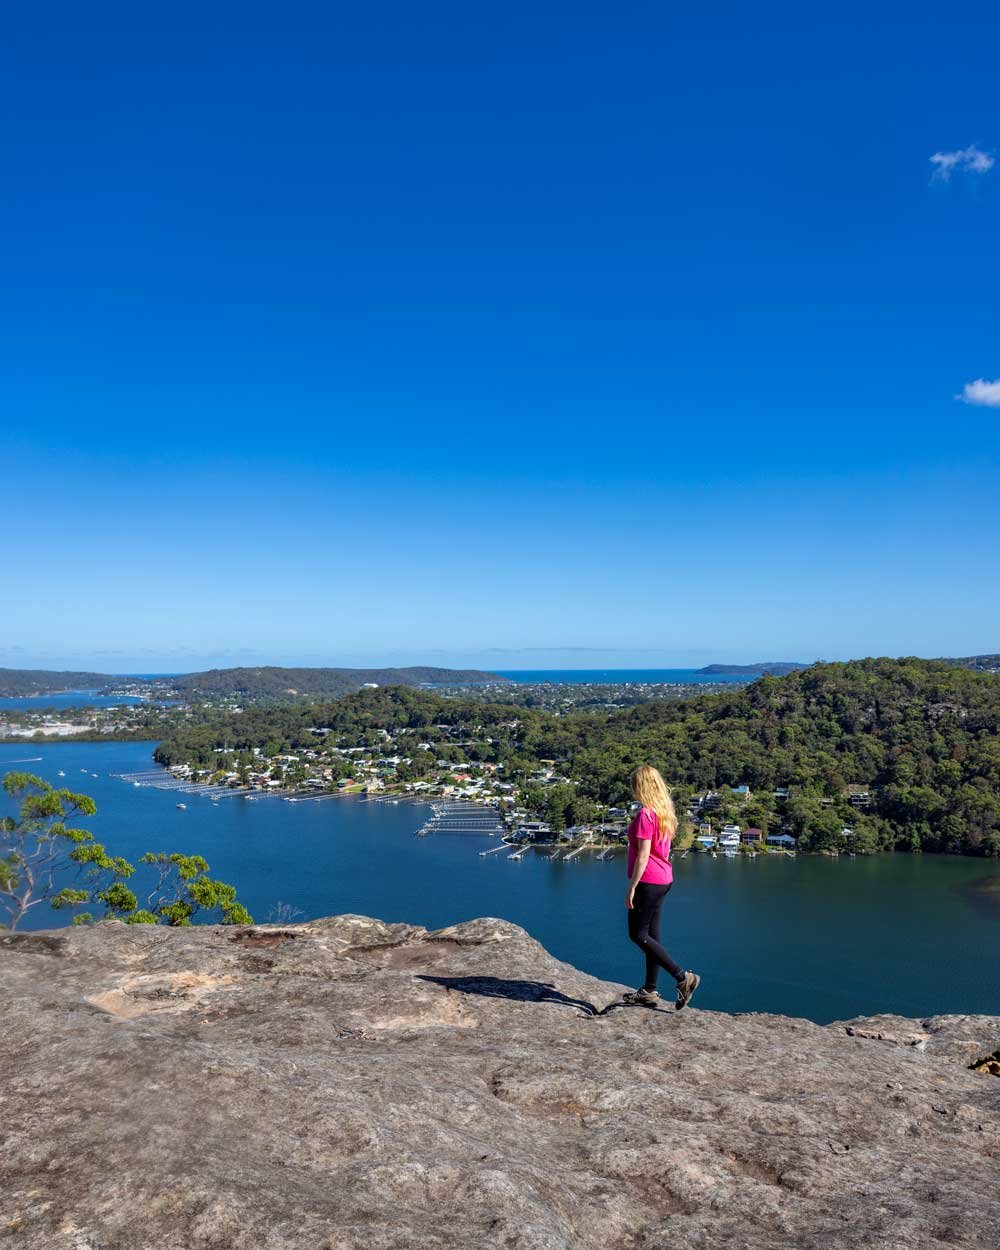
The view from Spion Kop is incredible; in fact, if there’s a better view in the Central Coast, we haven’t found it yet. If you know the area even a little, you’d be able to pinpoint so many landmarks, from Lion Island to Barrenjoey Lighthouse, Rip Bridge and Box Head. The bays, headlands and deep blue water all look exceptionally picturesque from above and you’re unlikely to share the viewpoint with anyone else.
If you’re feeling adventurous, you can walk out onto the unusually shaped rock formation I’ve seen referred to as the ‘Dragon’s Head’. A fitting name for this intriguing natural feature. If you’re thinking of walking onto the rock, make sure you pick a day with low wind and expect the wind at the viewpoint to be higher than at the beginning of the track.
Here’s everything you need to know about visiting Spion Kop.

The walk to Spion Kop
The stats
Distance: 10.5km return
Elevation gain: 315m
Difficulty: Moderate
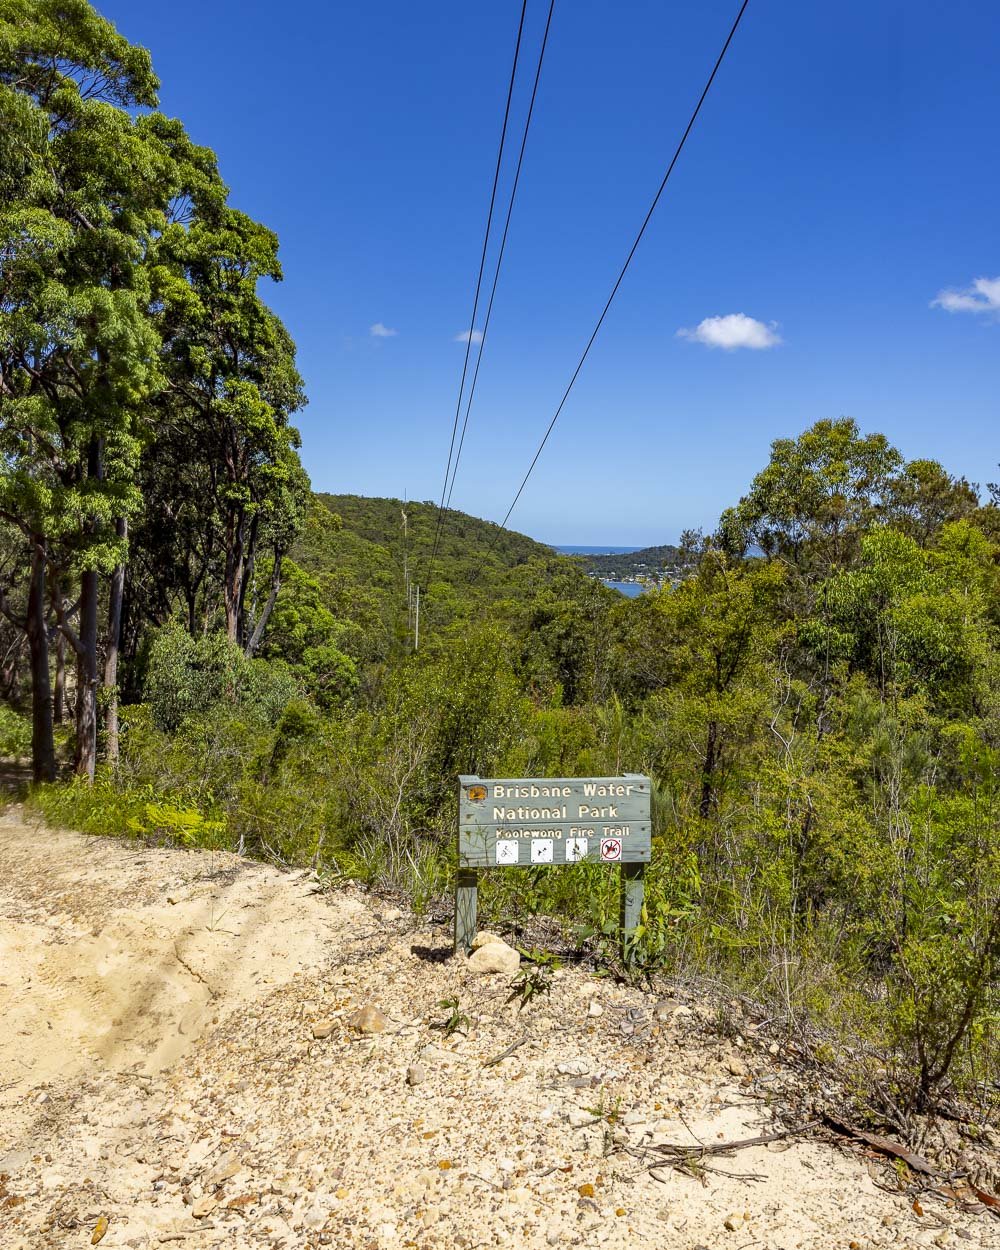
Trailhead: Bambara Road, Kariong
Summary: There are various routes you can take to reach Spion Kop and in this guide we’re sharing what we believe is the easiest option, via the Bambara Road Fire Trail.
This wasn’t our intended route, but the other option we were considering required crossing an inlet at low tide, which wasn’t possible that day, so maybe we’ll add that route another time!
To reach Spion Kop via Bambara Road, there are some ups and downs, but no long sustained climbs. The track is not signposted, but it’s easy to follow for the most part. We will help with directions in the track notes below, but it’s still worth having an offline map with you.
The trail is a bit rough in places, but there isn’t any scrambling involved. The terrain is uneven for much of the way, but it’s never particularly slippery or overgrown.
Starting the trail
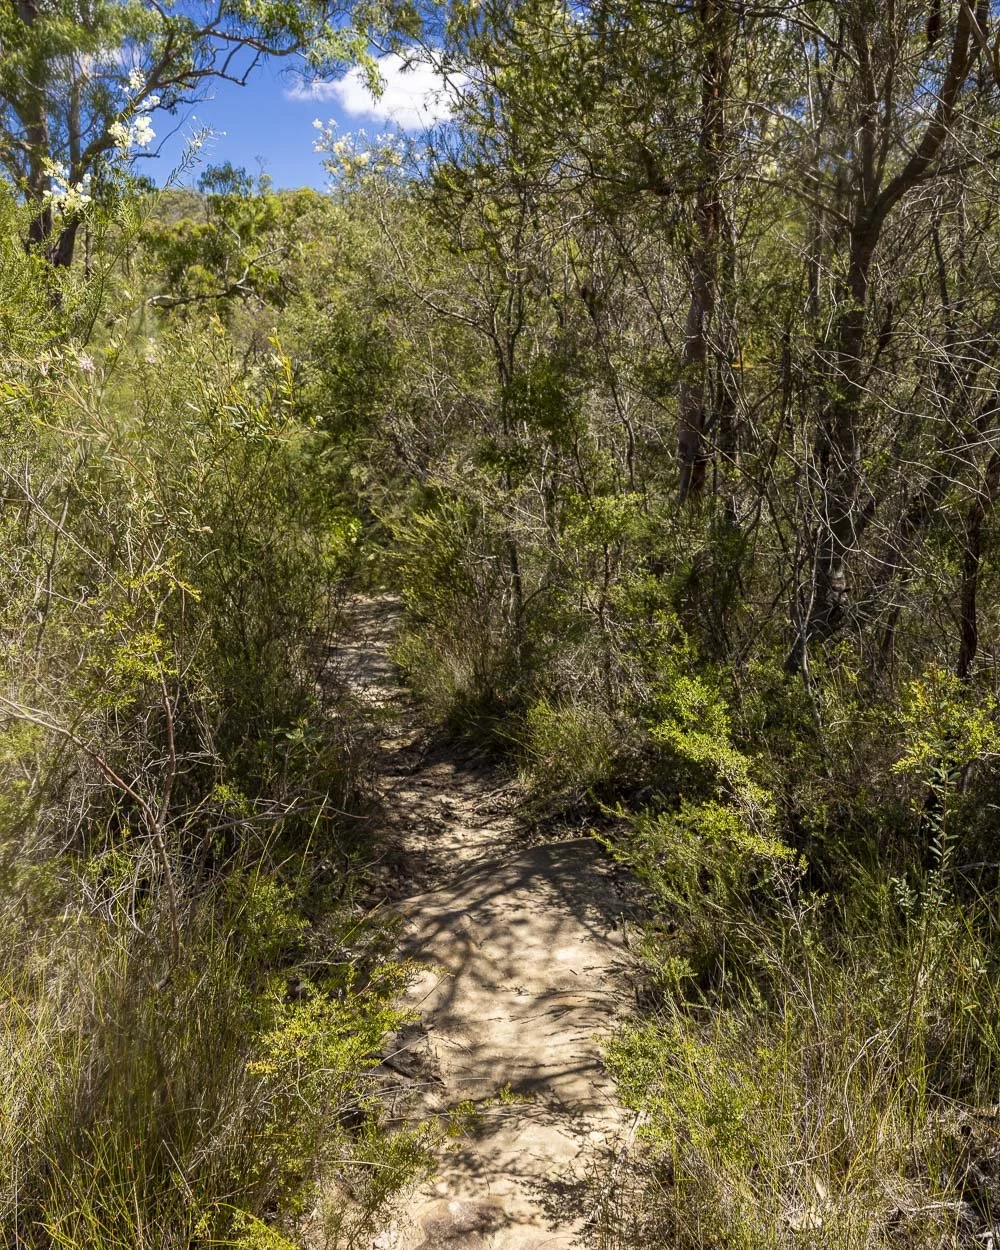
You’ll begin the track on the Bambara Road Fire Trail, a wide fire trail with pretty bush on either side, which makes for pleasant walking.
The fire trail is either flat or heads very gently downhill and footing is good. After 950m you have the chance to take an optional detour to the Gosford Glyphs.

If you haven’t visited before it’s well worth a look at these unusual mock Egyptian hieroglyhs which have been carved into the side of two rocks walls.
It’s less than a 1km return detour and we have all the instructions on finding the glyphs in this guide.


Back on the main track to Spion Kop and you’ll continue on the same fire trail for another 600m after the Gosford Glyphs turnoff. After this you’re still on the fire trail, but it becomes sandy and begins heading more noticeably downhill.
At the 1.7km mark (not including the detour) you can see a little worn path leading left which takes you to an unofficial lookout over the bay, the view is obscured by trees, but it’s only a 30 second detour (30m).

The next couple of hundred metres on the fire trail are all downhill and then you will come to a gate which marks the start of the Koolewong Fire Trail.
Along the creek and finding the right track
You will walk along the Koolewong Fire Trail for 300m, it’s flat at first and then heads gently uphill.
You will now keep an eye out for a trail marked by a blue ribbon tied to some trees on the right side of the fire trail, it’s directly opposite the small post you can see in the photo below.

Head along this slightly more overgrown fire trail for 100m and then bear left, still on a fire trail. After 50m you will see a narrow bush track ahead and this is the path you want to take, do not bear left to stay on the fire trail.
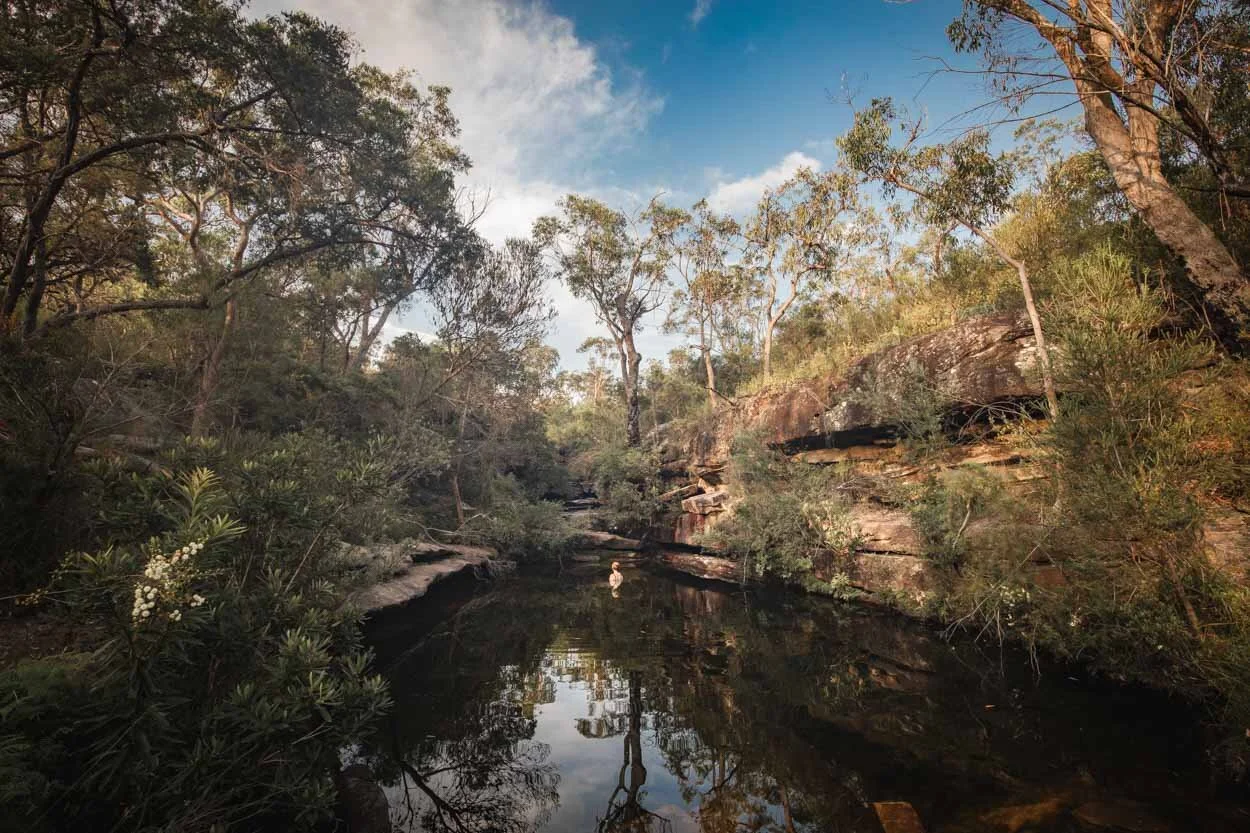
The next 250m follow this narrow bush track, which is eroded in parts, but despite being rough underfoot, it’s easy enough. You will then arrive at the creek.

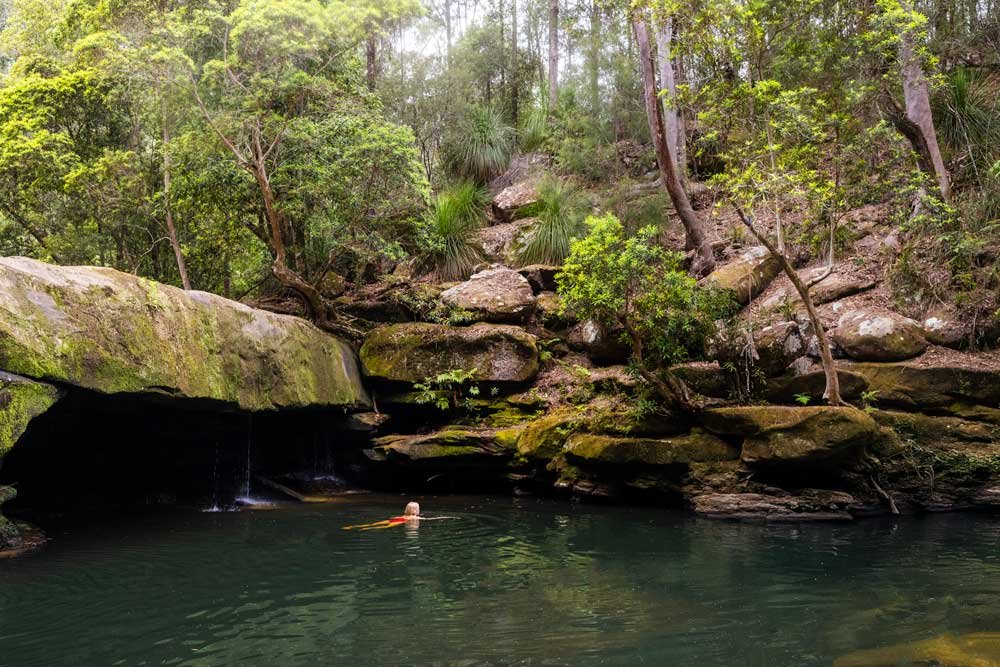
There are some very small pools along the rock platform, not swimming spots, so much as somewhere to paddle your feet, or take a quick dunk if it’s a really hot day.
There wasn’t a whole lot of water in them on our visit, but even if there was, I still don’t think they’d be swimming spots.

You’ll follow the creek left, heading downstream along the rock platform. For us there was a huge amount of dry rock platform to walk up and all of it was nice and grippy.
After approximately 100m (just over 2.7km into the walk) you want to look for the path leading uphill into the bush on the right, it’s beside some large rocks.

The path is obvious, so if you think it doesn’t look quite right, it probably isn’t and you need to have another look nearby!
Through the rock slot
The path takes you into the bush and bears uphill and to the left. It will then head right, taking you away from the creek and up into more dense bush.
Roughly 250m from the turn off you will see a big boulder overhang.


The track continues to the left of the boulder and gets a bit steeper. I was surprised that this section had good footing and wasn’t slippery when going up or downhill on the way back.
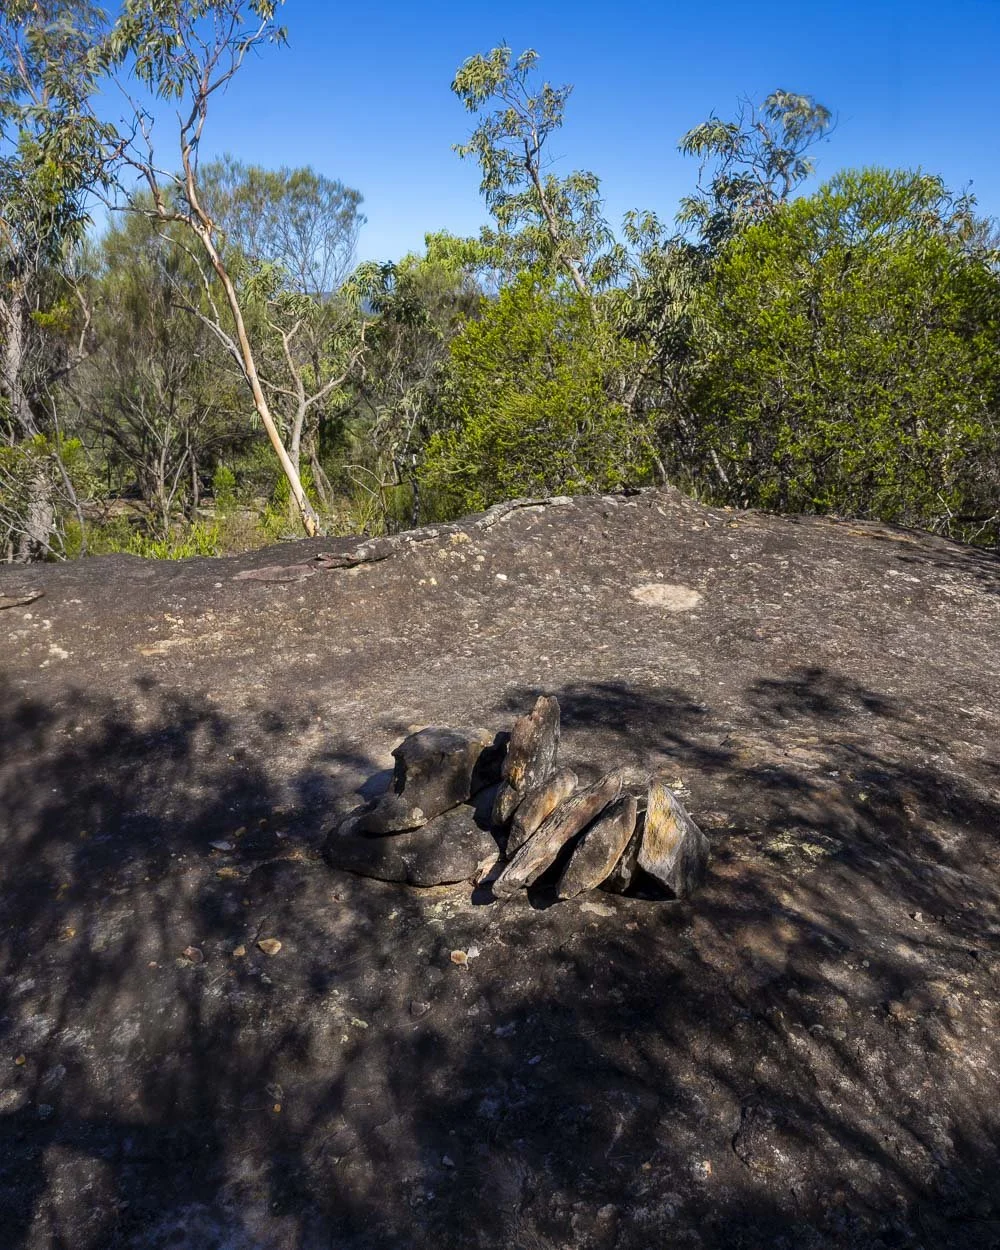
You’ll come to a small gully and there’s a little cairn here to confirm you’re on the right track.

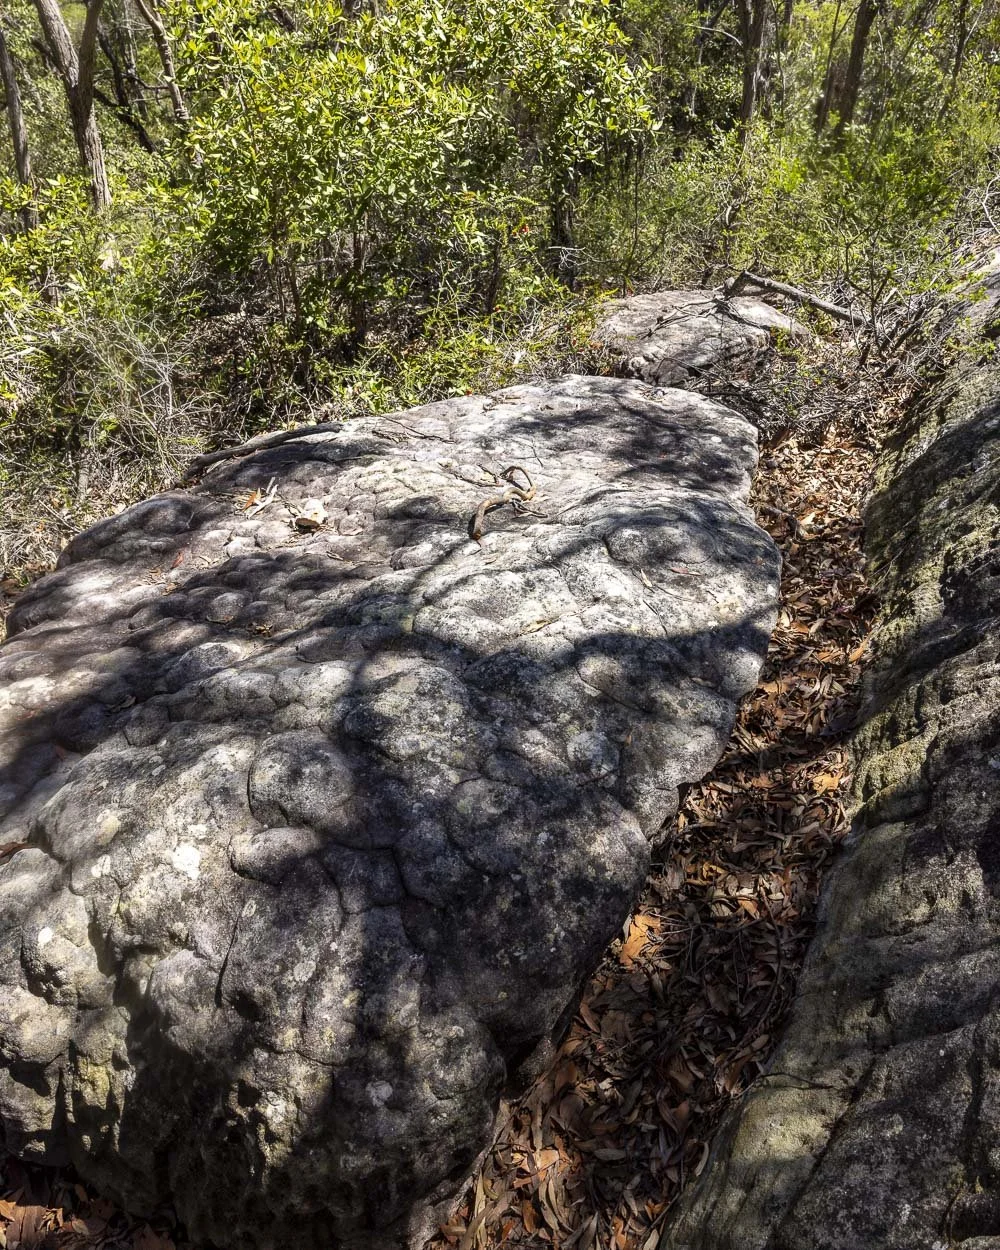
Roughly 100m from the big boulder, on the right, you’ll come to a small rock slot.


The track continues through the slot and up and inbetween two trees. It’s a cool set of rock formations and a fun little section of track.

You will then follow the very obvious worn track through the bush.
Continuing through the bush
The next section of the track takes you through the bush and it’s flat at first, and then has some minor undulations. The path is easy to follow for the most part.

There are some rocky sections, but it’s generally intuitive. Roughly 300m from the rock slot you’ll come to a tiny little rock traverse (a few steps along a boulder) as the track bears slightly left and then right.
Roughly 300m later there is a left curve which can be a little more tricky to spot.
Sometimes you’ll need to climb up or down a few rocks, but it doesn’t require any scrambling.
At just over 4.2km into the track, or 1.1km from the rock slot, you need to keep to the left of the large rock, (down in the bush), the cairn here could be misinterpreted to suggest you go across the top of the rock.


After another 150m you’ll cross a large rock platform and you’re now getting very close! Roughly 300m later you will see what I believe to be a view of Mount Wondabyne and the surrounding dense bushland is gorgeous.


Arriving at Spion Kop
Once you reach the Mount Wondabyne view you are 650m from Spion Kop. Roughly 250m later there’s a large cairn on a rock and the path continues left, around the bottom of the rock.
It will bring you out to another view, this time you can see some water, but it’s nothing on what’s to come next!

You’re now 390m from Spion Kop and it’s a good level path and very easy.
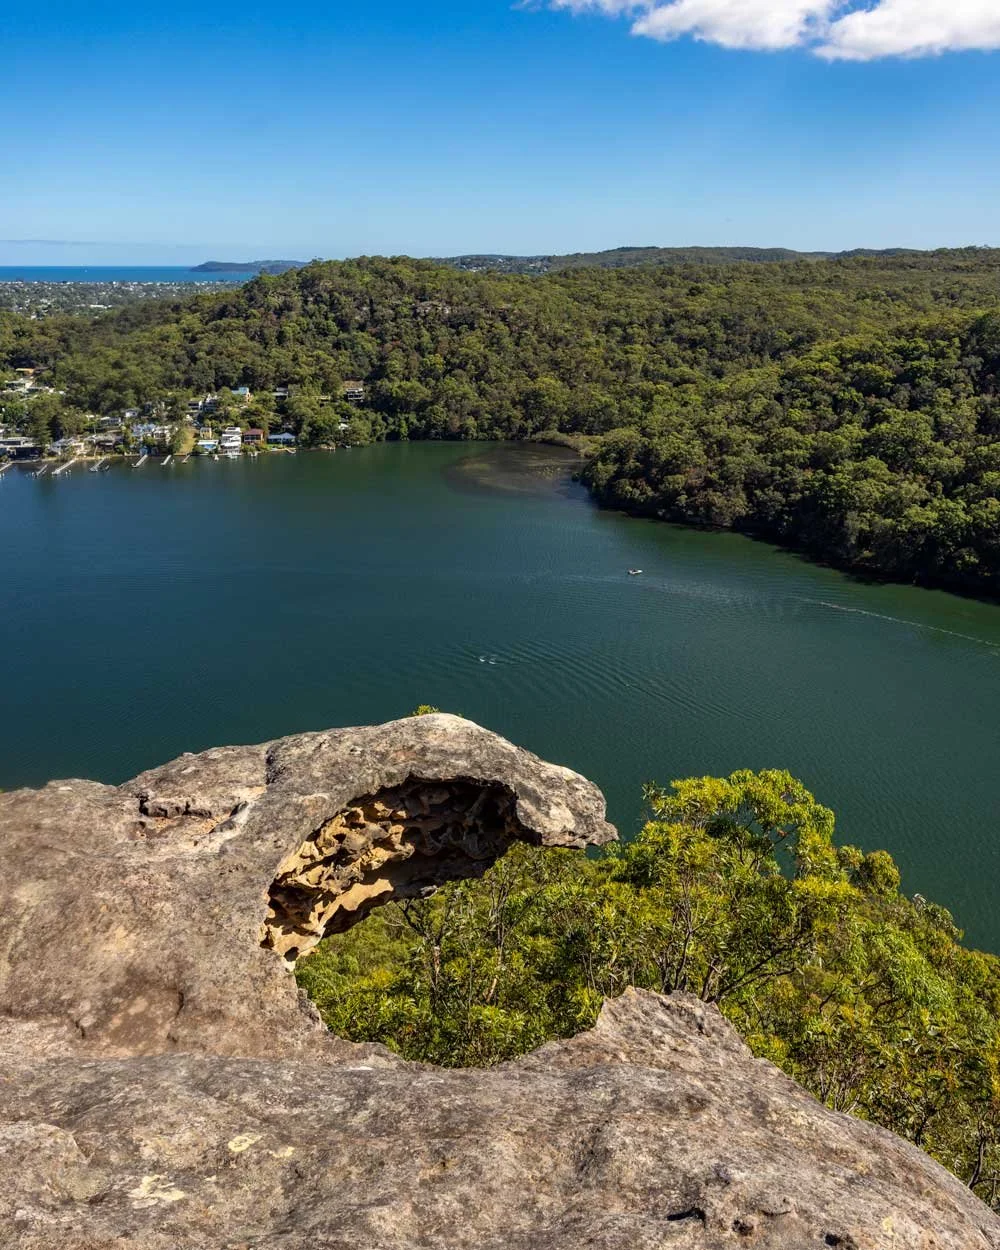
You’ll arrive at the instantly recognisable Dragon’s Head just over 5.3km from the start of the trail.

Spion Kop and the Dragon’s Head
The view from Spion Kop has the wow factor. It was much more impressive than I was expecting, with glorious views of the water, bays and various islands and headlands.

The fun rock formation adds to its charm and I was staggered no one else was up here on a sunny Sunday in January! In fact we didn’t see another soul on the entire track!
I feel like if the rock ledge was in the Blue Mountains it would be really popular, but it seems to go relatively unnoticed here on the Central Coast.


In terms of walking out onto the rock - it’s obviously something to be taken extremely carefully and won’t be for everyone. Needless to say, you want a dry day that’s relatively windless. It’s wider than it looks in some photos, but I still didn’t go right to the edge.
I was happy walking down onto the ledge and then around halfway across, where it was still wide. I’m not one for anything narrow and exposed, so the tip was a no no, but the midpoint was easy.

The view really takes your breath away and I enjoyed sitting and admiring it before reluctantly beginning the walk back down.
When you’re ready to leave you can also visit a second viewpoint, 60m away. Head slightly back on yourself into the bush and then take the path bearing left, you’re aiming for these coordinates: -33.474597, 151.306816.

The view is terrific, though not quite as good as the main view. It does have it’s own mini dragon’s head which was fun to see and it’s definitely worth the very minor detour.
You’ll then retrace your steps all the way back to your car. The walk was no more challenging in reverse and even the short steep sections had good footing.
Where to park for the track to Spion Kop
The parking area for the Spion Kop is at a large lay-by beside the Bambara Road Fire Trail, you can see it here on Google maps. It’s roughly a 15 minute drive from Woy Woy, 1.5 hours from Newcastle and 1 hour from Sydney.
This post may contain affiliate links, meaning at no additional cost to you, that we will earn a small commission if you click through and decide to make a purchase. This helps towards the costs of running our website. Thanks for your support.