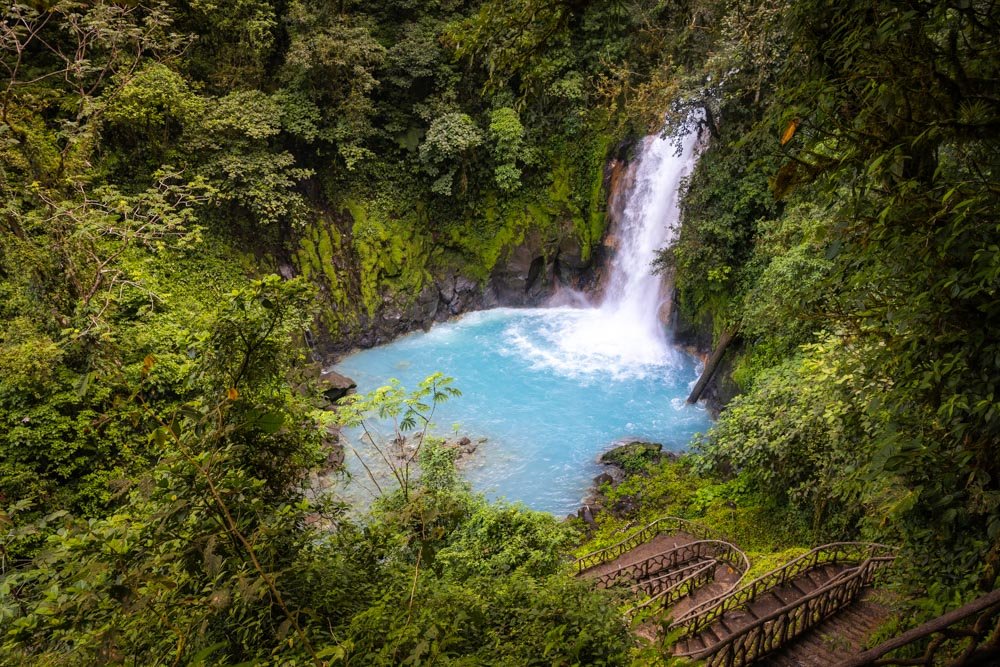
By the time we came to visiting the Rainmaker, we’d already done dozens of walks in the Costa Rican rainforest; several of which included hanging bridges and waterfalls. On paper they sounded quite similar to the Rainmaker, which was a lot cheaper than others we’d done, and we wondered if this might be because it’s less impressive. I’m so glad we decided not to skip it because we had such a great experience. The rainforest is spectacular, the swing bridges rickety and lots of fun, and there were incredible swimming spots galore.
We hiked in the middle of the day on a sunny Saturday in peak season, and we only saw one other couple, and that was only for a few minutes. It felt like we had this whole jungle paradise to ourselves and we absolutely loved it.
Here’s everything you need to know about visiting the Rainmaker Conservation Park.
The Rainmaker Conservation Park walk
The stats
Distance: 2.4km loop
Elevation gain: 135m
Difficulty: Easy - moderate
Summary: The circuit at the Rainmaker is very well maintained. That’s not to say there are no slippery sections whatsoever, as it’s a damp rainforest environment, but any areas which might be slippery have handrails.
The are a few climbs, which do feel quite tiring in the heat, but the rainforest canopy keeps the track shady, which makes it a lot more bearable than it would be in the intense sun. There are also plenty of flat and leisurely sections of track.
We hiked in March and we didn’t encounter mud. In the rainy season you may experience some mud, but the track has a lot of infrastructure in place to keep it in good condition.
Starting the trail
From the cafe where you buy your tickets you’ll head along the path and almost immediately into the rainforest.
After 130m you’ll come to a junction and head left (you keep left at all junctions to walk the trail in the direction the staff at the Rainmaker suggest), from here you will begin climbing up through the forest.
It is steep in parts, but the path is well made, and the mud is kept at bay with a mixture of old tyres and stone steps.
There are often railings in place too. The climb isn’t long (270m) but the humidity means you are likely to feel a bit on the sticky side.
There are a couple of tiny patches of trail which can be a touch slippery, but it’s few and far between - much less than other much more expensive walks we did in Costa Rica.
The forest is dense and beautiful, and you’re likely to see and hear lots of birdlife.
Reaching the swing bridges
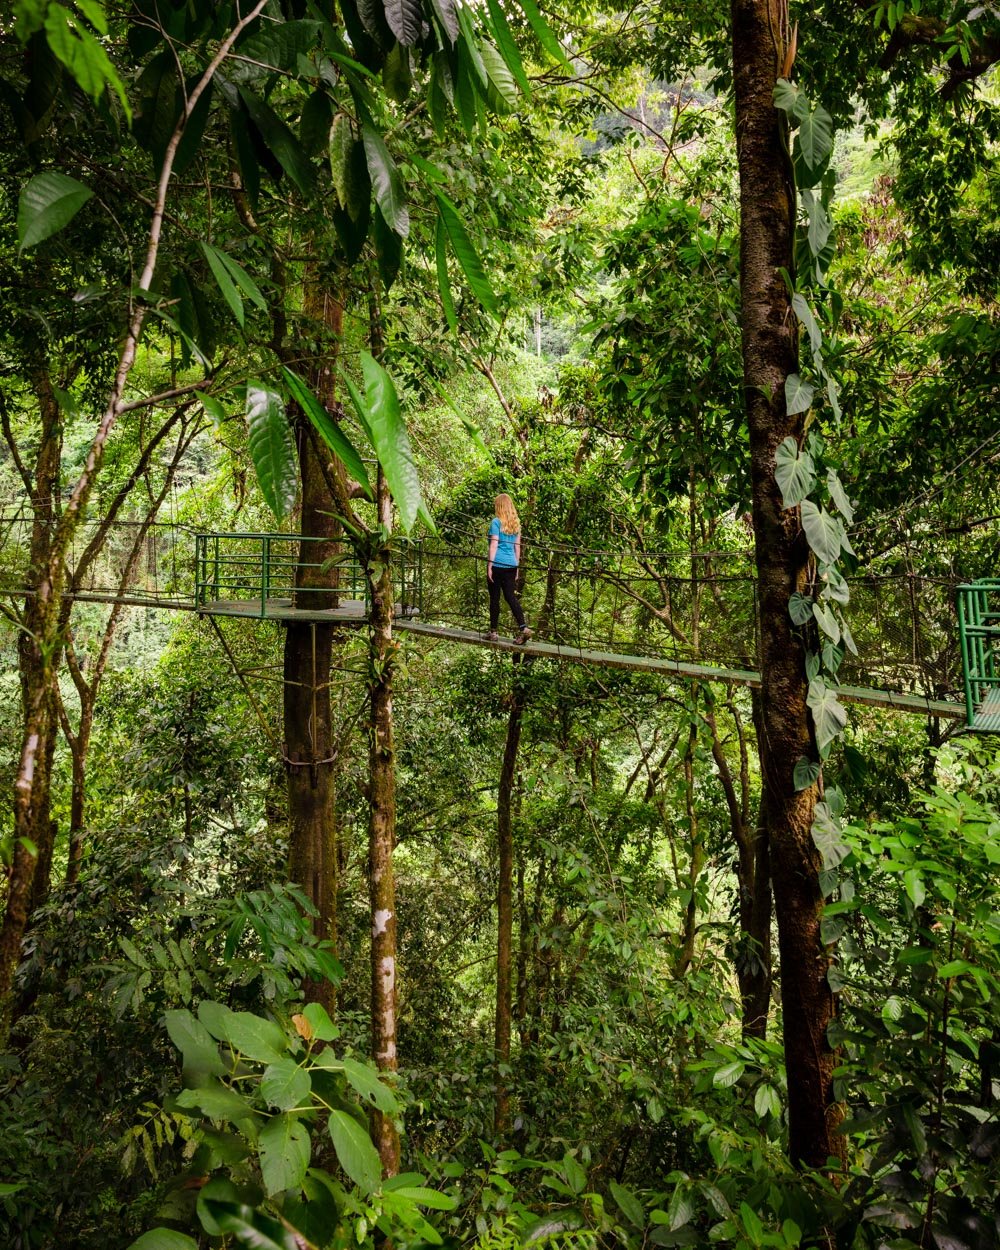
After you’ve been walking for 500m you’ll come to the first of the swing bridges.
The swing bridges look more rustic than some of the flashier setups around La Fortuna and Monteverde, but they are all the better for it in my opinion.
The first two bridges are quite short, but there are some bigger ones to come.
After crossing two bridges you’ll head left to a viewpoint - unless you wanted to take a short cut route - which we don’t recommend because the whole circuit is only 2.4km, so you don’t really want to miss any of it!
The viewpoint does involve a climb, but it’s only 150m long.
You will come briefly out of the forest, so there is a short section exposed to the sun, but it’s not long before you’re back under the rainforest canopy again.
The view itself isn’t really anything to write home about compared to the rest of the trail, in fact we didn’t actually realise that we reached it until afterwards, as it’s more of an opening than an official looking viewpoint, but you do get to see out over the large expanse of rainforest.
Crossing the longest swing bridges
After the viewpoint you will begin descending through the forest and after 70m come to another set of swing bridges (this is 820m into the trail).
This is where things get a bit more exciting.
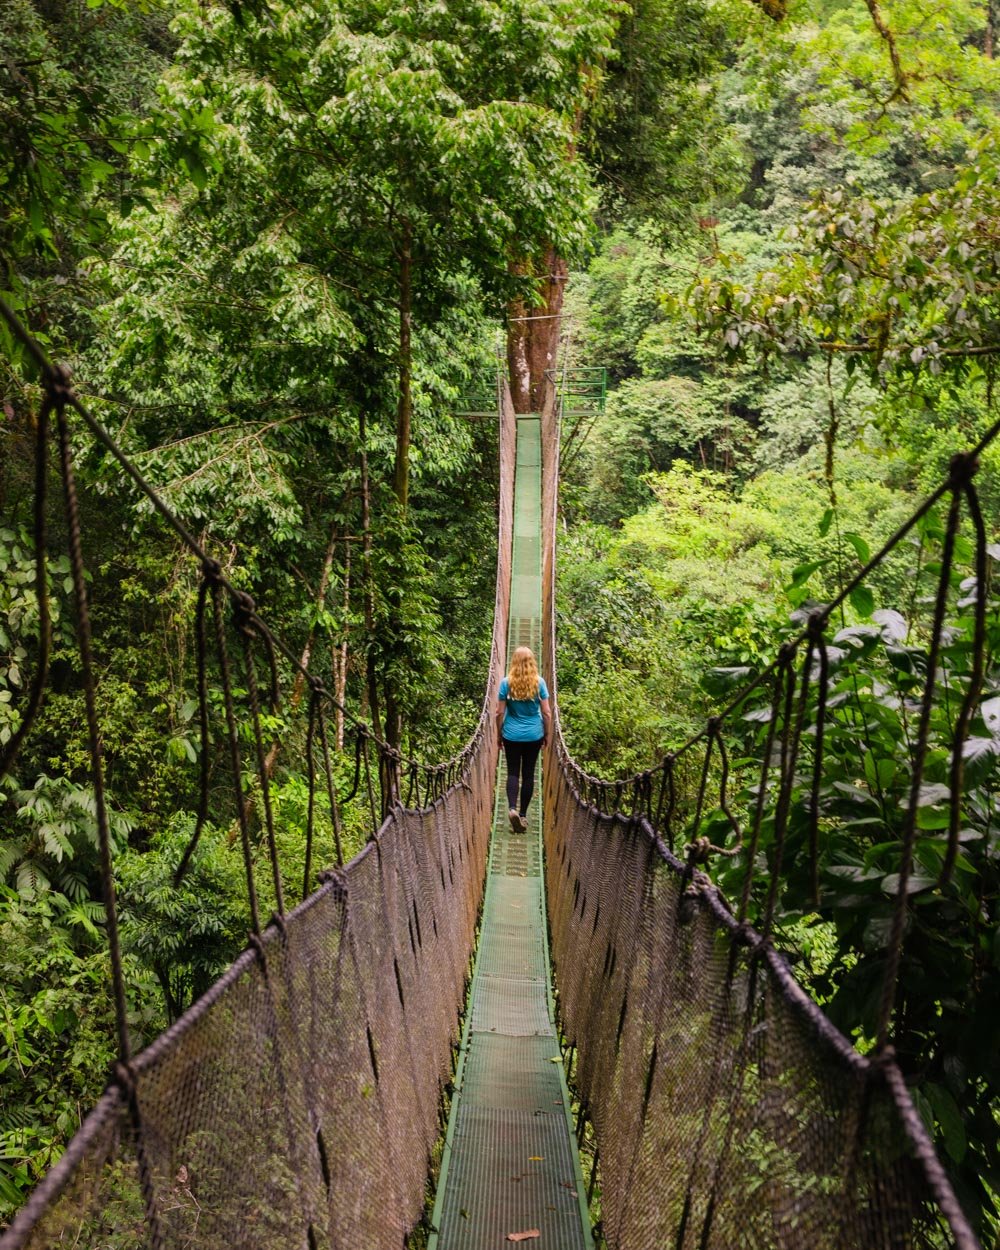
There are four bridges linked together, forming a 120m tree top walkway. 120m might not sound like much, but in swing bridge terms it’s a lot!
Three of the bridges are relatively short, but there is one long showstopper, which was my favourite of the whole track.
It’s long, narrow and has plenty of sway - the best kind!
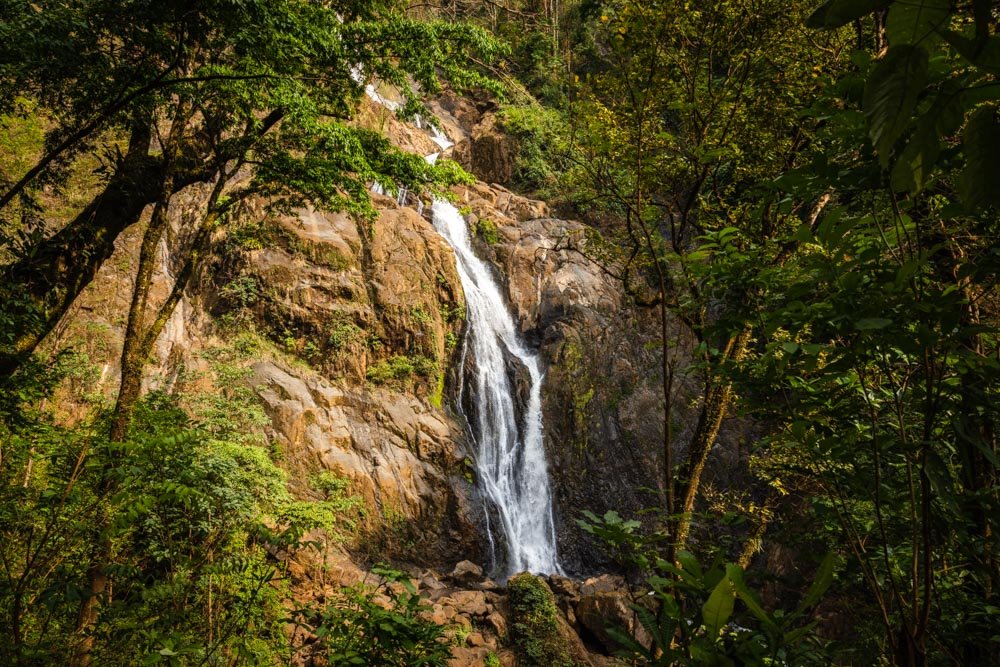
The views over the rainforest are fantastic and about halfway across you can also see a large cascade - which might be more of a gushing waterfall in the rainy season.
As well as the fact the bridges are a lot of fun and have great views, the other wonderful thing about them is the lack of crowds. Every other trail we did involving hanging bridges had huge bottle necks, as people understandably what to snap lots of photos.
It was fantastic just to be able to walk back and forth over the bridges, take pics and generally just hang around taking in the views, without feeling like you have to move on for others. It was also nice not to have to queue - we spent a looooong time queuing at bridges in La Fortuna!
It’s exactly how you imagine it to be when you see all those pictures of people walking over a gorgeous bridge with no one else around.
It’s simply a much nicer experience and we couldn’t believe we were less than a 40 minute drive from Manuel Antonio, one of the most popular tourist spots in the whole country.
To the jungle cascades
After the set of linked swing bridges you have a few more bridges to go (not all are swing bridges) as you start making your way down towards the waterfalls and swimming holes.
The descent is steep in places, but the path is good, and you’ll arrive at the first cascade just 300m later.
This was my favourite swimming spot of the whole walk - and there are many.
It’s a small jungle cascade, with a deep emerald pool at the base. It’s really easy to access, with just a couple of rocks to walk over once in the water, before you get to a nice clear swimmable section.
It’s great for swimming a few strokes, or just lazing around in the water. It’s the perfect place to cool off after the sweaty hike. It’s not that the walk is hard, just that the humidity is so high!
The water is cool, which is perfect with the warm air temperature, and the pool is backed by the dense rainforest which gives it a lot of atmosphere.
The swimming holes continue
Continuing along the main trail and you’ll see another waterfall on the right, 50m after the cascade.
There is a little pool, but it’s not much of a swimming spot - there are much better options further along.
You’ll then come to a signposted junction and keep left to follow the longer trail.
You will keep following the river, which has a series of swimming holes. There are direct paths to each of them, some are easier to access than others, but you can take your pick as you go.
There’s only one that looked a bit more challenging as it involved a few steps on a ladder, but otherwise the paths generally dropped you straight down into the water.
I swam in several and none had much in the way of rocks to worry about. Some are deeper than others, with the first few being quite shallow, and good for sitting in rather than swimming.
Even if you’re not into swimming, the river and cascades are gorgeous, and there are places you can sit and relax along the way.
Finishing the trail
You’ll come to the end of the swimming holes and you’ll see a final swing bridge. Once you have crossed it, there is another waterfall to the right (2km into the trail). It’s small but pretty.
There isn’t really a pool as such, but you can definitely have a waterfall shower!
After leaving the falls you have a little bit more descending before the trail flattens. At the 2.2km mark the path leaves the river and heads through the forest. It’s a flat dirt track and an easy and relaxing end to the walk.
You’ll soon come to the original set of stairs you descended into the forest on (there’s only a few, all the climbs are over before you hit the swimming holes) and make your way back up to the cafe.
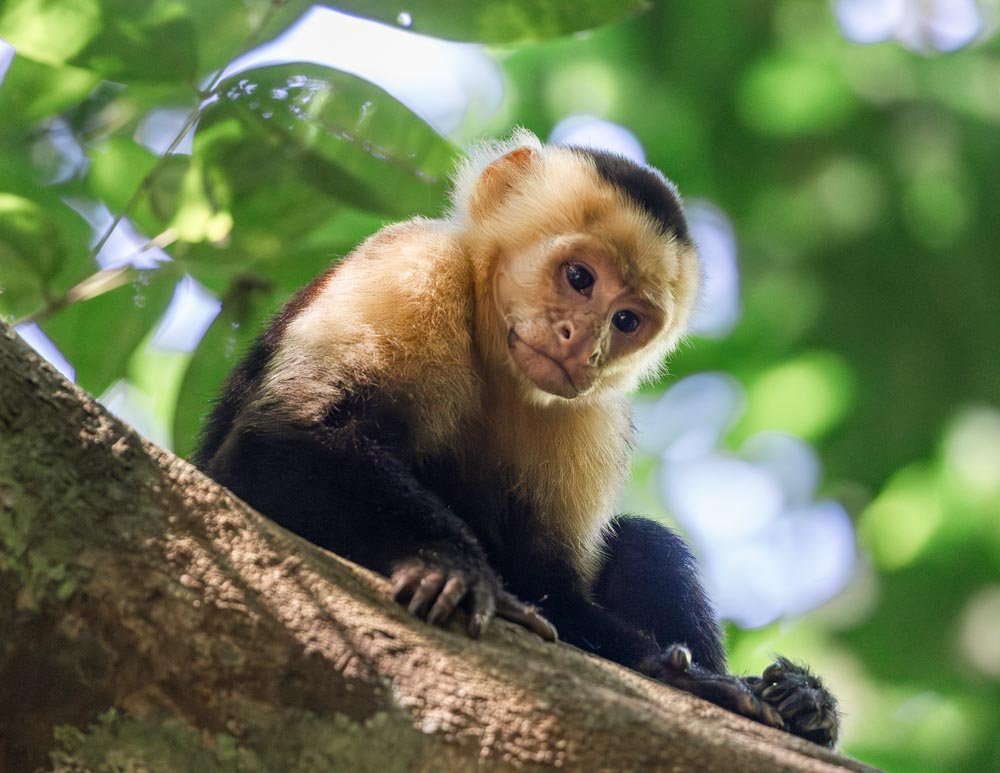
All in all we loved our walk in the Rainmaker, we didn’t spot much wildlife (although many people do) but the scenery and lack of crowds made it very special.
The Rainmaker entry fee and opening hours
The entry for a self guided hike is USD $20 per adult, plus tax. I think it was about $23 total (children under 6 are free). You could also take two guided tours, one during the day and one at night, the cost is the same for both - USD $65 plus tax.
It’s worth noting that while they technically accept credit cards, the wifi wasn’t working, so we had to pay cash. Bring cash because I imagine this is a common occurrence.
If you’re doing the self guided tour you don’t need to book, but I would recommend booking for the other tours. It was so quiet that they may not run if not pre-booked.
At time of writing the Rainmaker is open 7.30am to 6pm daily. However, when you go to book tickets on the website it says: ‘tell us when you want to visit between 8am and 4pm’, so even though their website says 7.30am, it may be better to wait until 8am incase they aren’t open!
Facilities at the Rainmaker Conservation Park
There are toilets, drinking water to fill your bottle, and a cafe onsite. Bring cash incase the card machine isn’t working. We didn’t try any food, but were glad to be able to grab a cold drink. There are also wooden sticks you can take on the trail, although we didn’t need them in the dry season.
Getting to the Rainmaker Conservation Park
It’s worth noting the last 2km to the car park are on a gravel road. You do not need a 4WD (at least in the dry season). It was a bit stony and bumpy, but no problem in any car unless you are really averse to unsealed roads.
The Rainmaker is located around 25km and a 35 minute drive from Manuel Antonio, it’s 58km and roughly a one hour drive from Jaco and 80km and roughly a 1 hour 15 minute drive from Uvita.
This post may contain affiliate links, meaning at no additional cost to you, we will earn a small commission if you click through and decide to make a purchase. This helps towards the costs of running our website. Thanks for your support.


