

Having walked hundreds of trails in NSW, I can confidently say the Mutawintji Loop Track is one of the best in the whole state. The scenery is simply jaw-dropping and the walk has so much variety, from well preserved Aboriginal rock art, to swimming holes, rock scrambling and of course plenty of the quintessential outback red dirt. I spent most of the walk wondering how on earth we were the only ones on this world class hike in the middle of the Easter holidays.
We agreed if we had only visited this one national park on our road trip it would have been worth it.
And because I could never express it so beautifully, here’s Sarah Murgatroyd’s (author of the ‘Dig Tree’) thoughts on Mutawintji:
“To wander from the flat scrubby plains into Mutawintji is to enter a haunting spiritual world. The plants, the trees, the earth, even the smell is different. Deep inside the network of red gorges, the atmosphere of secrecy is overwhelming. The narrow tumbling gullies hide dark silent pools, surrounded by some of the most sacred Aboriginal art in South East Australia…The richest geological, biological, botanical and anthropological areas in New South Wales. “
Sarah Murgatroyd, “The Dig Tree”

The Mutawintji Loop Track
Distance: 8.4km loop
Elevation gain: 165m
Difficulty: Moderate
Trailhead: Homestead Creek Picnic Area
Summary: Technically this walk doesn’t exist in its own right - at least not according to the NSW park service’s website - it’s made up of four shorter trails that combine to form one mind blowing circuit. They are the Bynguano Range track, the Homestead Gorge track, the Rockholes Loop track and the Thaaklatjika Mingkana track.
In terms of terrain and difficulty, it’s a moderate hike, but as it’s made up of a series of shorter trails, you can make an easier version which we’ll outline in the track notes below.
The terrain is varied, with some easy paved sections and sandy tracks, to points where you will be walking up rocky hills - but the rock is very grippy when dry. There are a few narrow sections which may be disconcerting if you aren’t a lover of heights, but really these bits are few and far between.
There is one scramble which does involve using a rope, but the rope is thick and sturdy and makes getting down the large rock straightforward.
In terms of climbs, there are several and short sections can be steep, but there’s plenty of easy flat walking inbetween and none of the hills are very high, so you’re never heading uphill for too long.
The track is often very exposed to the elements so you’ll really feel it on a hot day. Aim for early morning if it’s going to be very hot. Similarly try to avoid a very windy day as you are going to feel the full brunt of it when up on the cliff tops.
Best conditions would be sunny, dry and low wind, which given most people visit the outback in the cooler months shouldn’t be too hard to come by.
Starting the trail: the Thaaklatjika Mingkana track
At the time of our visit the road to the nearest car park for the track was damaged.
Assuming that’s still the case you can park before the road closure area and this only adds on 350m each way to the walk and it’s flat (full parking details below).


You’ll then arrive at a picnic area and see the signpost for the various walking tracks. You want to head straight on, along the flat path towards the Thaaklatjika Mingkana rock art site.
The path soon heads very gently uphill, but it’s a very easy stroll to the art site, which is just 350m from the picnic area.

The Thaaklatjika Mingkana rock art site
You’ll reach a large overhang which has some wonderfully well preserved Aboriginal rock art, painted by the Malyankapa and Pandjikali people.
You do stand on a platform behind a small barrier, but it’s not a grated site, so you can still see the art really well. There are hand stencils as well as paintings depicting the cleverman and the groonki mark.

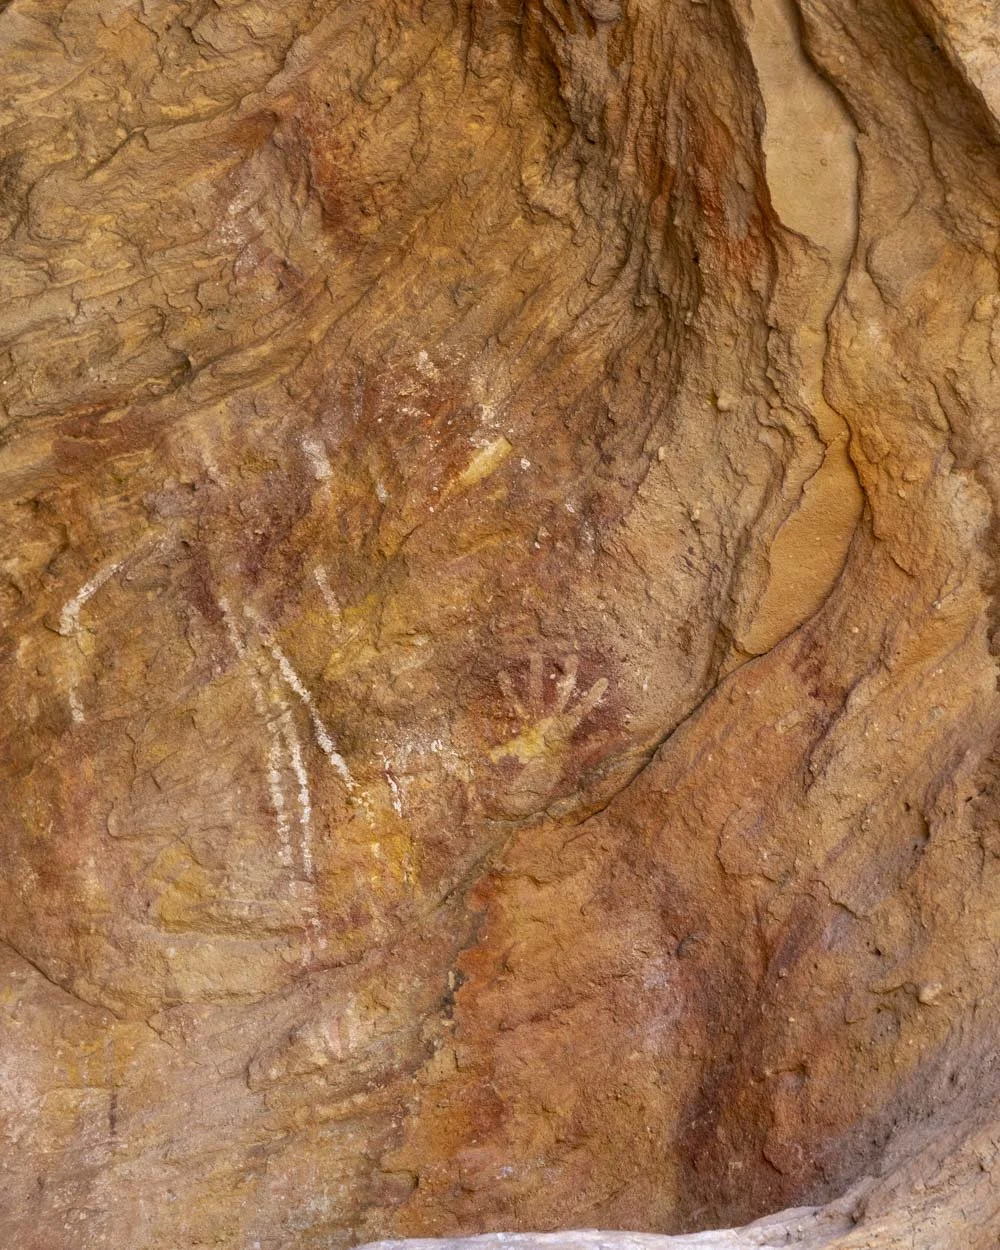
It’s a great art site, though I did find it upsetting to see two marks made by William Wright who was part of the support group for the Burke and Wills expedition.
The large blue triangles are made right over the art, including one of the biggest paintings, which seems incredibly disrespectful.
Otherwise it’s one of the better sites we’ve seen in NSW and there’s plenty more to come, which is thankfully unbranded as you head along the trail.

Continuing on to the Rockholes Loop Track
From the art site the walk heads down a couple of rocky steps and left onto the worn path. From here you’ll start to see some of the huge red boulders and dry sandy creek beds that instantly let you know you’re in the outback.


There are some trail markers, but social paths can throw you off a little on this next section, keep a careful eye out for the markers. You’ll soon cross onto a sandy path for a short distance, but it’s not too deep, so it’s still pretty easy to walk on.
At the 950m mark you’ll head left and follow a flat dirt path through low scrub, this is where it can be easy to miss that the trail heads right after a short distance - the creek bed splits in two.

The trail crosses over the sandy wash to your right, though the worn path you’ve been following continues straight, so if you’re mesmerised by the scenery and not keeping an eye out for the markers, it’s very easy to miss : )
After this turn the path is easy to follow once again and it’s a leisurely stroll along the dry creek bed lined with red river gums.
More rock art and reaching the waterholes
Roughly 1.8km (1.1km from the first art site) into the walk you’ll reach some more fabulous rock art, but this time it’s on the side of a cliff (right beside the trail).


There were lots of animal stencils here and many were in great condition. There’s a railing along the rock slope beside the art here, though as the track continues there is more art which is completely unmarked.
Just 100m on from the animal paintings are a number of vivid hand stencils. It was so incredible to see them right by the side of the track rather than at a designated art site.

The scenery also gets more dramatic with higher rock walls on either side of the sandy wash. The walk had already exceeded all my expectations at this point yet the best was still to come.

The track soon crosses the creekbed which is clearly marked. Just 150m beyond the hand stencil site is another art site on your left (2.1km into the walk).
There’s a very clear painting of the Crack Man (Groonki wimbija), the Crack Man is thought to have lived in the rocks and come out at night to protect the waterholes.


The track now heads up some ladder like steps inbetween two giant boulders. You’ll find more Crack Man paintings at the top. You can now look down into the gorge from above and the views are fantastic, it reminded so much of the NT and I couldn’t believe we were still in NSW!


Just 20m beyond the second set of paintings are the Rocky waterholes (just under 2.2km from the parking area). There’s a path which leads down towards the water, it only takes a minute to get down, but it’s a little steep.

There are several small waterholes which I hoped might act as little plunge pools, but unfortunately on our visit the water was very stagnant - though there is a swimming spot coming up later in the walk!
Continuing towards Homestead Gorge
The main track continues past the top of the waterholes and just 60m later you’ll see another stencil. This time it’s a turtle and just beyond this you’ll see the trail marker indicating you need to head downhill and cross over to the other side of the gorge. It’s not too steep getting down and easy enough.
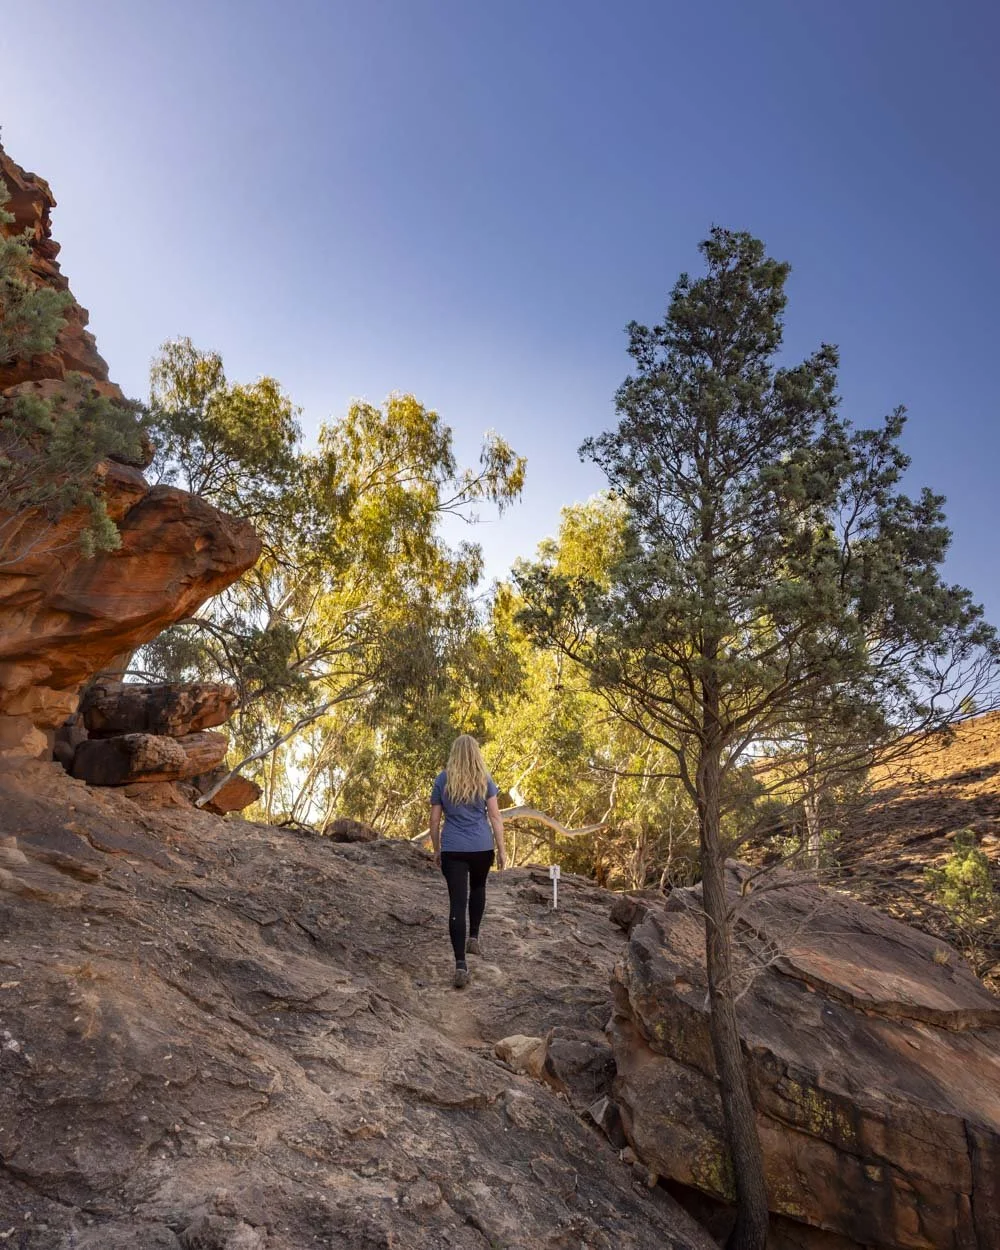
You’ll then walk up the rock slope you can see directly ahead of you, it looks steep from the bottom but it’s not too steep once you get going and the rock is really grippy.

It’s just 150m to the top and the views are phenomenal, it reminded me of Kings Canyon in the NT, yet there wasn’t another soul in sight. I will never get over how this track is not considered one of the jewels in the crown of NSW hiking.


You’ll now make your way along the top of the cliff and after 50m the path does become very narrow. It never felt scary but I can imagine if you aren’t a fan of heights the next 100m or so will not be the most fun.

After following the path for another 150m you’ll begin heading downhill, and it’s clearly marked. The descent is only 100m but it’s quite steep at the beginning and not so much a path as a rough track, however, it quickly gets less steep and it wasn’t slippery.

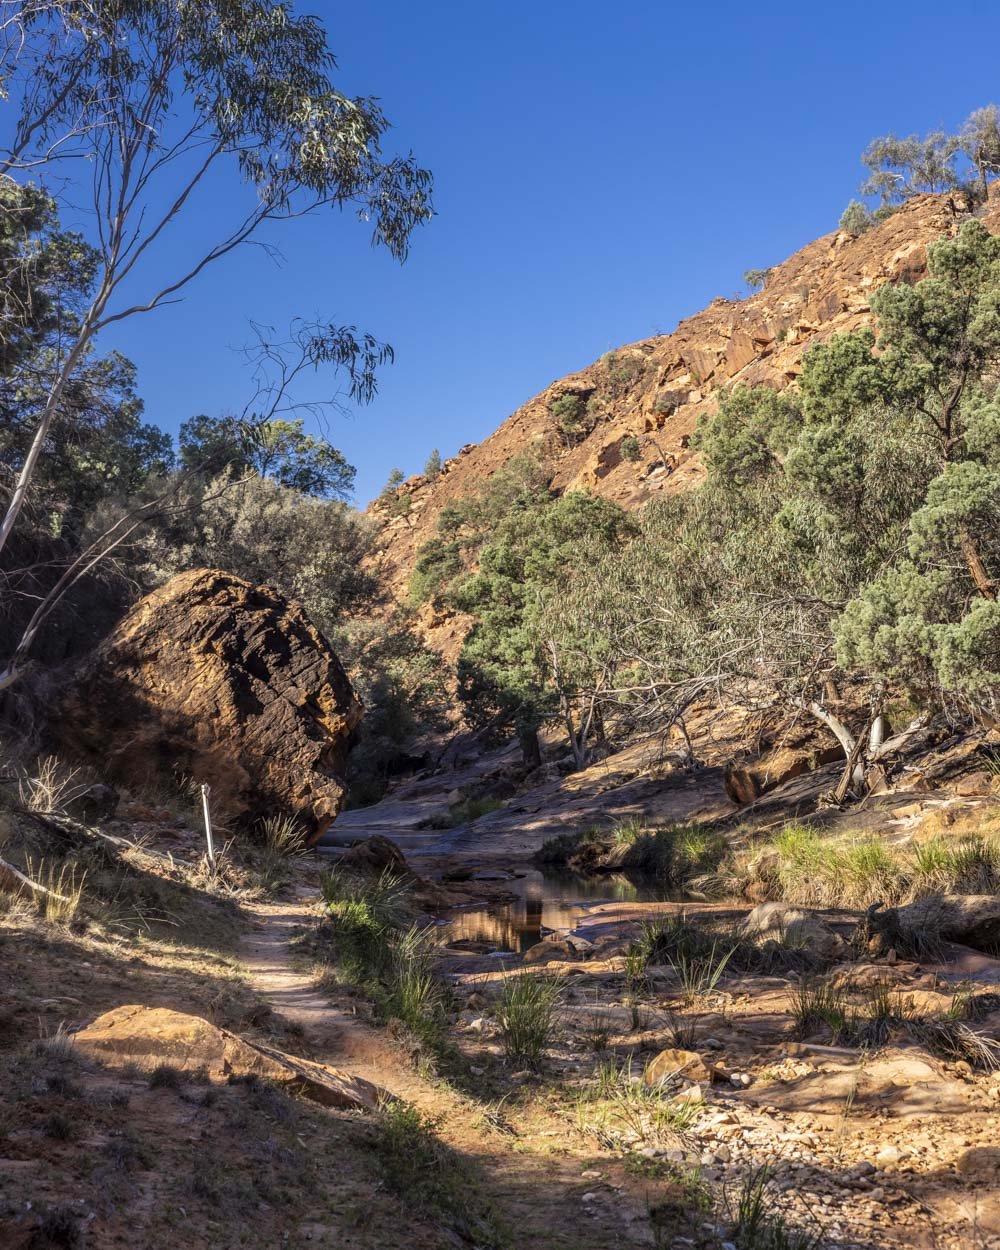
At just over 2.7km into the walk you’ll reach the dry creek bed and follow it towards Homestead Gorge.
The Homestead Gorge swimming hole
The path bends left and you’ll follow the sandy wash through the gorge. There are some bodies of water early on, but it’s the large one at the end that is the best for swimming. The path is flat and the terrain a mix of sand and rocks, but all of it is easy enough to walk on.

Roughly 400m from the end of the descent, when you reached the dry creekbed, you will come to a junction and Homestead Gorge is signposted.

You’re now just 300m from the pool at the end of the track. There are markers, but you can also just pick your own way along the creek to the pool.
It’s all straightforward and at the 3.4km mark you’ll reach the final pool which is big enough for a dip.

There is mud underfoot in the water so just take the entry carefully so you don’t slip. The water was cold, but not overly so on our visit in April and though shallow at first it gets deeper as you get further in.
There’s always something really special about swimming in the outback and I loved this little pool nestled amongst the red rock.

Water quality will vary here depending on recent rainfall but for us it was clean and clear.
Onto the Bynguano Range track and the rope down climb
After enjoying the scenery you’ll retrace your steps back to the signposted junction, 300m away. From here you’ll begin following signs for the Bynguano Range track, which heads steeply uphill to the right from the signpost.
The first 200m climbing uphill on the rock is quite steep, but again very grippy.


There is one small narrow section which is slightly slanted, but it’s just a few steps and the gradient slackens after this.
You’ll soon reach the flat ridge and from here it’s a very leisurely stroll along the top of the escarpment with fabulous views over the orange hills to your left.

The flat easy track allows you to really soak up the beauty of the outback.
The flat section lasts around 600m before you see a sign for some old relics and from here the track begins to descend.

The descent is easy for the first 500m but then the path becomes less obvious and is probably even counter to the way you think it should go.
Don’t climb up onto the rocks, but instead bear right towards the trees, following the cliff line.


You will then see arrows pointing you towards a steeper down climb which is 150m away (5.75km into the trail). It’s basically a large rock of perhaps 4m or so which you need to descend to reach the next part of the track. There’s a very sturdy rope to make this easier.


The rock is very grippy when dry and there are some footholds, which combined with the rope, make the descent straightforward. I found it easier to go down backwards like you would on a ladder.
Once at the bottom of the rock you head through a small narrow slot inbetween two walls and then follow the path right. You’re now walking in a dry creek bed and we were lucky enough to see a family of Euros here.

Completing the circuit
The path is now a mix of walking in the sandy wash or over small rocks and boulders. There are a few trees down here and there, but nothing that is difficult to manoeuvre around.

Around 300m from the little slot in the rocks, when the creek becomes more rocky, bear right. The going is relatively easy, though you do have to watch your footing as the terrain is uneven. Around 550m later there is a more substantial rocky section, but no scrambling is involved and it’s easy in dry conditions.

Around 550m later (7.15km into the trail) you’ll leave the creek bed behind and join the red dirt path on the other side of the (dry) creek. You’ll now see the art site and retrace your steps back the way you came to the parking area.
We were passing through close to sunset and there were plenty of kangaroos and birds along this stretch. The golden light made for the perfect end to one of the best walks we’ve done in a very long time!

Getting to the Mutawintji Loop Track and local facilities
The Mutawintji Loop Track is located in Mutawintji National Park, around 135km and 1 hour 30 - 1 hour 45 drive from Broken Hill. Around 60km of the road into the park are unsealed and only recommended to be driven in dry conditions.
Check the roads are open, but we took the route that headed north out of Broken Hill along the Silver City Highway (which is fully sealed). After 55km, turn right onto the Mutawintji Road (it has a brown sign for Mutawintji National Park).
After a short time the road turns to dirt. After another 60km you’ll reach Waterbag Road which leads into the national park.
Once past the visitor centre, take the left fork towards the Homestead Creek Campground. Take the next right after the campground and park as close as you can to the Homestead Creek Picnic Area. At the time of writing, the road by the picnic site was partially closed, but it didn’t add much distance onto the trail.
During our visit, the road to the trailhead was suitable for any vehicle; it had a few minor corrugations, but nothing challenging.
However, roads like this can deteriorate overtime and after extreme weather events, so if you don’t have a 4WD please check with the national parks service ahead of time to see if it’s suitable for your car.
There aren’t any facilities at the trailhead, but to reach the car park you’ll pass a toilet block where you’ll also find picnic benches, BBQs and some info boards about the park.
If you fancy camping at Homestead Creek, a spot can be reserved here.
Outback safety
There is little to no phone signal around the national park and it is very remote. Make sure you’re carrying some extra food and water incase of emergencies. We personally take a PLB with us on any outback road trip just to have that extra bit of security.
Before heading to Mutawintji, we recommend filling up your car with a full tank of petrol as it’s a long round trip and there’s no petrol stations by the national park.
This post may contain affiliate links, meaning at no additional cost to you, that we will earn a small commission if you click through and decide to make a purchase. This helps towards the costs of running our website. Thanks for your support.


