The Green Track might be one of the lesser walked trails in Bungonia, but it’s got a lot to offer; from a couple of adventurous caves, to a ladder down a deep pothole, some gorgeous lookouts and oodles of kangaroos to keep you company along the way.
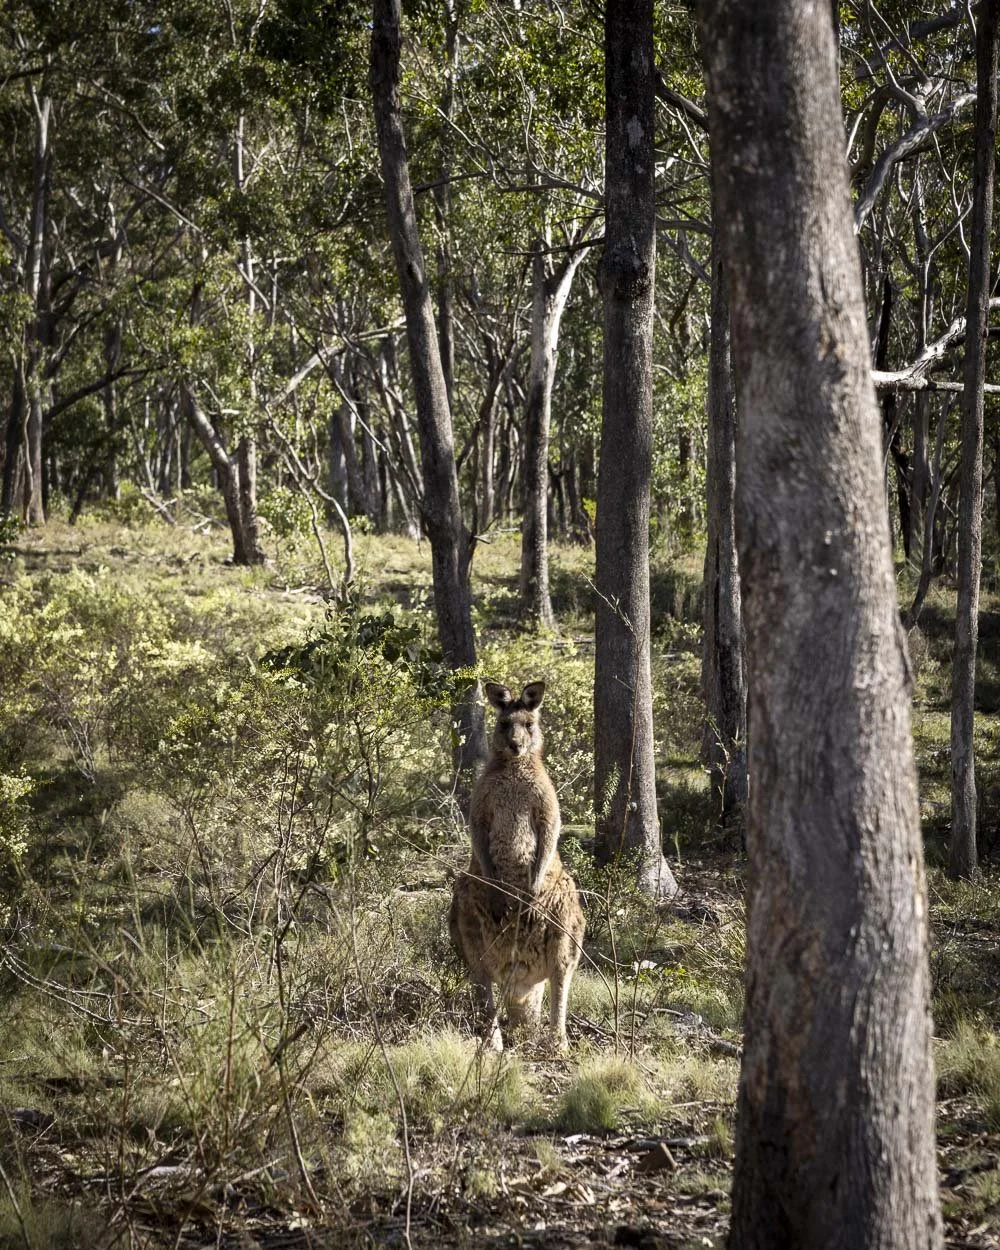
And on that note: the roos and wallabies are probably going to be your only company on this walk, as most people who visit the national park head straight for the track down into the canyon.
The walk is relatively easy in terms of elevation gain and the terrain is generally good, though there is little infrastructure inside the caves themselves.
Here’s what to expect from the Bungonia Green Track.

The Bungonia Green Track
The stats
Distance: 9.5km circuit
Elevation gain: 370m
Difficulty: Moderate
Trailhead: Molly O’Neil Nature Track Car Park
Summary: The Green Track is a circuit walk and inbetween the various points of interest there is a fair amount of bushwalking, with nothing of note to see.
We love a good bushwalk, so that’s fine for us, but if that’s not you, then you might want to explore the sites from the closest car parks and skip some of the walking inbetween.
Assuming you want to do the full circuit, there are various ups and downs along the way, but no sustained climbs. The track is generally good, often wide and well maintained, though there are a few minor narrow sections.
The caves are pretty rustic, so aside from some chains and ladders it’s all ‘au naturel’ and therefore can be a little muddy and slippery in places. Please read the safety warning before exploring the caves.
Starting the trail: to the pothole
The walk heads downhill on an uneven dirt track from the eastern side of the Molly O’Neill Nature Track car park, with a few wooden steps here and there.
After 80m there is a very gentle uphill section before it flattens a couple of hundred metres later.

However, along this section (about 85m from the car park) you need to look out for a path and a gate on the right. Pass through the gate and follow the track for around 55m and you will come to a deep pothole.
A sturdy metal ladder allows easy access into the pothole. Well, down to a narrow opening further into the cave anyway!
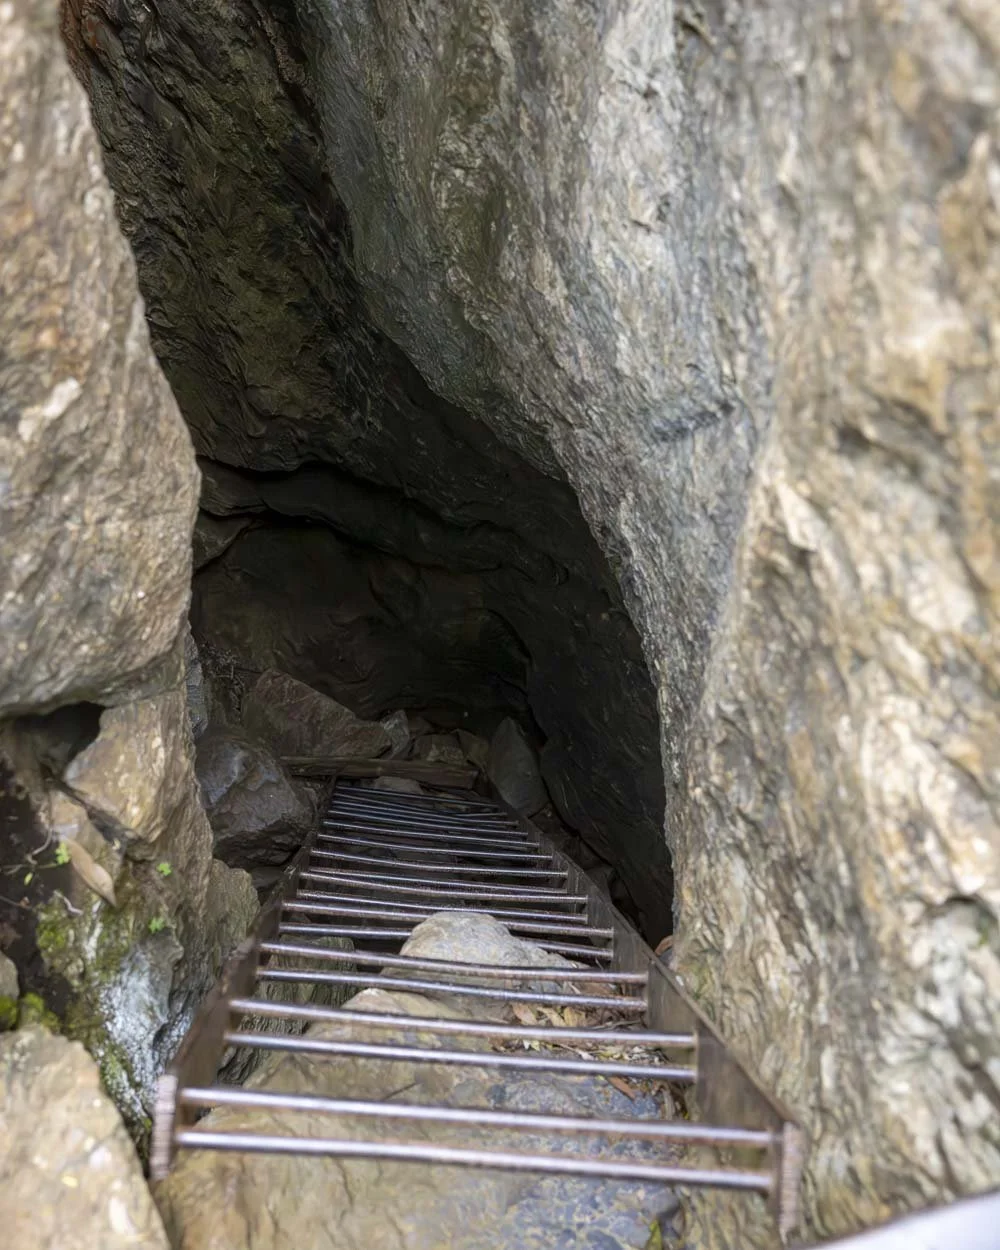
I didn’t venture any further because the opening is tight and I think probably better suited to people with a bit of potholing experience. Plus, you’d want a helmet to make exploring safer.
There was also a drop down into this narrow hole, so it’s not just a straightforward crawl through. Even if - like me - you have no intention of going further into the cave, it’s still fun to go down the ladder!


To Mount Ayre Lookout
Once you’re back on the main track you continue along the flat narrow path above dense bushland. Along this stretch you can hear the trucks from the nearby mine, but that does soon fade away.

The path will then gently ascend and come to a junction with the White Track at the 610m mark (assuming you turned off to the pothole).
This next section is a deviation from the Green Track, but it offers a great view over the Shoalhaven River and gorge and is worth the detour. It’s 400m each way, so it does add on an extra 800m in total.

To get to the lookout you’ll head left, along the White Track, which takes you downhill at first, before it gently undulates.
There is one very short, but narrow section of dirt track and then a short sharp uphill climb to reach the lookout.
You’ll find a bench seat here and a beautiful view of steep forested mountains and the snaking river far below.


Heading for Grill Cave
Once you’ve retraced your steps back to the Orange Track you’ll now walk along a wide fire trail, which is either downhill or flat and all very gentle.
This is where you’ll likely encounter your first roos and wallabies. We saw so many along this section and the next 1.2km is all pretty much flat as you walk amongst the shady gum trees.
At around the 2.7km mark, if you’ve made the detours, you’ll see another potential turnoff on your left which leads to a lookout, we skipped this one and continued on towards the cave.
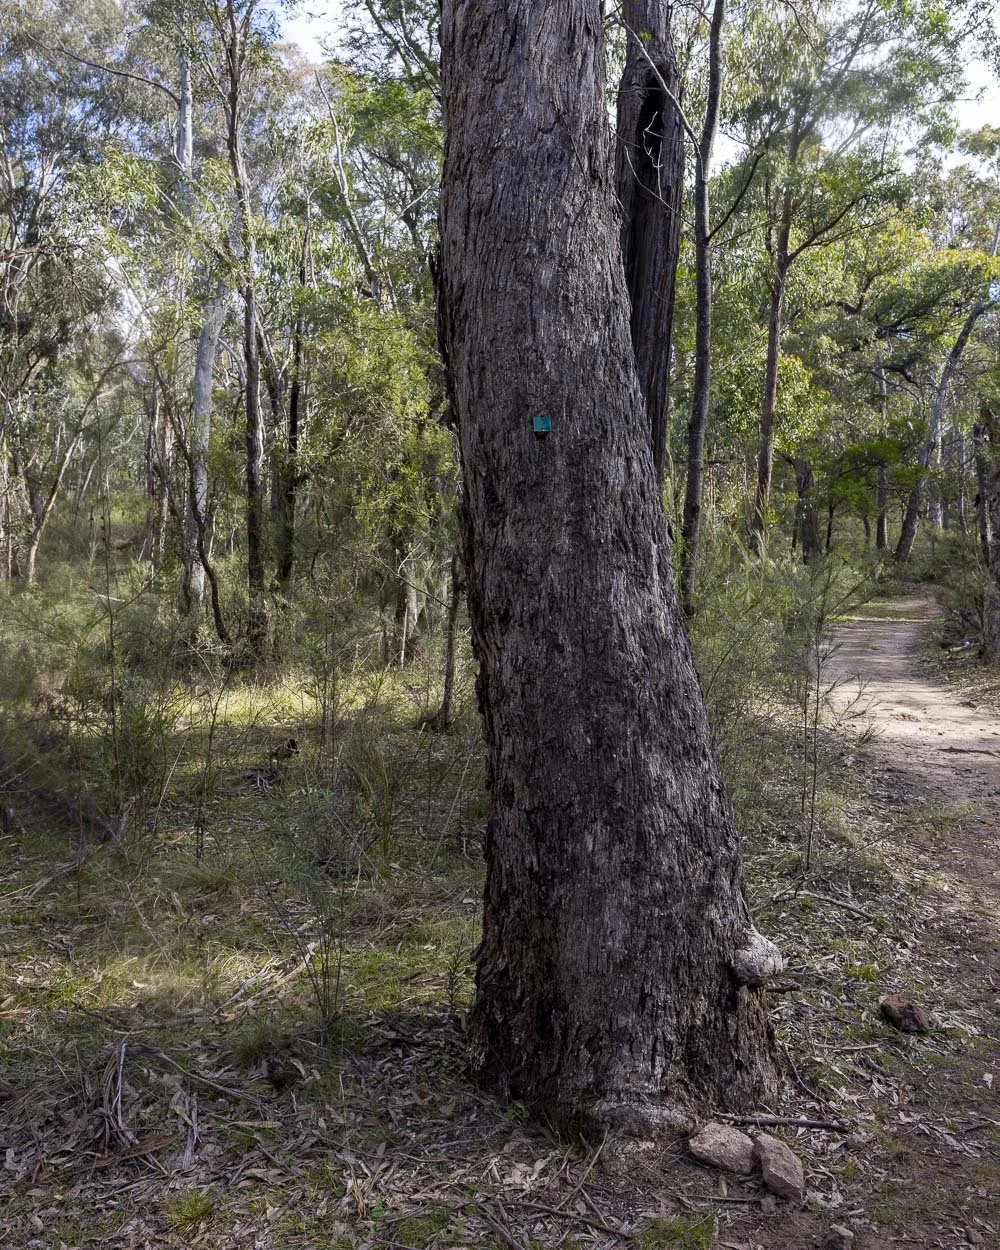
Around 50m later you’ll reach the turnoff for Grill Cave and head left (it’s marked with a tag on a tree).
You’ll head gently downhill on a dirt track followed by some shallow wooden steps. You’ll reach the cave 200m later.
The area directly surrounding the cave entrance is very atmospheric with the grey limestone rock.

Beware when entering Grill Cave
There is a metal grill in front of the cave entry, but it’s open for anyone to get in and surprisingly there are no warning signs here. I only found out after entering, that Grill Cave sometimes suffers from what cavers refer to as ‘foul air’.
This is when the level of oxygen inside the cave is insufficient and can lead to breathing difficulty and even death. You will not see or smell any difference in the air, so you cannot rely on your normal senses.

You are supposed to take a lighter in with you and check the air at multiple intervals. If the flame goes out, you need to exit the cave.
You should do this many times whilst exploring and definitely each time you descend further. I’ll admit that I only found out about this on the NUCC website after visiting and luckily I was ok, but it goes to show you should always do your research before visiting any environment you know little about.
So assuming you’ve come equipped with said lighter, then entering the cave is quite easy. There is a bit of a dirt track and then a few rocks to climb down before you’ll see a ladder.

This first chamber before the ladder is still lightish inside and as there’s a decent sized opening, should still have plenty of oxygen, so you can always just check out this bit if you’re worried about venturing deeper.


The first ladder is somewhat spindly and decrepit looking, but still felt sturdy. At the bottom of the ladder, a few steps to the left, you’ll see a second much sturdier ladder. It’s more like a steep stairway, with handrails which lead down to the lower chamber.

According to the article linked above, foul air can be strong around this second ladder, so please check here without exception.
If you have tested multiple times you can move through to a larger chamber beyond the bottom of the ladder. Note that this next section can be muddy and very slippery and requires a little light scrambling.

Once I got through the short narrow section to the slightly larger chamber beyond I had a little look around and then ascended again.
This was as far as I felt comfortable going and would be a good turn around point for most people, as I am assuming no cavers will be reading this post : )

If you do the section mentioned above there are no tight squeezes, or points which require crouching, but you will get a little muddy.
Continuing to the lookouts
Once back at the junction you continue along the fire trail and will come to a road after 100m. Cross over the road and look for the signpost on the other side of the road.
You’ll follow the wide dirt path through the bush, which is flat at first before heading downhill. The path will then narrow again and it’s still mainly flat, with a little descending here and there.
Around 550m later there is a steep hill, but it only lasts for 50m. Roughly 250m later or 4.1km into the walk, you’ll reach the road and head alongside the campground. The next 300m are all along the road before you can turn off onto the trail again.


It begins as a flat stony track and then begins descending on stairs before coming to another junction 100m later. You’ll head right at the signposted junction.
The path descends and is sometimes rocky, but still generally easy enough.
Roughly 260m beyond the junction there is an unofficial turnoff on the left, offering a partial view over the gorge. We followed it for around 50m, but it wasn’t the best view and is missable if you’re short on time.
The well maintained, mainly gravel path continues through the bush, opening out to some good gorge views 450m later. There is a 100m stretch of track after this which is narrow and slightly eroded. It was fine for us, but may require more caution if it’s wet.


You’ll then head briefly back into the bush before ascending a short washed out bit of track leading uphill, after that you’re back to good track conditions.
Roughly 200m after the little washed out section, you can make a short detour to a lookout on the edge of the cliff, where you can hear, but not see a waterfall. It’s a very quick detour, but there are much better views coming up.

Approximately 550m later there’s another left turn, which is a 40m detour each way and offers a glimpse of the falls. The view of the mountains is impressive from this one. The official lookout for Jerrara Falls is signposted on the left 300m later.
It’s around a 50m detour each way, down a set of steps and offers a look at the narrow ribbons of water that make up Jerrara Falls as it cascades between some impossibly sheer cliffs. The waterfall is pretty, but the cliffs are incredible.

The views continue and heading for Mass Cave
Once back on the main track you’ll quickly come to a picnic area (and long drop toilet) and a paved path leads to Adams Lookout. After 250m along the walkway you’ll come to the upper viewing platform.

The views from here are terrific, showcasing the dramatic Bungonia slot canyon. You can then walk down a few steps to a second viewing platform, which would make for a really great sunset spot if you weren’t planning to go on to Mass Cave.


Once back at the picnic area you’ll see the trail heads back into the bush after just a minute on the road. The path is mainly flat and it’s well maintained for around 500m.
It will then begin leading downhill and come to a signpost for Mass Cave 100m later.

The path flattens, but becomes more narrow and rustic as you head towards the cave. It feels more wild along this section and has a few little rocky bits, but nothing too challenging.
You’ll arrive at the entrance to the cave 100m after the signpost, or roughly 8km into the trail.


Mass Cave
A couple of uneven steps lead to the open gate down into the cave. Mass Cave is so named because church services were held here in the 1950’s, but I couldn’t find out why!

Once through the gate, you’ll see a chain running down one side of the cave wall, leading down into the chamber.
It’s quite a steep descent here and years of wear have made the rock quite slippery, especially on the steeper bits.

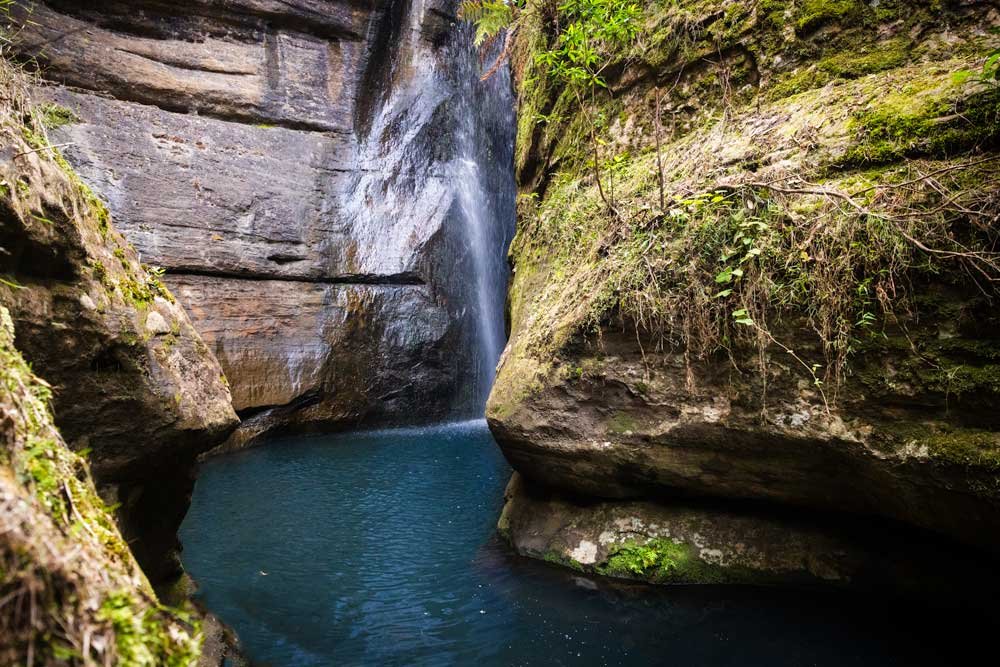
This section leading into the chamber still has plenty of light before there’s a short darker section and then a ‘window’ lets more natural light into the chamber. The formations here are more impressive than in Grill Cave.
Completing the circuit and the final lookout
Once you exit the cave and head back to the junction you’ll follow the path down a few steps before heading uphill shortly after.
There’s a brief steep uphill climb on fire trail before the path flattens and then heads downhill. You’ll reach the car park you started at a little under a kilometre after leaving Mass Cave.
From the car park you can choose to make a short return walk to the Lookdown Lookout (you could also drive it, but it only took a few minutes to walk).

The first lookout along the well maintained flat path is 290m from the car park and looks out over the mountains, and the mine (unfortunately!).

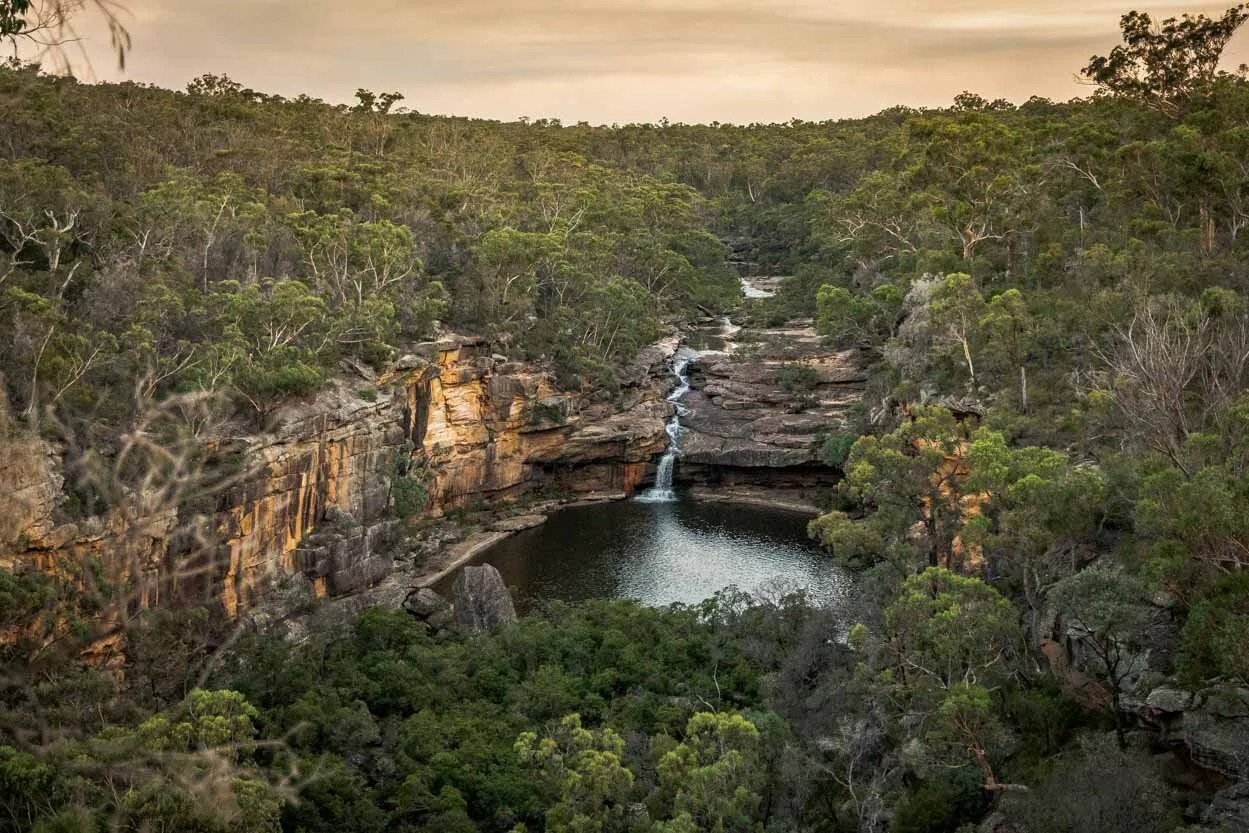
There’s a second lookout 100m away and this one offers an even more impressive view over the sheer walls of the gorge.
It’s absolutely beautiful and we got lucky with some lovely golden light as the sun was about to set. The lookout is also a fun one as it’s narrow and juts out over the view, allowing you to feel immersed in the scenery.


After visiting the lookouts you simply retrace your steps back to the car park.
The Bungonia National Park entry fee
If you don’t have an NSW national parks pass you will have to pay the $8 vehicle entry fee to park in Bungonia.
Getting to the Green Track at Bungonia National Park
You could start the Green Track from any number of parking areas, but we chose to park at the Molly O’Neill Nature Track car park and walk in a clockwise direction.
If you wanted to cut out some of the bush walking, you can park at the various car parks closer to the caves and lookouts, you can see the parking places on the second page of this brochure.
Bungonia National Park is approximately 193km and just over a two hour drive from Sydney, 79km and a one hour drive from Bowral and 125km and a 1.5 hour drive from Canberra.
This post may contain affiliate links, meaning at no additional cost to you, that we will earn a small commission if you click through and decide to make a purchase. This helps towards the costs of running our website. Thanks for your support.