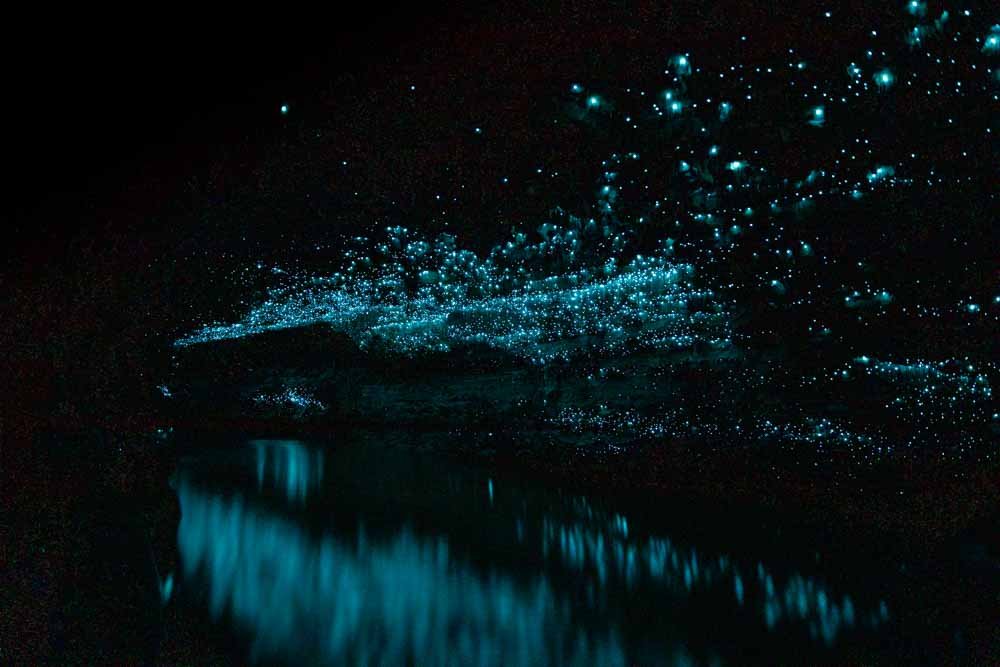
Trotters Gorge is a beautiful area of old growth forest, with crystal clear streams and some great views from the bluffs. Come back at night and you will find a completely different world, with the forest and riverbanks illuminated by hundred and hundreds of glow worms! It’s a wonderful experience and as it’s not well known you probably won’t be sharing it with anyone else!
If you decide to take on the full gorge track there is one big caveat: the mud. And more importantly the steep descents on mud slicks, but more on that later. If you’re visiting after some heavy rain like we were you don’t need to go the whole way to experience some of the stunning scenery and viewing the glow worms does not involve entering the mudfest.
Here’s everything you need to know about the gorge by day, and by night.
The Trotters Gorge Track
There are three different walks you can do at the gorge, the main gorge track, a walk to a cave (which is included in the Trotters Gorge Track) and Trotters Creek. This guide focuses on the Trotters Gorge Track.
The stats
Distance: 3km
Elevation: 180m
Difficulty: Moderate (muddy!)
The Trotters Gorge Track is a moderate track, but is pretty slow going because of the mud (more on that later), and it took us about an hour to complete.
It begins on a good gravel path which turns into a dirt track the further you go. The dirt track becomes very muddy after rain and it’s the very slippery kind of mud too. It’s mildly slippery on the ascents and like walking on banana skins on the descents.
One of the muddy steep sections
Unless you are really comfortable with very slick conditions, I wouldn’t do the full gorge track after heavy rain. In dry conditions it would be pretty easy though.
The cave can be visited after heavy rain, as it’s mainly gravel path, and the small amount of dirt track is still in good condition after rain.
It’s worth noting that the estimated walking times that the signpost mentions are vastly longer than it will really take. Despite taking the descent very slowly we finished the track in an hour (the sign says two).
Starting the trail to Trotters Cave
The walk begins from the campsite and heads straight into the forest. We had no expectations for this track having not seen any pictures and were blown away by the beauty of the forest.
It has a wild and ancient feel, with thousands of ferns lining the pathway, as well as plenty of other dense vegetation, including hanging vines which give it jungle vibes.
The track takes you alongside a crystal clear creek and past several large overhangs.
After 500m you will come to a junction. The right turn is going uphill on the steeper section and downhill on the shallower section.
The left turn will take you to the cave and then head uphill on the shallow section and downhill on the steep section.
We chose to turn left and visit the cave first, but going this way made the climb down from the top of the gorge pretty difficult (in the muddy conditions).
You’ll cross the creek a couple of times but there are plenty of rocks to use and you won’t get wet boots unless the water levels are unusually high.
The path does turn from gravel to dirt, but the mud factor was still very low. There are a few uphill sections but it’s generally easy and there is plenty of flat track too.
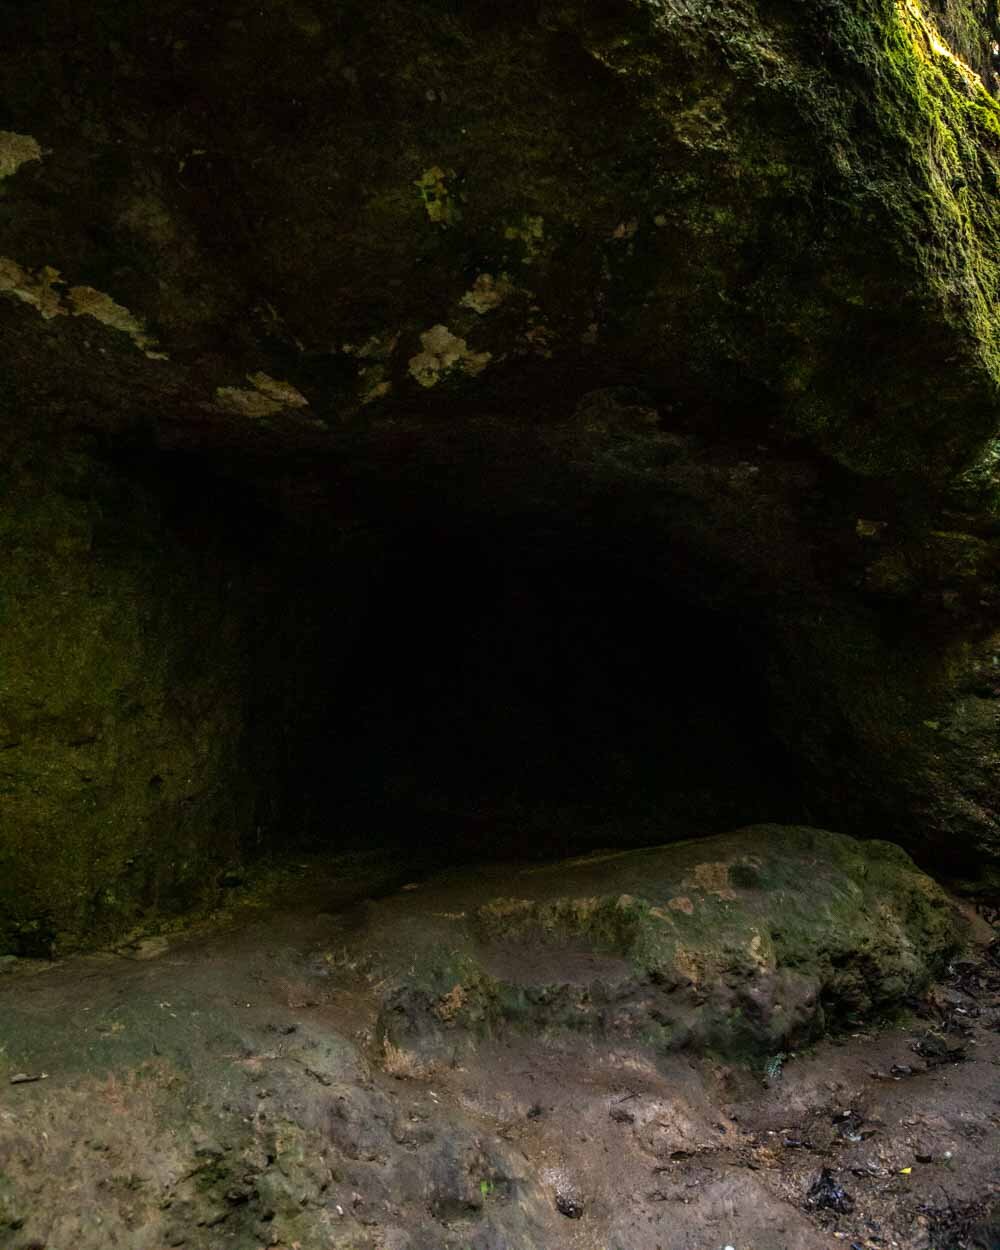
You’ll soon arrive at the cave which is quite small and if I’m honest not much to write home about. You can go inside it but there isn’t much to see. The walk to get there however is spectacular and worth doing as a stand alone if you love forest trails.
Continuing on the top of the gorge
I would recommend turning back at the cave if it’s been really wet. At first it doesn’t seem too bad as it’s flat, but 250m after leaving the cave you start to ascend.
Going uphill in the mud seemed to be significantly easier than the steep downhill that was coming up, but it was still pretty slippery. Roughly 550m beyond the cave is where the super muddy sections began and we started to wonder if we’d made a mistake!
The forest is gorgeous nevertheless, although my favourite part is still the early section - following the creek to the cave. In dry conditions the uphill section should be fine though, and the climbing is interspersed with flat track. It’s a narrow dirt path but there’s no scrambling or overly steep parts.
After 1.6km (from the campsite) you’ll reach the top of the gorge and you can take an unmarked side trail on the right for a few hundred metres to get some views out to the gorge walls.
You are supposed to be able to see the sea, but it must not have been clear enough on our visit.
Finishing the loop
From the bluffs the walk begins heading steeply downhill through the forest. Sometimes there are steps which make it easy, but there are several short steep sections which are just on dirt track.
These are the bits that are really hard after rain. The best technique I found was to go down backwards holding on to the trees where possible to keep you stable.
Having said that, neither of us slipped, and I am someone who is a bit unstable on my feet, so you might find it much easier.
The trail continues through the forest, getting prettier the closer you get towards the creek. Roughly 900m after leaving the bluffs you’ll arrive back at the trail junction and then it’s all smooth sailing back to the campsite.
Trotters Gorge by night
The Trotters Gorge glow worm colony has to be one of the easiest to access in New Zealand! They begin just two minutes from the trailhead and though they continue for quite some time, the very best were along this first section.
We covered 750m of track (to the cave) and saw them throughout. They probably go on for much longer, but we were already really happy with what we’d seen.
As you walk along the gravel path you will be following the creek, after about two minutes the trees thin out and you get clear views to the other side of the riverbank.
There are positively hundreds of glow worms along that bank and their light reflects in the water giving an otherworldly effect.
This was by far the most dense numbers we saw and easily one of our favourite experiences in the area.
Continuing along the path, you will see plenty scattered through the bush and along the creek banks. Keep a particular eye on under the ferns and in the nooks and crannies of tree trunks and other holes which they seem to favour.
I thought there might be some in Trotters Cave, but there weren’t, so you don’t need to go that far if you don’t want to.
If you love this experience, here are more amazing glow worm spots around the country.
Tips for getting the most from your glow worm experience
Make sure you go when it’s truly dark. Leave at least one hour but preferably more after sunset. The darker the better. This will allow you to see so many more glow worms than around dusk. Cloudy days are also optimum for the same reason.
Make sure you turn your torch off and allow your eyes to adjust for at least five minutes. The more your eyes are adjusted to the dark the more you will see, and a patch of glow worms you thought to number around 10 may actually be more like 50!
Get low and explore the crevices, they like to hide under ferns and anywhere they can be guaranteed no light will touch. When it comes to the riverbanks this isn’t necessary but further along the trail it will allow you to see hundreds more than a cursory glance at eye level will.
Taking care of the glow worms
Please make sure you don’t shine light on the glow worms, not only will they stop glowing which spoils the experience, but you can inadvertently stop them feeding and even potentially kill them. You can still get great photos without a light just make sure you bring a tripod!
Getting to Trotters Gorge
Trotters Gorge is less than a 10 minute drive from Moeraki and 35 minutes from Oamaru. Once you leave the main road there is a short (just a few minutes) dirt road to navigate. It can get a little muddy but was passable with any type of car on our visit.
There are two fords to cross, but only one is compulsory as you can park just before the second ford and walk to the start in about two minutes if preferred. The first ford will be fine for any car unless it has been torrential rain.
In terms of parking there is room for a few cars just before the gate into the campsite and quite a few more just before the second ford.
This post may contain affiliate links, meaning at no additional cost to you, that we will earn a small commission if you click through and decide to make a purchase. This helps towards the costs of running our website. Thanks for your support!


