The views along the Sealy Tarns Track have the wow factor. The higher you climb the better it gets and it’s worth every last one of those 2200 steps! And whilst that is a lot of steps, the track is really well maintained and you can stop for as many ‘admire the view breaks’, aka breathers as you like.
Even if you don’t want to walk the whole trail there are plenty of good turn around points where you will still have experienced out of this world views - we’ll note the best one in the track notes below.
We’ve argued whether this trail is actually better than the Hooker Valley Track (which is often said to be one of the best day walks in the world) - Joe believes it is, I love it, but still think the Hooker Valley pips it.
It’s a very close call though and a must do walk, so here’s everything you need to know about the Sealy Tarns hike, one of the most amazing hikes in Mount Cook.
The Sealy Tarns Track
The stats
Distance: 7.1km return (8.4km if you add in Kea Point)
Elevation: 565m
Difficulty: Moderate because of the excellent path, but steep
The Sealy Tarns Track is steep with almost no flat track to give your legs a break, but it’s very well maintained and therefore suitable for anyone who can climb uphill for somewhere between 1-1.5 hours.
The descent is easy due to the great path. In winter it can get icy, which is something to be aware of. For us it was a little icy, but not enough to become slippery. If you like the idea of Sealy Tarns but are not sure you’re up for the climb, try the phenomenal Red Tarns Track first, it’s only around half as high but still an exquisite view.
Hiking to Sealy Tarns
Starting the trail from the White Horse Hill Campground
Whilst you can start this hike from Mount Cook Village, it adds on extra distance and we’ve always started from the campground. You begin on a nice wide gravel path, which is almost flat and already the views are fantastic.
It’s a really well signposted track and you’ll reach the main trail junction with Kea Point after 750m. If you want to visit Kea Point, we’d recommend doing it on the way down after hiking up to Sealy Tarns.
This is because the best views are from Sealy Tarns and you will want to prioritise getting to the top if you have good weather (which could change at any moment!).
After turning left onto the Sealy Tarns Track, you’ll continue on a gravel path for the next 500m. You’ll start heading uphill, surrounded by bush, with the odd peak out to the glorious snow-capped mountains.
The steps begin!
You’ll soon reach a bench seat and this marks the beginning of those 2200 steps to reach Sealy Tarns. There’s no sugar coating this: the 2km walk is almost entirely uphill, on steps ranging from mildly steep to really quite steep.
Unless you are super fit, it will be quite tiring, but the steepness of the track allows you to look back at how far you’ve come pretty quickly.
You definitely feel like you’re making constant progress.
The views are incredible throughout the entire climb, and even though I kept telling myself to stop taking so many videos, I couldn’t!
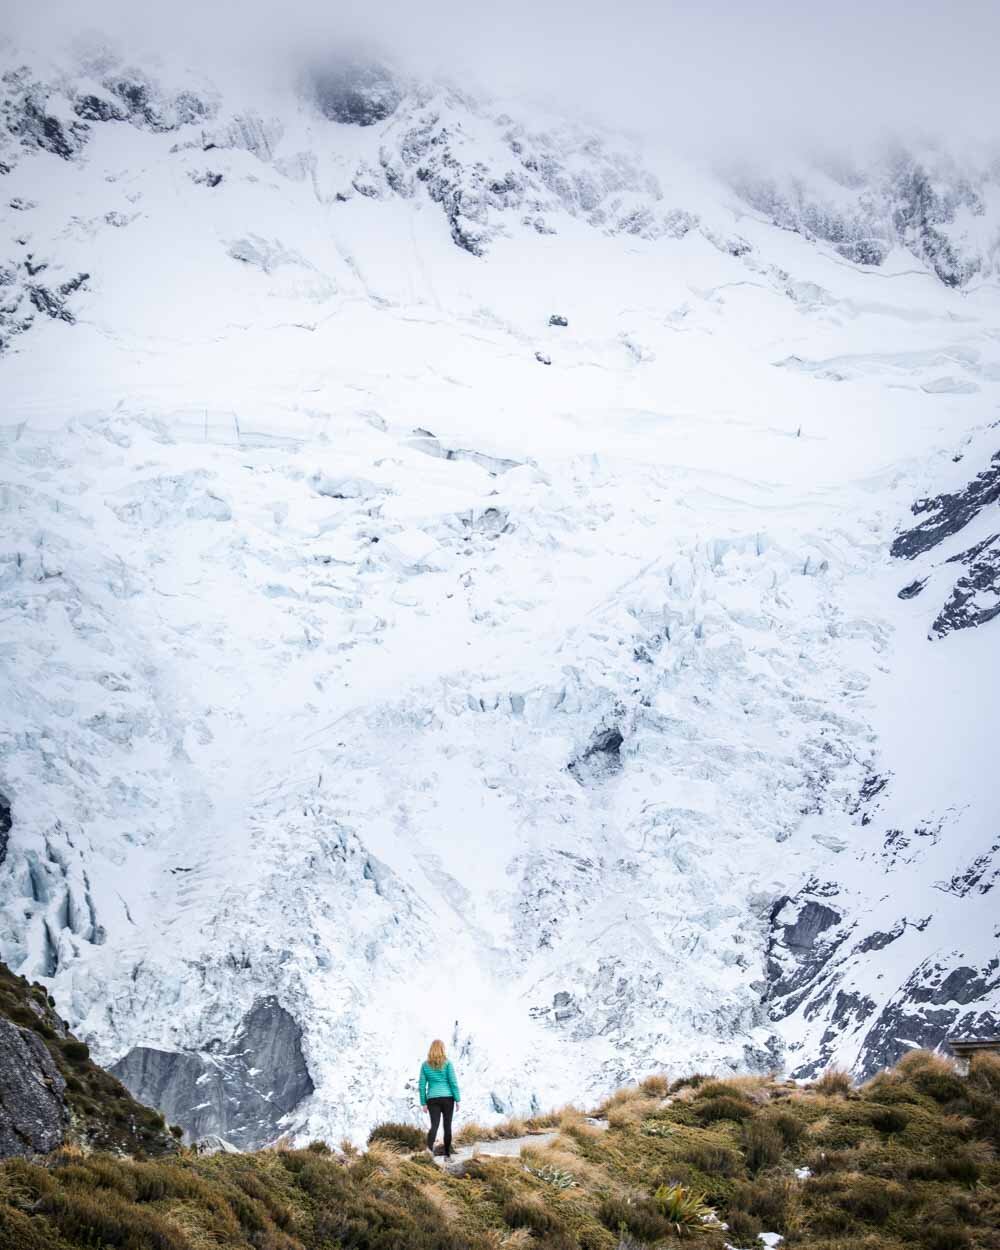
As it’s the mountains the weather can change rapidly and new clouds and low fog can appear at any time.
On our most recent hike, this came in the form of mist and low lying cloud, which swirled between the mountains and valley and only added to the atmosphere. When we last walked the Sealy Tarns Track in summer, we got hit by an unforecasted blizzard, so you really never can tell!
If the weather clouds in completely, keep going and hope for the best, we’ve seen a full white out where you would have no idea the mountains were even there turn to clear skies in less than ten minutes!
Climbing higher
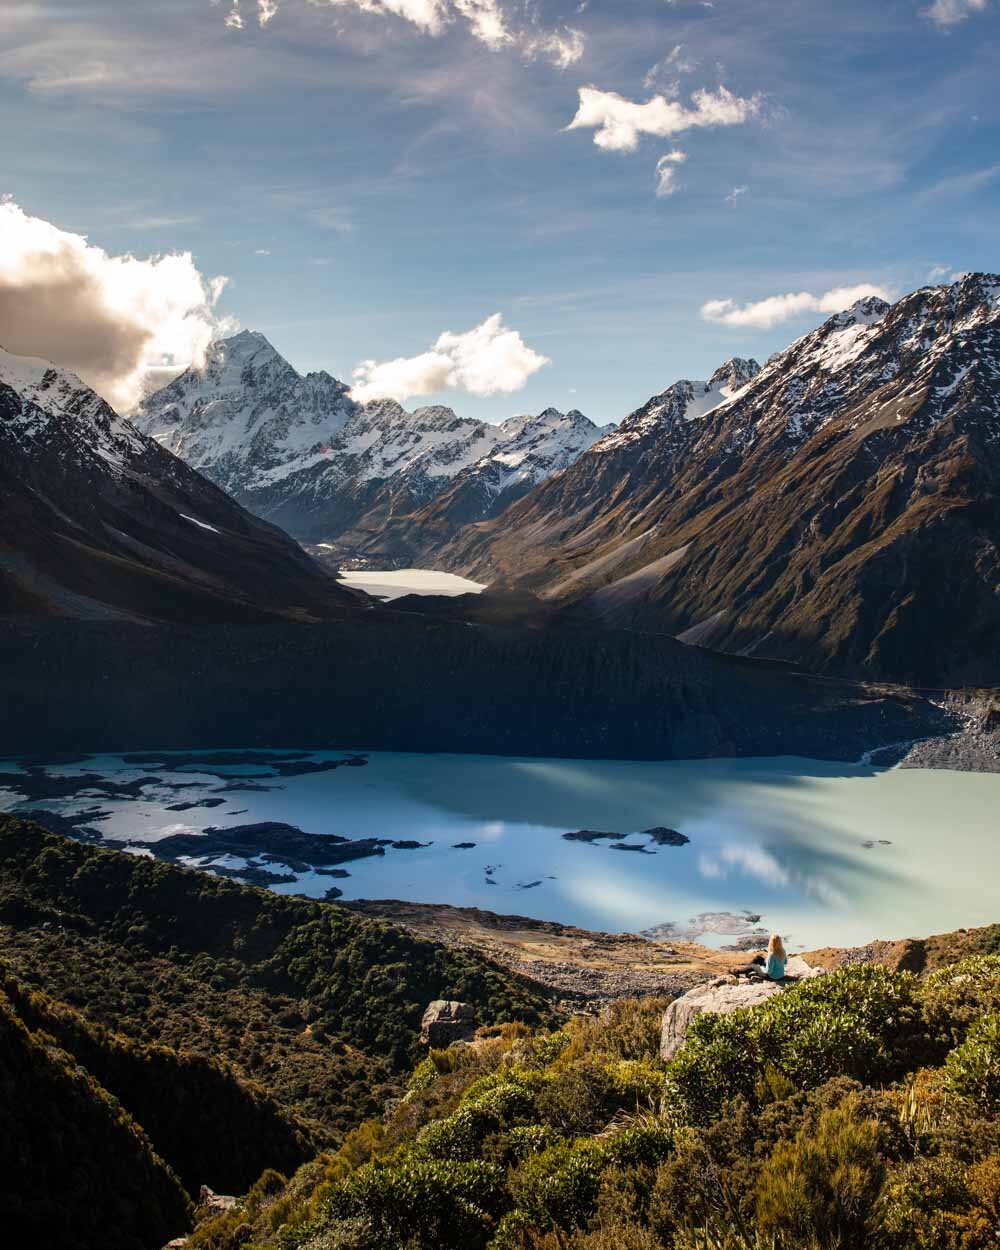
As you climb higher you’ll start to see more and more of the view open up. You can look right into the Hooker Valley and you’ll suddenly see a second lake appear, Hooker Lake.
After just over 1km from the start of the staircases, you will reach a jaw-dropping viewpoint (really it’s just rocks, not an official viewpoint, but you’ll know it when you see it). If you’re feeling like the rest of the walk might not be for you, then this is a good turnaround point.
This gorgeous viewpoint makes a great turnaround point if you don’t want to hike the whole trail
It’s well worth walking up to this view even if you don’t intend to finish the trail. It’s such a gorgeous spot and one of the best places to take photos along the track.
For the next kilometre the track continues to take you higher and higher on yet more stairs, before you can breathe a sigh of relief as the path begins to get much less steep - yes less steep - not flat, but it still felt good!
Reaching Sealy Tarns
At the point the stairs give way to some flat track, you are just 220m from the end. The slopes are another lovely place to take photos and we were lucky enough to see two Kea swooping through the valley along this section.
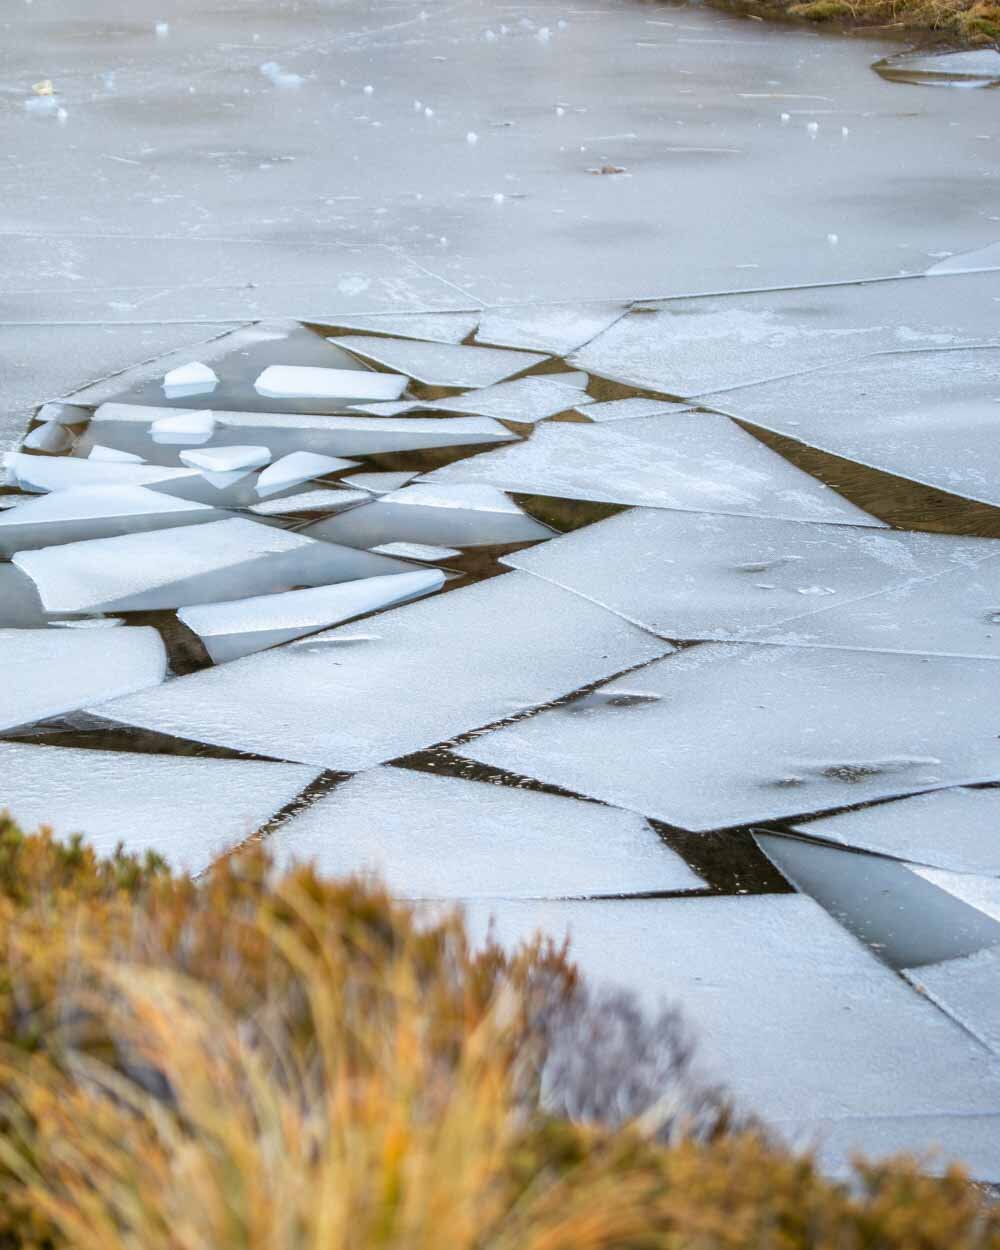
This time when we reached the top, the tarns were completely frozen over which was fun to see, and the temperature noticeably dropped. I’d been shedding layers along the walk and hastily put them back on at the top!
The whole ridgeline offers wonderful views and there’s even a giant picnic table to fuel up on. It has to be one of the best picnic bench views in the world! If you’re hiking in winter you may even get it to yourself!
The very best view comes right at the very end of the trail, where the mountains and lake feel so much closer. It’s a mesmerising sight and a rich reward for your efforts to get there.
Continuing the walk to Mueller Hut
Sealy Tarns is the halfway point for the Mueller Hut Track. You can go up and back in a day, but most people choose to book an overnight stay in the hut at the top. On our visit in summer we got most of the way to the hut before a blizzard rolled in and it didn’t feel safe to continue - moments before it has been hot enough for t-shirts only!
If you are planning to walk to Mueller Hut you’ll see the trail signposted on the left as you reach the Sealy Tarns ridge. This marks the end of the well maintained trail and it’s a rough track with some scrambling and scree to reach Mueller Hut.
It’s significantly harder than Sealy Tarns but fine in good conditions and with the right gear. In winter DOC recommends carrying crampons and ice axes but that may depend on how much snow there has been, so it’s worth checking with them before you go.
We’re hoping to get back to hike it this summer!
The ridge before the hike to Mueller Hut
Finishing the track and the side trail to Kea Point
The descent is much quicker than the ascent for most people. It took us 45 minutes at a steady pace and still taking lots of photos!
The views on the way down are spectacular, especially as you are now facing them all the way. It’s a view you could never tire of and arguably the best in the whole of Aoraki/Mount Cook.
After descending for 2.3km you’ll reach the junction with Kea Point - which is a 10-15 minute easy walk. It’s worth the short detour if you have the time.
Kea Point is just under 700m away and it’s a good gravel track. It’s either flat or a very gentle incline which will feel like nothing after all those steps!
The view at the end is great, although it can’t compare to what you’ve seen at Sealy Tarns. It does offer a different perspective though, being closer to the mountains and lake. The moraine does cover some of Mount Cook and Hooker Lake but that’s being picky!
The walk back to the car park from Kea Point is all downhill and roughly 1.5km.
If you’re looking for more amazing things to do in the area, we have a detailed guide to Aoraki Mount Cook here.
Essential information about the Sealy Tarns Track
Where to park
The closest car park to the trailhead is the White Horse Hill Campground. You can start at the village if you don’t have a car and it will add on 1 hour according to DOC (we haven’t done it but expect it can be walked quicker than that).
The Sealy Tarns hike in winter
Our most recent hike was in winter but there hadn’t been much snow fall at all and not too much ice either. If there has been lots of snow and ice (check with DOC) you might need traction devices for your shoes, we use Yaktrax. There is low (but not no) avalanche risk on the Sealy Tarns Track, there is more risk when continuing to Mueller Hut. Mueller Hut in winter may require an ice axe and crampons.
What to wear for the Sealy Tarns hike
Bring layers in summer or winter. As mentioned we started the hike in summer in t-shirts and were sweating like mad in the heat, part way along the Mueller Hut route a blizzard hit from nowhere and we were grateful to have been carrying layers.
Similarly in winter I got quite hot on the climb but then it was freezing (quite literally) at the top and I needed all my layers to comfortably enjoy sitting up there and enjoying the views.
In terms of footwear the path is excellent and could be walked in trainers, but in winter hiking shoes and maybe even traction devices might be needed.
This post may contain affiliate links, meaning at no additional cost to you, that we will earn a small commission if you click through and decide to make a purchase. This helps towards the costs of running our website. Thanks for your support!


