North Cascades is by far the least visited of the three national parks in Washington State and we assumed that meant it would be the least exciting. But in fact it had one of our favourite hikes in the whole state and the area blew us away.
It’s spectacular. Really spectacular; and much less visitors means way less crowds and that’s always a good thing in our book. Even if you don’t fancy doing an epic hike, the views from driving around the park are incredible.
In short, if you can, give it way more than 24 hours, but if you can’t then you’ll still get an amazing taste of the park which will leave you wanting more. It definitely did for us!
Here’s how to spend an epic 24 hours in North Cascades National Park.
Planning your trip to North Cascades National Park
Orientation
The majority of hikes and viewpoints are along one road (Highway 20) but gems like the Maple Pass Loop are an hour from the nearest accommodation (unless you’re camping) at Marblemount - which is at the very edge of the park.
It’s also worth noting that hikes such as the Cascades Pass are in a separate part of the park (and is a long way away from the rest!). Whilst the Maple Pass Loop and Cascades Pass Trail may look close together, they are actually a two hour drive apart!
Making it an overnighter
It takes a while to get to North Cascades National Park (it’s a two hour drive from Seattle), so - unless you want a really early start and a whole lot of hiking in a single day - we recommend staying overnight.
You can then rest up between hikes. There are a couple of places to stay in Marblemount (check the end of the blog for our recommendations) or you can camp. Camping will get you closer to the trails.
Our itinerary kicks off in the afternoon.
Best things to do in 24 hours at North Cascades
We’re assuming that like most people you’re visiting when the days are longer so you can start hiking late afternoon with a bit of a warm up on the Cascade Pass.
PM - Cascade Pass
Distance: 7 miles (11.3km)
Elevation: 1,700 ft (512 metres)
Time taken: 3 hours 10
Trail type: Out and back
Despite having a fair amount of elevation gain this track uses reasonably gentle switchbacks (albeit around 35 of them!) to get you to the top so as Washington hikes go it isn’t too difficult.
The view from the car park is reason enough to visit this part of the park but you’ll have to tear yourself away and head into the woods.
It’s a pretty forest and it’s very quiet and peaceful. Views are limited until you break the tree line although you’ll get the odd peek at those stunning snow capped mountains along the way. Despite the fact the first two miles is near constant uphill, the gradient means that it isn’t too bad, and we saw many young families enjoying the track - albeit while often asking how many switchbacks to the top : )
The terrain on the track is good and whilst there are a few rocks and tree roots it’s generally in great condition and not slippery which makes for much quicker walking than some of the other hikes we took on around the area.
Once you leave the forest it’s an easy, almost flat walk along the ridgeline with constant views. Look out for marmots and pikas, we missed the marmots but did spot a cute little pika amongst the rocks.
After what feels like no time at all you’ll hit the pass where there are fabulous mountain and valley views and a few seats from which to enjoy them.
Black bears are often spotted here although weren’t around on our visit.
The view from the Pass
If you are fit and can hike quite quickly you can add on the Sahale Arm trail to the glacier itself which adds another five miles (return) and an additional 2200ft elevation to your tally.
We didn’t this time but would definitely go back for it if we were in the area. In summer no specialist equipment is needed besides traction devices. You can pick up a pair of Yak Trax for between $20 - $30 on Amazon or REI.
As the path is in excellent condition we found the descent pretty quick and easy unlike some of the hikes in the area which can be hard on the knees! Overall we thought this hike was easier than we were expecting and with a great reward at the top.
Getting to the Cascades Loop Trailhead
The Cascades Loop Trailhead is tucked away from the majority of the other hikes in the park and is down a significantly long dirt road! We didn’t find this a problem, but there are some precariously narrow sections of road where you wouldn’t want to try to pass another vehicle. You don’t need a high clearance vehicle.
From Marblemount (on the edge of the park), it takes about an hour to drive to the trailhead. There is ample parking and a few picnic benches as even the view from the car park is spectacular.
Read next: The best Mount Rainier hikes for epic views
The next day
AM - Diablo Lake Vista Point
As there isn’t enough time to hike the Diablo Lake Trail if you only have a day, it’s well worth stopping at this popular lookout instead. The lake is stunning, way prettier than we’d imagined, with incredibly deep blue water.
It’s the kind of view you associate with Canada, but right here in the North Cascades!
The lookout is super windy even if there’s only a light breeze in the rest of the park so you might need a jacket here! The main lookout has barriers but you can get to a more natural section if you want by taking the narrow path in the gap between the toilets!
The wind kicks the sand up here though so watch out!
Spot the tiny human!
Getting to Diablo Lake Vista Point
The Diablo Lake Vista is one of the first stops on Highway 20 as you head towards the Maple Pass Loop. It’s a 40 minute drive from Marblemount and you’ll pass some spectacular scenery on the way.
Read next: Olympic National Park hikes that will blow you away!
Washington Pass Lookout
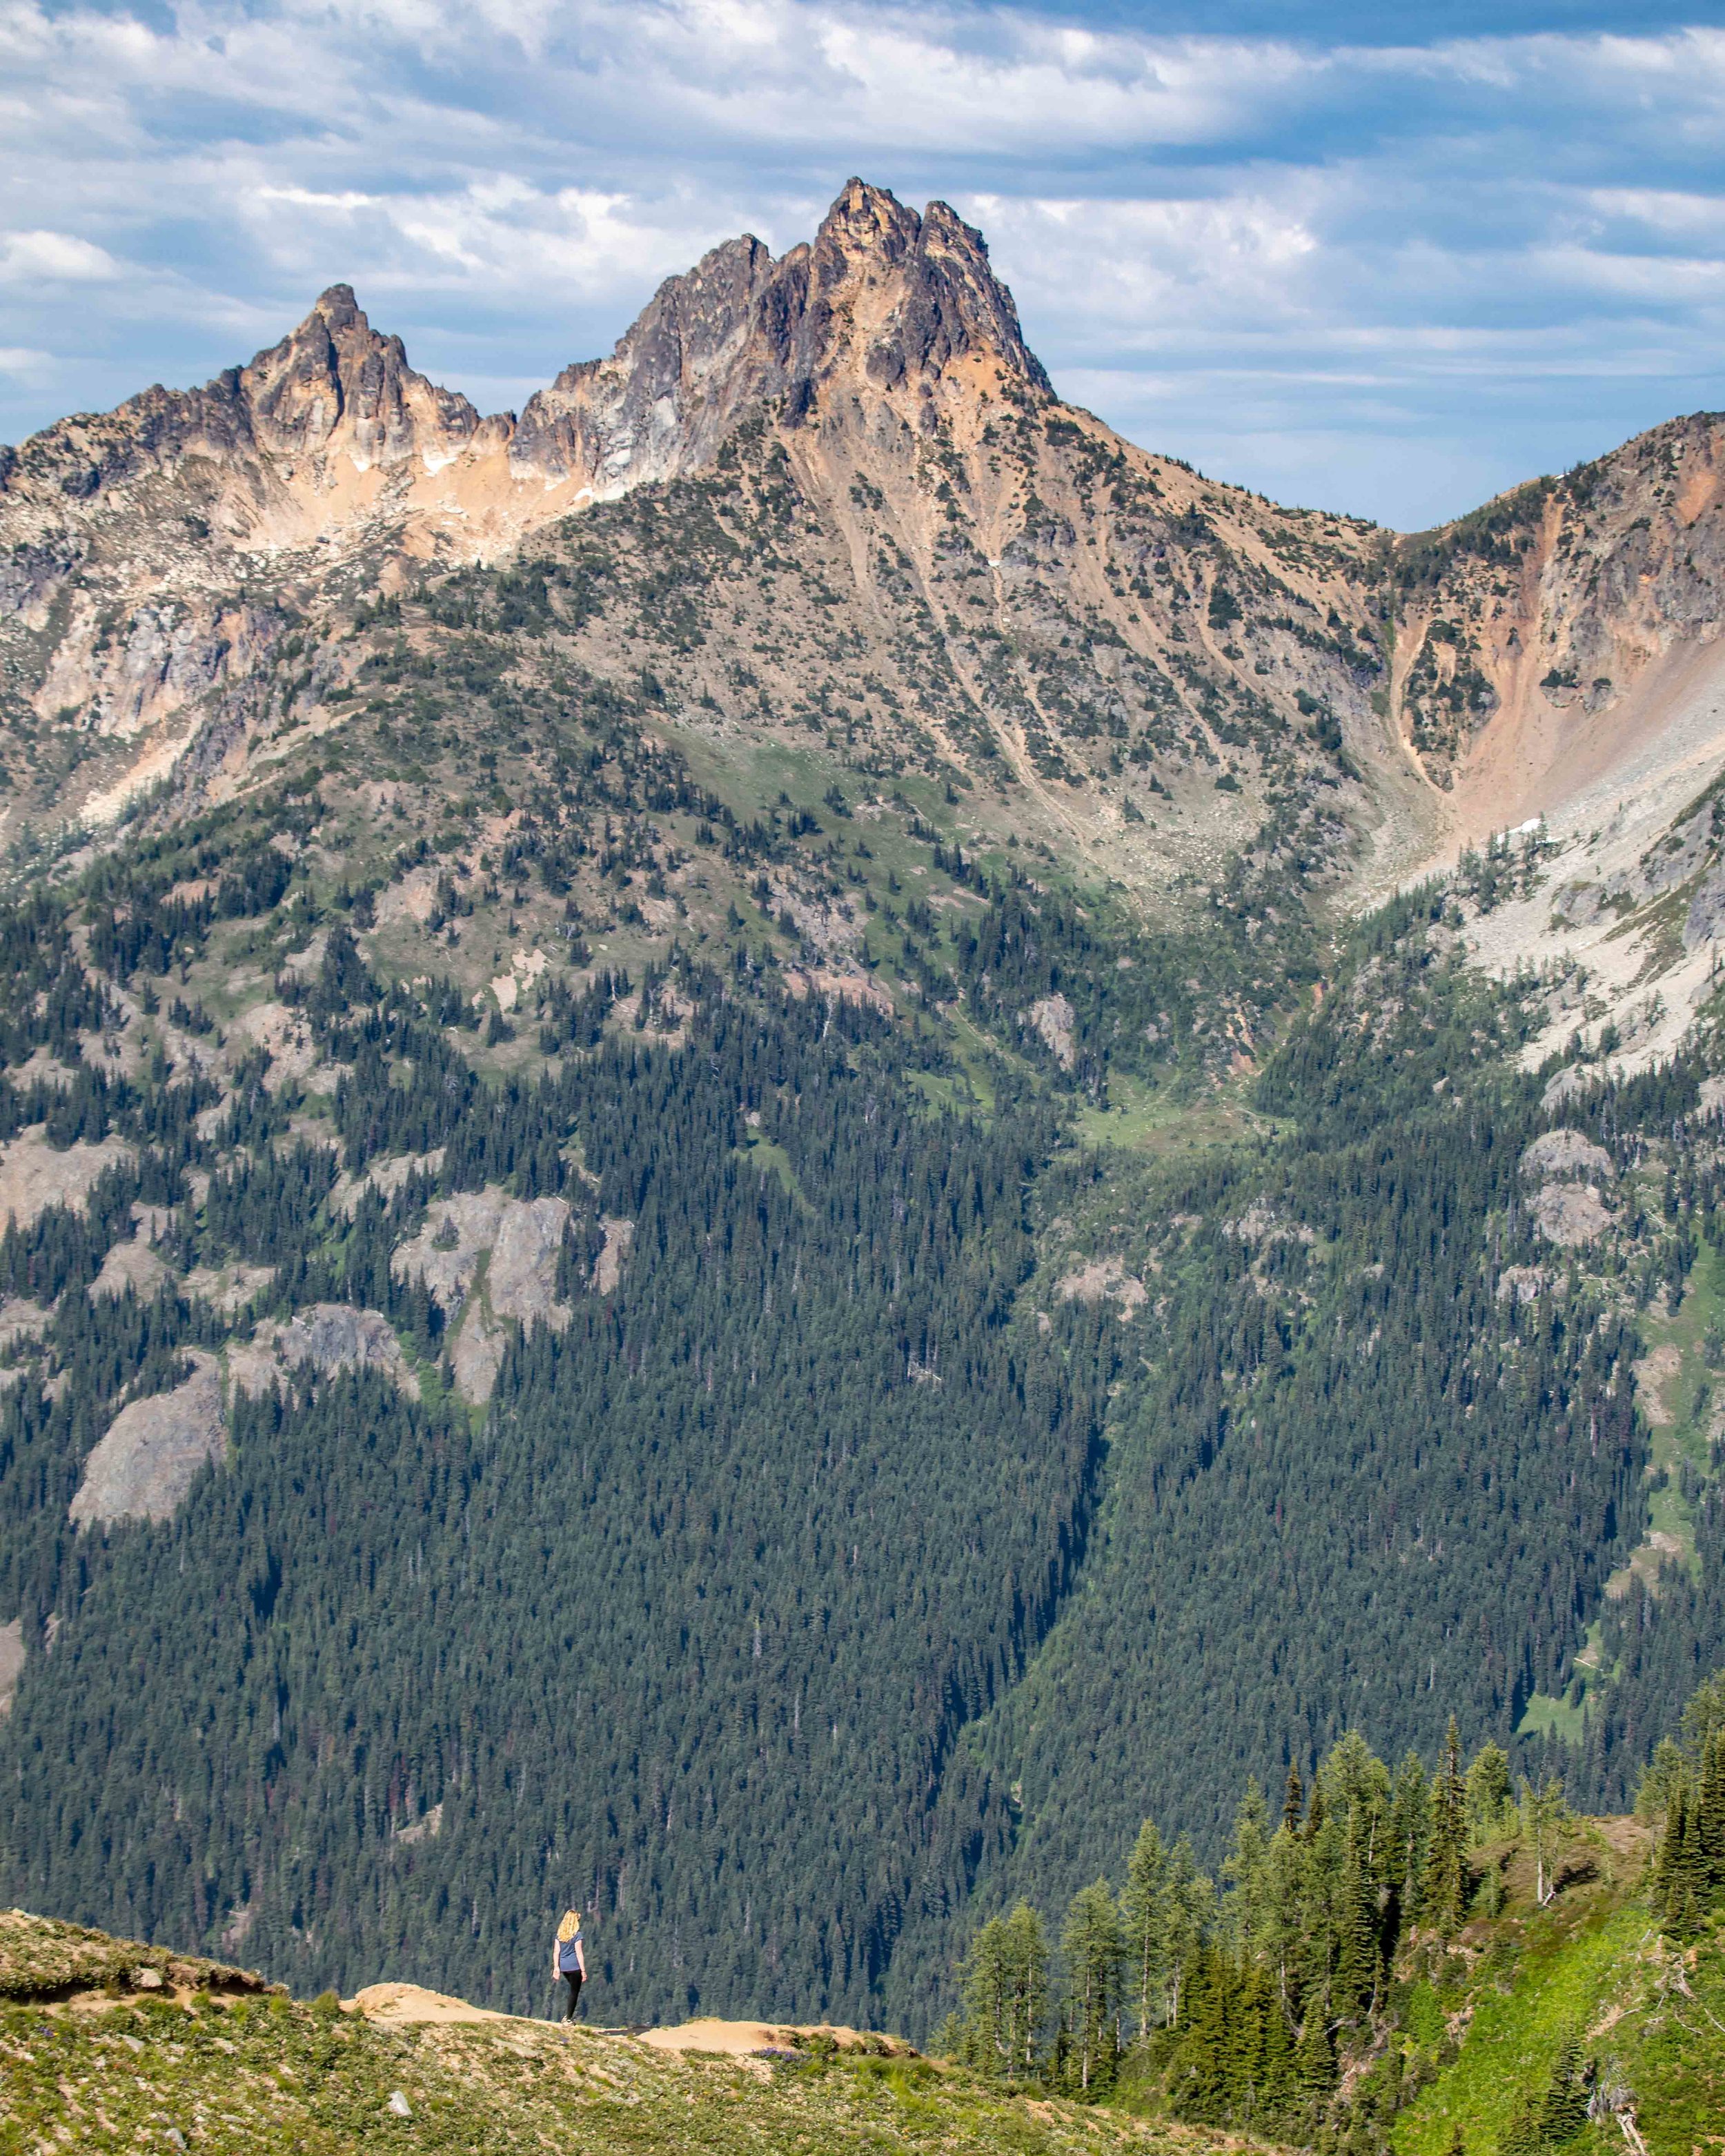
The next stop is the Washington Pass Lookout for a grand view of the mountains, you can get an idea of scale by just how small the highway looks!
We liked the views from the Washington Pass which has a very short paved walking trail around the various lookouts.
The road that snakes through the park looks amazing from here as well as the jagged mountains. The walking path is easy and although you have to climb a little it’s well worth it.
You can check out the main lookout point which is railed, or try to get some unobstructed views along the path. There are stunning mountain ranges in all directions that had us mesmerised and excited for the final hike.
Getting to Washington Pass Lookout
The Washington Pass Lookout is an hour and 10 minutes from the entrance to the park and 30 minutes down Highway 20 from the Diablo Lake Vista Point. The car park is a reasonable size, so you shouldn’t struggle to park.
Maple Pass Loop
Distance: 7.5 miles (12km)
Elevation: 2,000 feet (632 metres)
Time taken: 3.5 hours
Trail type: Loop
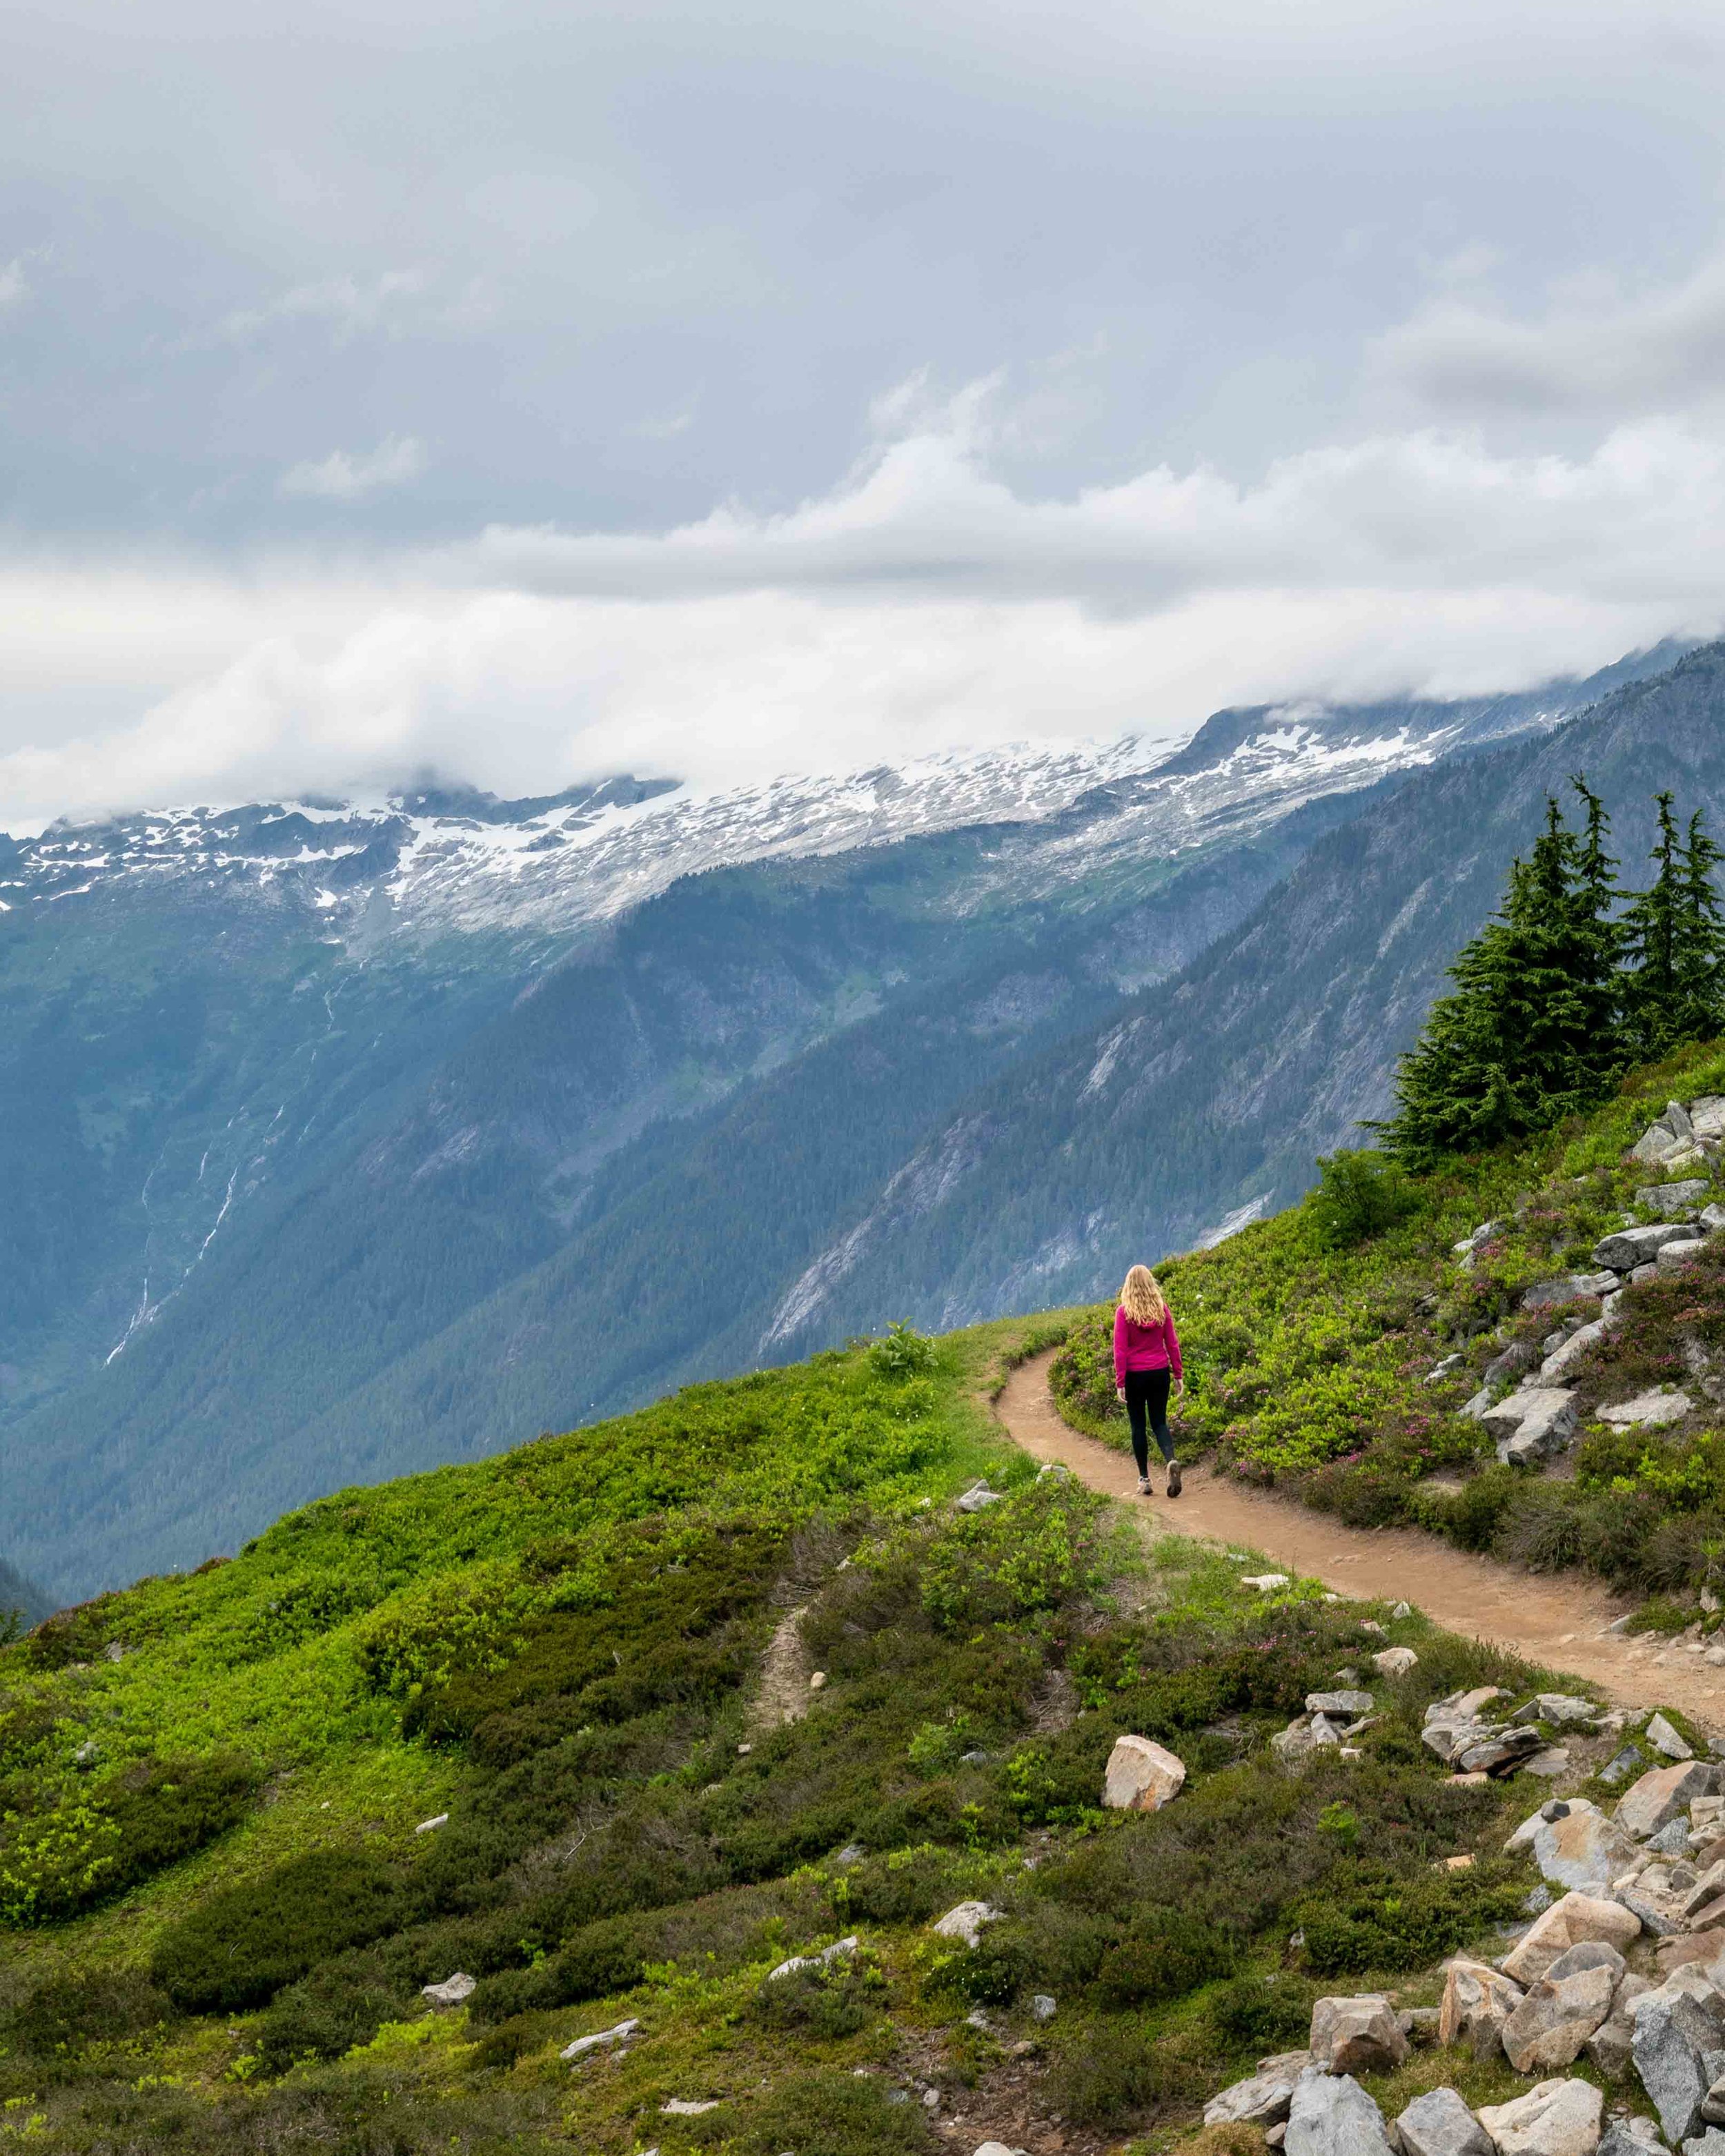
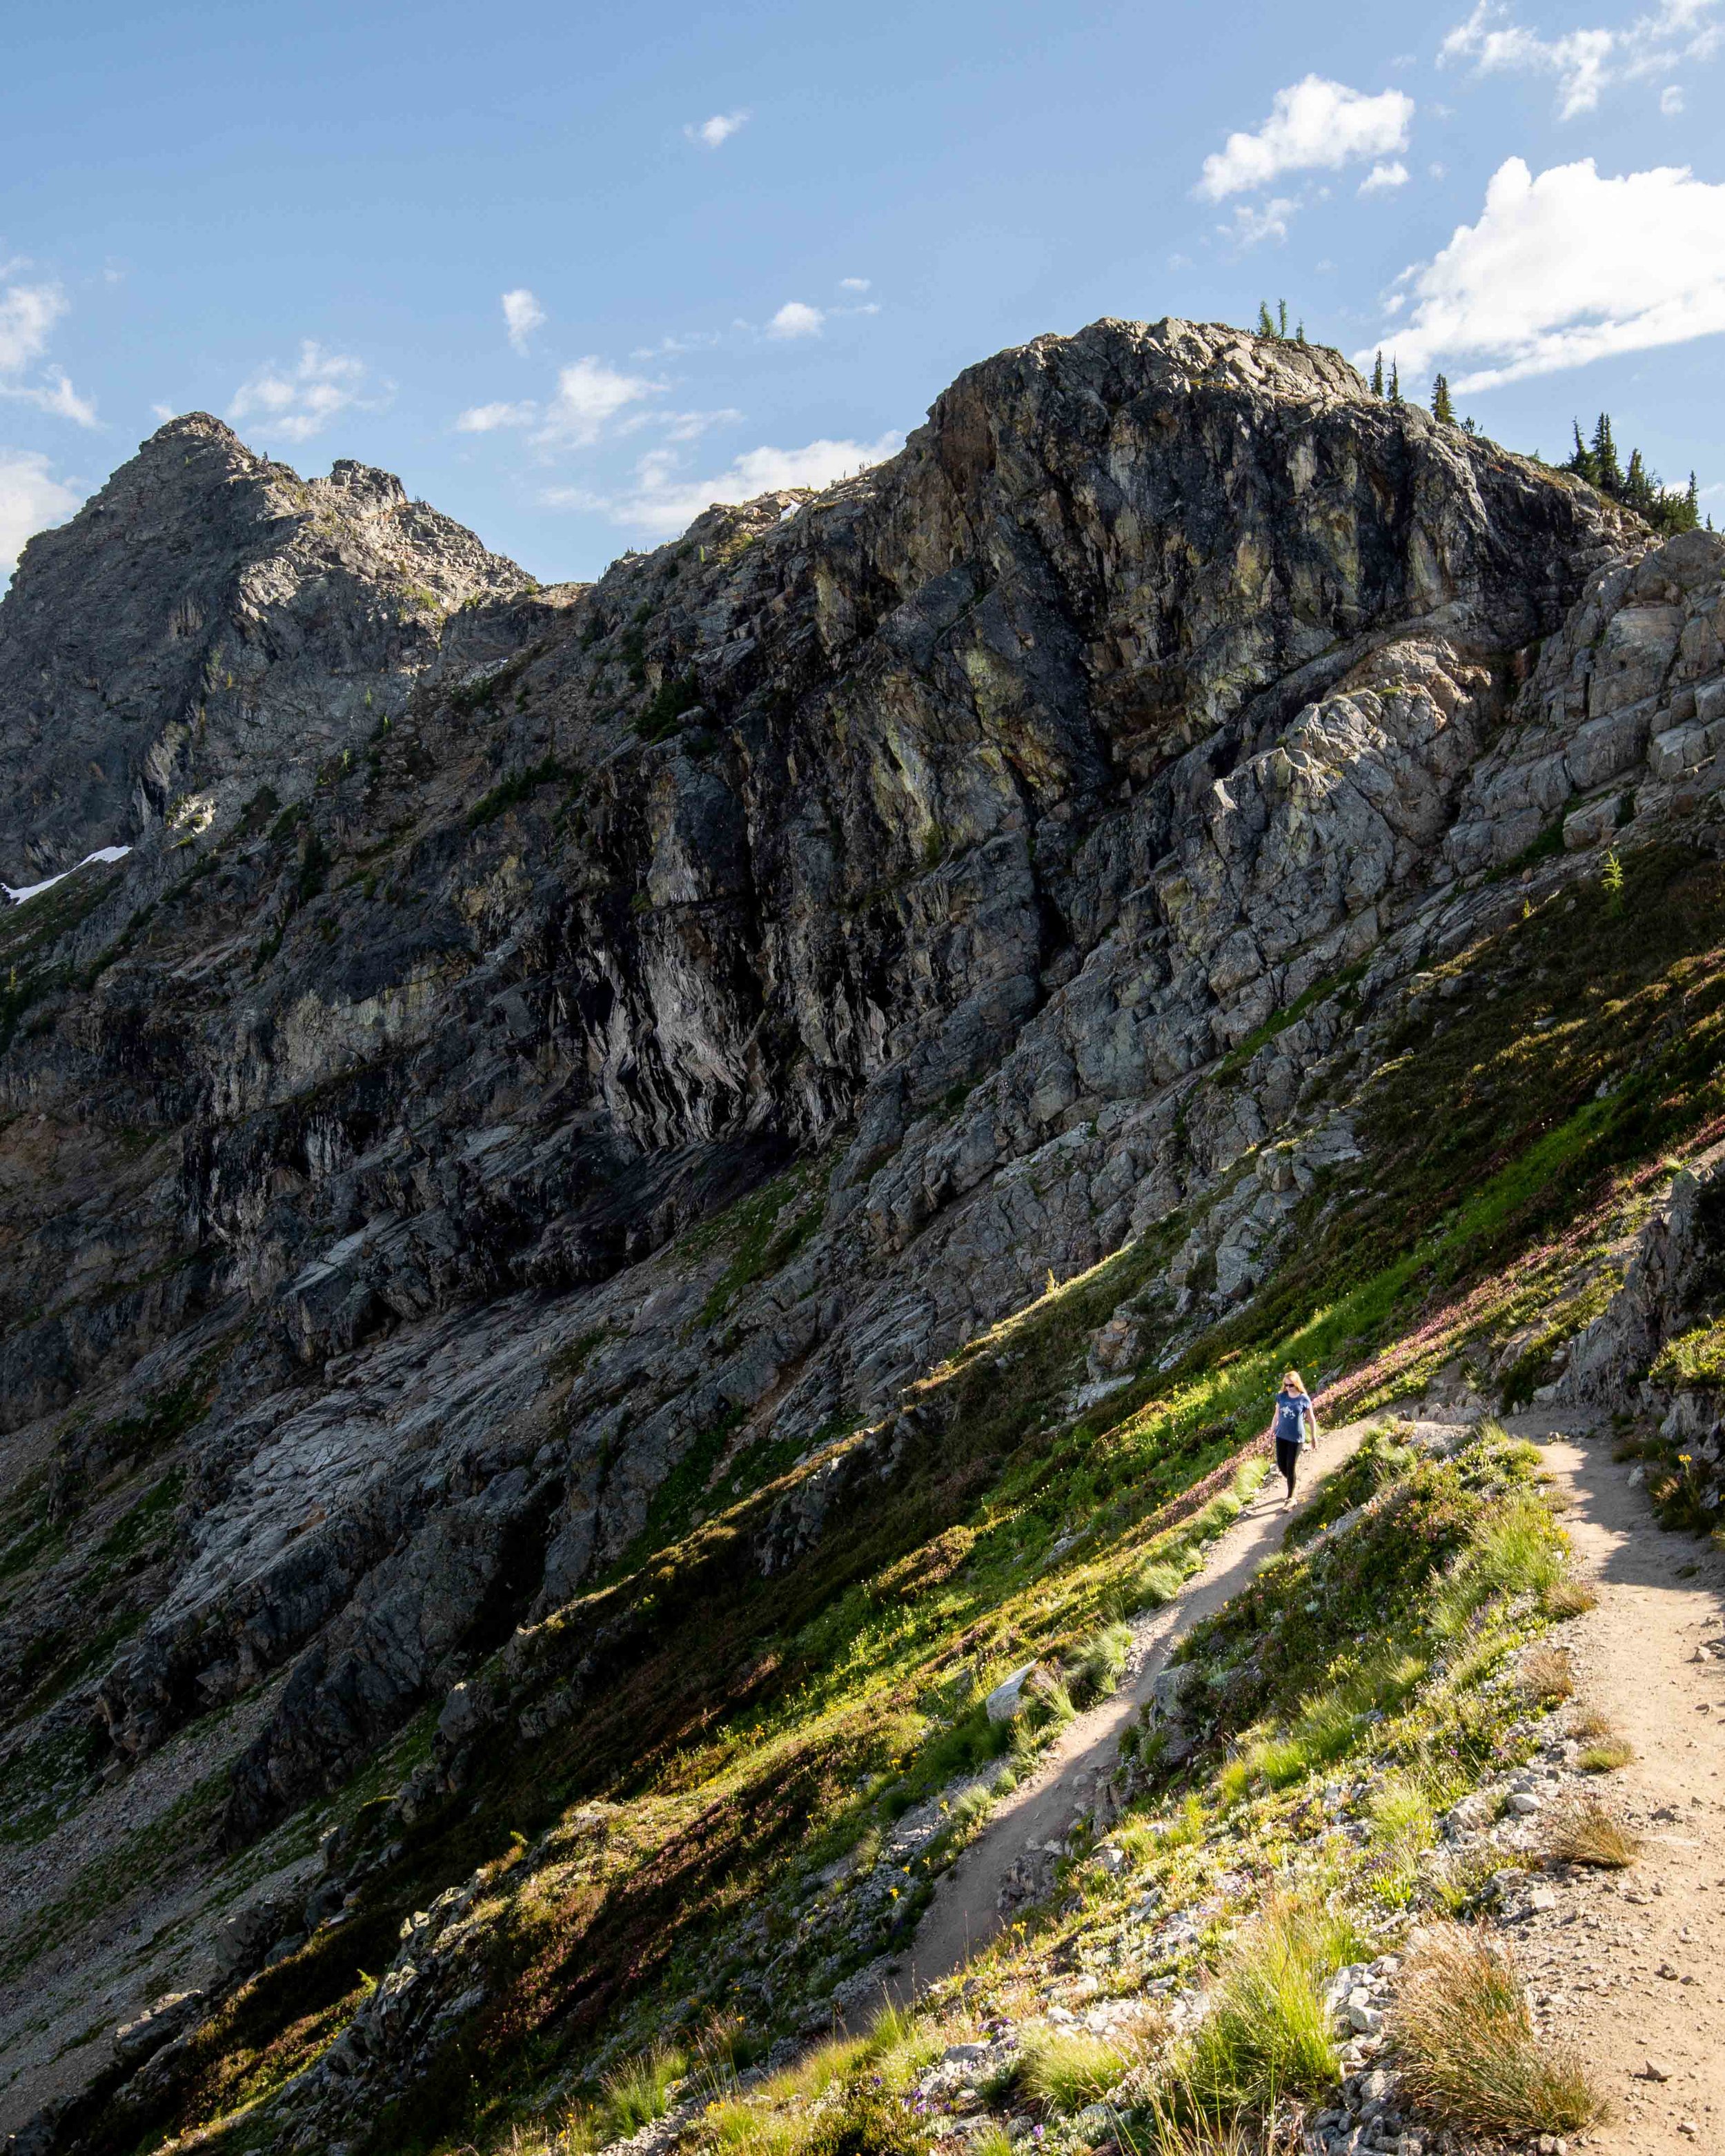
This was one of our favourite hikes in Washington and we’ve done around 15 so far! To say it exceeded all our expectations is an understatement! It is breathtaking almost the entire way.
Although the elevation gain is actually not much more than the Cascade Pass it’s definitely a tougher hike because whichever way you approach the pass (clockwise or anticlockwise) the path is steep.
Anticlockwise is definitely the way to go if you prefer a less steep ascent and don’t mind a steep descent though. It’s also the direction we were told made for better views - although strangely we didn’t see anyone else walking it in this direction!
In this hike you’ll be treated to magnificent mountain views throughout most of the trail as well as incredible lake views which seem to get better and better the higher you climb.
The trail is well maintained but a little more challenging than the Cascade Pass with a few more rocks and tree roots and a couple of slippery gravel sections. It is well worth the extra effort though.
If you’re hiking in summer the wildflowers here were beautiful, we weren’t sure of the types but there was an array of colour from reds and purples to white and yellow which added extra wow factor to a trail that was already an alpine dream!
The narrow paths and snowy mountain views had us stopping far more often than we needed to and that’s saying something as we got pretty puffed out on this track!
We didn’t see any bears and didn’t read any trail reports of recent sightings like we had at Cascade Pass but there were signs in the car park saying they could be around.
If you want to know more, check out our post specifically about the Maple Pass Loop which has more photos and information about what to expect.
Getting to the Maple Pass Loop
The trailhead for the Maple Pass Loop is just off Highway 20 and is an hour from the entry to the park and five minutes from the Washington Pass Overlook.
If you have more time..
If we had more time and top on our list of hikes to return for are Easy Pass (by all accounts it’s not easy but should be spectacular and also has one of the highest density of black bears in Washington if wildlife spotting is your thing) and the Hidden Lake Trail which looked like it had both incredible views from an old fire look out and very little hiking traffic.
Know before you go
Bears in the North Cascades National Park
As we mentioned black bears could be found on either trail and many others throughout the park so it’s good to be aware and possibly carry bear spray (we do). We’re told most black bears are skittish and should leave you alone if you make a lot of noise.
However, during our visit one of the campsites was shut due to increased bear activity and exposure to human food could mean the odd bear might be a little bolder.
There was also a sign by the Maple Pass Loop for grizzly bears but according to both locals and online research no grizzlies have been spotted in the area for years and there are thought to be very few in the entire Cascades region.
We’re pretty terrified at the idea of grizzly bear encounters but thought the chances of seeing one was so limited that we weren’t worried at all on the track.
Best time to hike in the North Cascades
It can get cold and very snowy in the Cascades so a winter visit won’t be suitable for hiking. We visited in summer which is arguably the best season for good weather and trail conditions but spring and fall can also be good and will have less people (although we hardly saw anyone else on our trip so that’s not a major consideration unless you want complete solitude!).
As the trails are narrow with steep drops, good weather is important unless you’re used to challenging trail conditions. We personally would have felt ok in wet conditions on the Cascade Pass but not the Maple Pass Loop. It’s worth checking for trail conditions online or at the visitor centre before heading out if weather conditions don’t look favourable or there’s been recent snowfall.
For wildflowers July and August are the best months to visit and we can attest to late July having an amazing display!
Where to stay in North Cascades
The most convenient base from which to explore the North Cascades is camping within the park. The surrounding towns are actually quite far from the trailheads making for potentially long days.
However, if you are like us and you don’t want to camp, then the most convenient base for the Maple Pass Loop and many other trails is the little town of Marblemount. We stayed at the two places below.
Totem Trail Motel
Totem Trail only accepts reservations by telephone which is a bit of a pain for foreigners but we also thought it was the best value accommodation in the area.
The rooms were clean and comfy and though both the bed and the shower were really small we liked this place. You have access to a shared BBQ and bench area outside where you can set up a camp stove and cook if you need to. Wifi doesn’t work in all the rooms though it does work outside on the patios.
Compare reviews & prices on:
Buffalo Run Inn
The Buffalo Run Inn has ensuite and shared bathroom rooms. We opted for the cheapie shared one which is in the upper floor of the hotel. The room was small but very clean and comfy despite being on a bit of a downward slope.
The bathrooms (two are shared between five rooms) are spotlessly clean which is something I was really grateful for as I prefer not to share where possible : )
There is also a little sitting room with a shared fridge and microwave but no coffee pot. We liked the place but thought it could do with a coffee pot and sink to wash up in at the least. It did have a nice feel to it but it was more expensive for a room with a shared bathroom than Totem was for an ensuite room.
Compare reviews & prices on:
This post may contain affiliate links, meaning at no additional cost to you, that we will earn a small commission if you click through and decide to make a purchase.
This helps towards the costs of running our website. :-)
Like it? Pin it!
Follow us on Social Media
Are you planning a trip to North Cascades? Which hikes would you pick as your favourite? Let us know in the comments below!


